10 tips on how to improve your techniques when photographing cityscapes. These tips include location, lighting, camera settings, and simple style. There are also a couple of challenges to help you refine and maintain your skill as time passes.
Cityscapes: an Introduction
Photographing cityscapes is a wonderful way to catch the beauty and individuality of a city, bringing that city to life to viewers. Cityscapes are not simply skylines, although skylines are cityscapes and can be beautiful in and of themselves. No, cityscapes are much more. They include architecture , roads, parks, even people going about their daily business. In other words, a cityscape is a photograph that photographs, well, a part of a city! They are featured in travel brochures, magazines, newspapers, on postcards, and, especially in this day and age, online. Below you will find a few tips and techniques to help you improve and refine your cityscape photography. The article is broken into three sections: location, technique, and equipment, all of which are vital aspects of cityscape photography. Indeed, they are vital aspects of just about any photography.
1. Choosing Your Location
Location is especially important when shooting cityscapes, as the location is what the photograph is all about. You should choose your location carefully. Take some time to get acquainted with the city you’re in before deciding on a location. Talk to natives of the city, or friends who have visited the city, and see if they have any locations they recommend. You might also talk to travel agencies, taxi or bus drivers, and anyone else who has a reason to know the ins and outs of the city. Take as many pictures as you can as you travel around the city, as well, and you might find yourself stumbling across a rare jewel of a location that few people know about.
2. Vantage Points
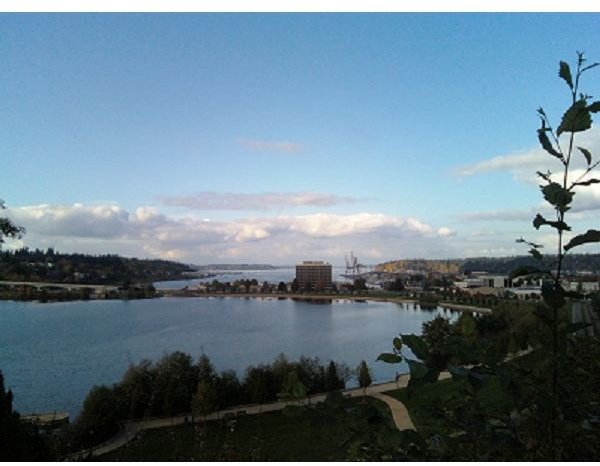
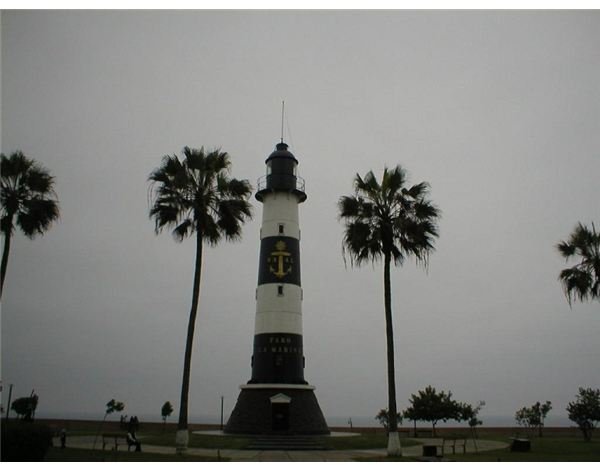
It’s not simply about finding the right location , but also about utilizing it. Once you find that perfect location, it’s time to position yourself at that location to make the most of it. Try different vantage points, for one. High locations can give you great panoramic cityscapes, as well as revealing patterns in buildings and roads that aren’t immediately noticeable at lower vantage points. Observation decks , windows, balconies, bridges, and rooftop restaurants can all give you some added height, just remember that if you are shooting from inside a room, turn off the room’s light before taking the photograph in order to avoid reflections. Lower vantage points can be useful for creating dramatic effects when photographing architecture, and, of course, it allows you to get closer to the inhabitants of the city and their lifestyles. Remember that if you are photographing people amidst your cityscape, you might want to ask permission first. Some people don’t take kindly to having their photograph taken unawares. The same goes for photographing tourist attractions or historic sites. Get permission first so that you don’t risk stepping on someone else’s toes and perhaps even having to pay a fine.
3. Subject Matter
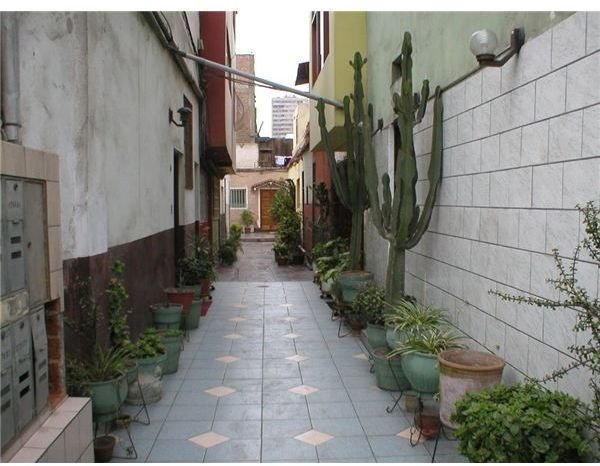
Don’t limit yourself to just one subject. A city is an enormous thing, made up of many buildings, many people, many moods, and many attitudes. In order to get the most out of your cityscapes, try including an interesting foreground as well as an interesting background. Find unique subjects to photograph within the city, then surround those subjects with the backdrop of the city. This will give the viewer a feel for how everything is connected within the city, intertwined and constantly evolving together.
Where am I?
4. Be Steady
This may seem obvious, but a steady hand will always take a better picture, reducing the blurriness caused by an accidental moment at the last moment. A timer or a remote will help dramatically by allowing you to set the camera down to take the picture or by negating that little twitch as you press the capture button. Tripods are also wonderful, not only for eliminating unwanted movement, but also for taking shots of the same location with different lighting techniques at as time passes. Tripods are not as easy to fit into your camera bag as a remote, or built into your camera like a timer, but it’s not to hard to find a lightweight, collapsible tripod and it might be worth the investment simply for the improved quality of your cityscapes.
5. Filters and Diffusers
Filters and diffusers can also go a long way in improving your cityscapes. Although it helps to photograph your location at various times of the day, as will be discussed a little later, sometimes you are not always blessed with that perfect sunset or with a crisp, clear day. Polarizing filters can reduce unwanted glare from sunlight reflecting off of windows or from an exceptionally sunny day. UV filters can also reduce the blurriness caused by extra light. Fog filters, otherwise called mist filters, can improve the quality of your cityscape on a cloudy day, as well as allowing you more versatility when focusing on a foreground in a shot. Color correcting filters not only give you the ability to adjust the color scheme of your cityscape, such as adding a slightly sepia tone or enhancing the depth of water, but can also tone down the brilliance of the sky, allowing you to capture the subtle mood of the sky while still focusing on the beauty of the city. Do not discount the effectiveness of diffusers, either. A flash diffuser, for example, can reduce glare and soften shadows, adding to the mood and dramatic effect of your photograph. Experiment with various filters and diffusers and chances are you will develop several techniques that will help you throughout your photography career.
6. Camera Functions
Your camera also possesses a multitude of functions and settings that not only make your job easier, but enhance the quality of your cityscapes dramatically. ISO , or shutter speed, can increase quality when there are moving objects, such as cars or people, in your photograph. Zoom can be useful far beyond simply taking a closer shot of an object. Try using a wide zoom setting for broad views, such as skylines or distant cityscapes, and using a long zoom setting for more detail, such as in architectural shots. You will be amazed at the difference it can make. Don’t forget your camera’s exposure setting, either, especially when dealing with sunny days or nightscapes. Proper exposer can make or break your photograph, do don’t be afraid to experiment with them.
7. Capacity
Most importantly, absolutely vital in fact, is the ability to take as many photographs as you like! If you are using a camera that requires film, be sure to bring extra rolls of film. Try including a wide variety of film, such as color, black and white, low speed, and high speed, and get to know the advantages of each. You can also buy more film, but perfect cityscapes are priceless. If you’re using a digital camera, use high capacity memory cards , and use a lot of them. It doesn’t hurt to carry a few extra cards, just in case, as well as extra batteries, just in case.
Toys: Gizmos and Gadgets
8. Lighting
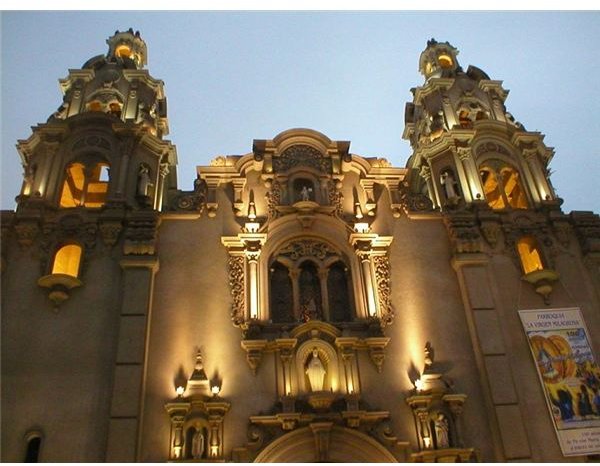
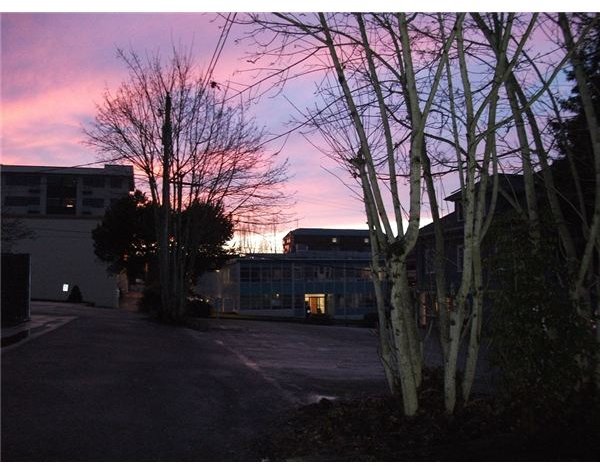
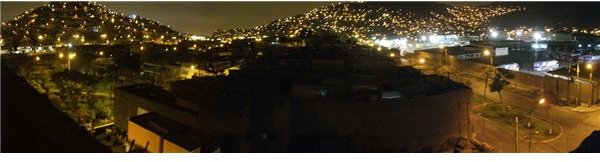
Lighting is perhaps the important aspect of your cityscapes. The time of day is especially important, as lighting changes throughout the day. Just after sunrise and just before sunset are both times of the day when lighting is at its most dramatic. Utilize the natural lighting as much as you can, but do not fear if nature doesn’t grant you perfect lighting, as there are a few other techniques that can help you. Exposure settings can be beneficial, especially when shooting night cityscapes, or when shooting low or high light shots. If you’re camera doesn’t allow you to change your exposure setting, or if you need a little additional help, try adjusting your exposure based on the brightest spot in your shot. Your camera will adjust to the brightness and this will allow the rest of your cityscape to stand out more clearly. Another trick is to always keep the sun behind you. It will not only help to illuminate what you are photographing, but it will eliminate unwanted glare or sunspots created by bright sunlight. For night shooting , try you camera’s night mode, various exposure settings, or even a diffuser to offset the city lights. This is especially effective when trying to capture a brilliant sky behind city lights. If you are dealing with a cloudy day, or foggy conditions, and you find that a filter is not enough, you might also try building a natural light deflector . You can usually build one in a matter of minutes and the effect, especially when photographing nearby subjects, can be startling.
9. Creativity
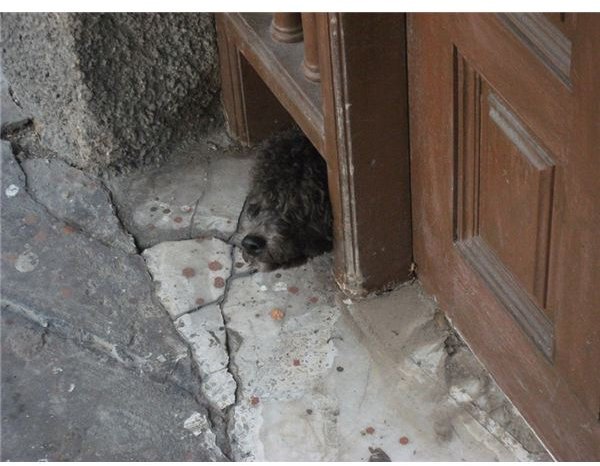
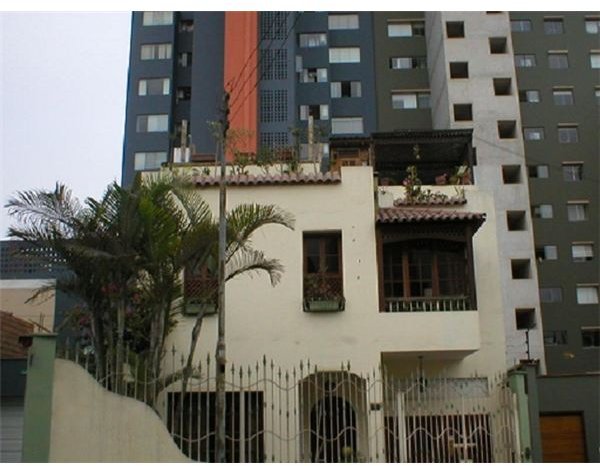
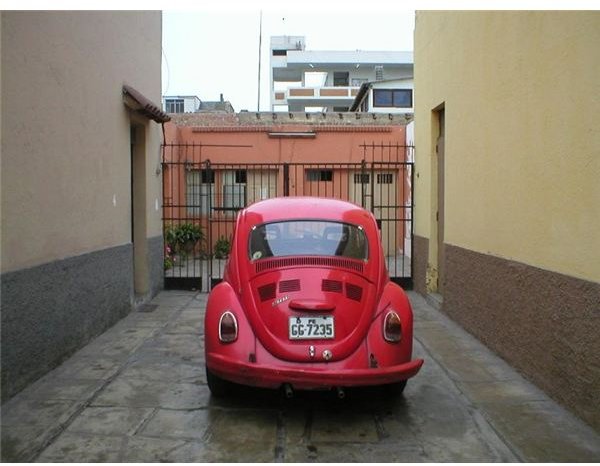
As mentioned in the first portion of this article, cityscapes are not only about skylines and distant shots. Try to find interesting subjects within the city to photograph. The more interested you are in the subject, the more it will show in your photograph, and the more your viewers will be interested. Photographers leave a trace of their own personality on each photograph they take, so make sure that your own interests, inspirations, and passions show through. Don’t simply photograph another postcard or travel brochure cover. Be creative, be original, be yourself, and you will be surprised at how many people are amazed and impressed by your cityscapes. Photograph unique streets, buildings, people going about their business, rare and amusing moments caught throughout the city, and other aspects of a city that are not readily seen in ambiguous tourist aimed photographs. For example, a photograph of the brilliant sky between two skyscrapers might be more dramatic, and impressive, than simply photographing the skyscrapers themselves. Use your creativity, imagination, and talent!
10. Editing
Leave a little extra room to crop your cityscape. Chances are you won’t necessarily want to use the whole cityscape once you’re finished, but it’s far easier to crop a photograph than to expand one. Take photographs of large areas, if you can. You can crop them later, or even return to the location to focus on a smaller portion of the landscape. Take as many pictures as you can, using as many different settings and options, and you can worry about editing and cropping later. Think of it as if you were writing a poem: it’s not usually perfect the first time about, but after a little editing, you might just have a masterpiece. If you are using a digital camera, there is a wide range of digital photography editing software available.
Style and Technique
Challenge Yourself
1. Experiment! Experiment with various locations, equipment, different camera settings, times of the day, and a wide array of subjects. The more you click, the better your photographs will be.
2. Share your photographs with family, friends, and co-workers. Don’t tell them that you took the photograph. Simply wait and see what they thing. If you want a truly honest opinion, try printing your photograph as part of a ’travel brochure’ or as a post card, and see what they say about the so called ‘professional photographer’ who took the shot.
3. Use a location more than once. Try returning to your location at different times of the day and during different seasons and see what changes. Equipment and camera settings only go so far. See what nature has to offer you.
4. Most importantly, have fun! The more you enjoy your work, the more enjoyable it will be to view. Perhaps the biggest challenge any photographer can face is enjoying their work after hours, days, or weeks of frustration while trying to achieve the perfect shot. Enjoy your cityscapes, and your photography in general, and your skills will improve. Don’t be afraid to set your camera aside when you find yourself disgusted. You’ll come back to it soon enough, and with renewed vigor. Good luck!
5. If you want to further challenge yourself, there are a number of photography contests and challenges avaialble online and in photography magazines. Oftentimes, these challenges reward the winners with new cameras, gear, and publishing. It’d definitely worth enterting these contests as not only can you win valuable prizes, but you can compare your work to other photographers, and, perhaps, even get advice and tips that will help you in your own endeavors.
Have fun!
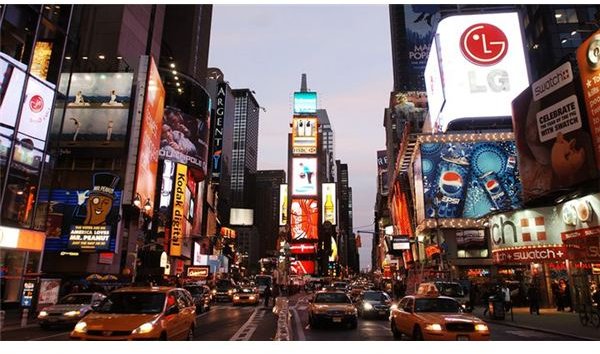
Image Attributions
All photographs, good or bad, are taken by myself, with one exception. The very last photograph, under Have Fun!, is taken by a friend of mine, Rosa Badilla Chacón, expressing her love for her native city. It is copyrighted and should not be distrubuted except upon request and with permission.


