Once you’ve created a frames page in Expression Web, the next step is to decide what type of content you want to add to each frame. In this segment of the series on working with frames in Expression Web, we talk about how to add existing web pages and how to create new ones for each frame.
In Part 2 of the series on working with frames in Expression Web, we covered How to Create a Basic Frames Page . Continuing on that theme, we’ll now take a look at how to add content to each frame of the page.
How to Add an Existing Web Page to a Frame
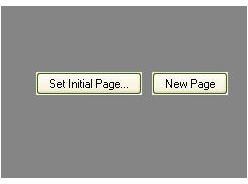
After creating a frames page, there will be two buttons visible in each frame: Set Initial Page and New Page. If the page you want to add to the frame has already been created, click on the Set Initial Page button to bring up the Insert Hyperlink window.
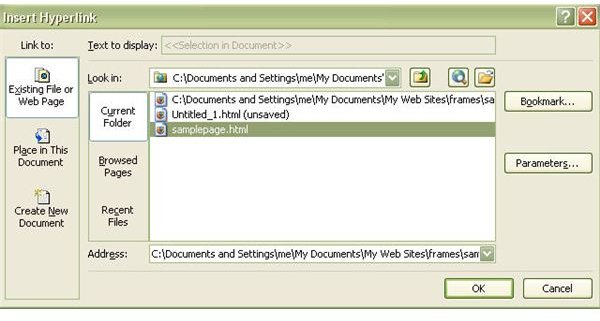
In the Insert Hyperlink window, navigate to the directory that contains the HTML file you want to insert. This is the same process that you would use to create any other type of link in Expression Web . Once you’ve located the file, click OK to continue.
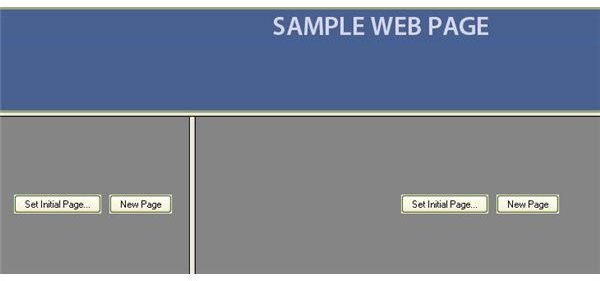
Follow the same steps to add an existing web page to any of the other frames on the page. If you haven’t created a web page for the frame yet, take a look at how this can be done in the next section.
How to Create a New Web Page for a Frame
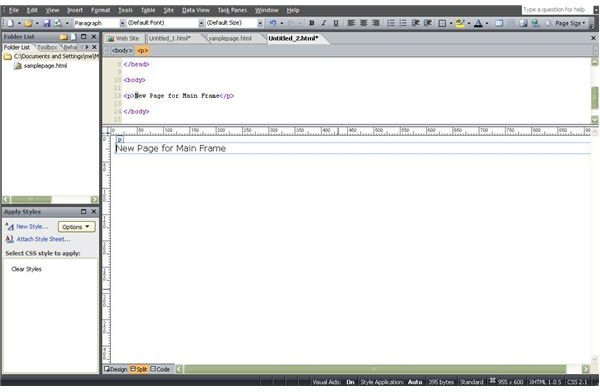
In general, the easiest way to add a web page to a frame is to create the web page first and then use the method described in the previous section. However, if you don’t have a web page ready for the frame, you can create a new one by clicking on the New Page button in the frame.
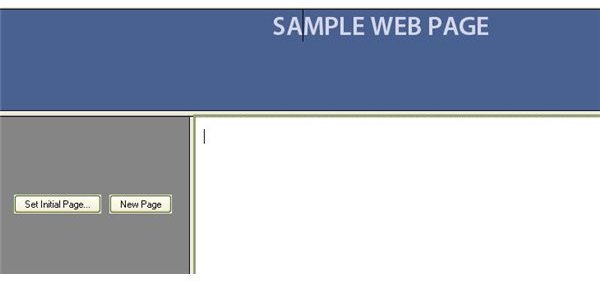
After making this selection a new page will open in the frame that you can design using any of the tools in Expression Web. Remember though, even if you choose to do your design while working in the frames page template, this new page will be a separate web page and should be saved as such.
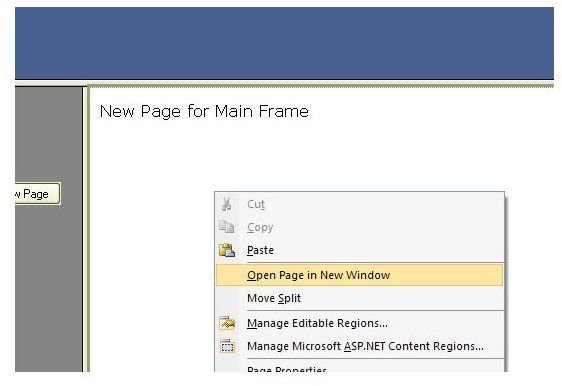
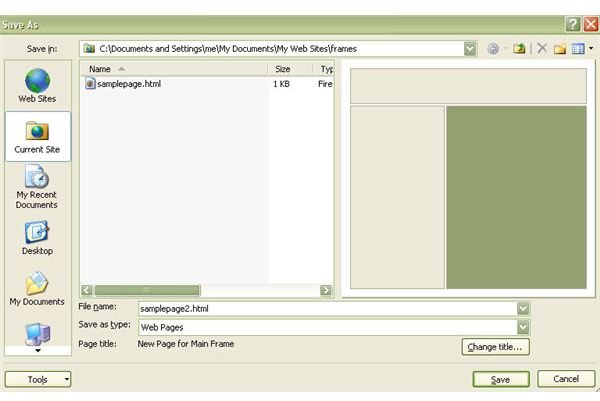
The best way to save the new page is to first open it in a new window. Right-click anywhere within the frame and a menu will appear from which you can choose the Open Page in New Window option. Now you can save the web page just as you would any other normal HTML page. Note, though, that when you do save the web page, you’ll be able to see the placement of the page in the frames layout on the right-hand side of the Save window. This can be a pretty handy feature if you’re designing a frames page with many individual frames.
While saving the individual web pages that make up each frame is done in the standard way, there is a little bit more involved in saving the entire frames page because of all the components involved. We will cover the topic later in this series.
Additional Resources: For more tips and tricks, be sure to check out the other Microsoft Expression Web tutorials and user guides found here at Bright Hub.
This post is part of the series: Frames in Expression Web
This series starts out with a general overview of frames in Expression Web and continues with several tips and tricks you can use to incorporate the use of frames in your web site design.


