It might appear slightly confusing at first, but it is a straightforward task to import images from your scanner into the iPhoto application.
Can I Import from a Scanner to iPhoto?
In addition to the basic applications that come with Mac OS X, Apple also make available a suite of tools providing extended functionality. Apple iLife features useful applications such as Garageband for recording music, iPhoto for managing your favourite snaps, and iMovie for editing your home movie clips.
The iPhoto application which comes as part of Apple iLife allows some adjustment of photos, allowing you to resolve issues with common problems like creases and red eye.
If you import images from a scanner to iPhoto, however, you have the opportunity of manipulating the image, applying any changes to it so that it will ultimately look how you want it to.
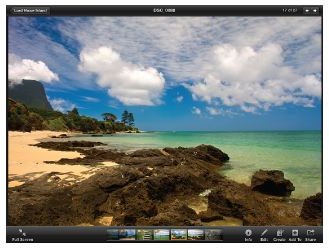
(Screenshot from apple.com)
Scanning Images for iPhoto
In order to get started importing from a scanner to iPhoto, first switch on your scanner, confirming that it is connected to your Mac.
Next, place the slide, negative image or photo you want to scan face down in the scanner, and process the image as you normally would, saving to a folder on your Mac.
You should then check the image has been scanned as intended – open the image from Finder and check the file details to confirm the correct dimensions and a suitable DPI rate has been used. If not, simply rescan, with adjustments to these details.
Drag to Import
Once you are happy with the image you have imported from your scanner to iPhoto, leave Finder open and then open iPhoto. With both boxes visible on screen, drag your scanned image into iPhoto, where you can begin sorting, editing, browsing and viewing your image.
There are many different ways in which you can take advantage of having your scanned image imported into iPhoto. For instance, by selecting the image in the iPhoto Source list, you can use the Full Screen button to see the image stretched to its maximum dimensions on your display.
Via the Toolbar you can then zoom in and out of the image, using your mouse to view different portions.
Slideshows and Edits
With your image(s) scanned and imported you can also take advantage of the slideshow tool in iPhoto, which will display a selection of images as soon as you press the play button. The displayed images will be ones from the album you are currently viewing.
Finally, if you wish to make some changes to your image, you can resize, rotate and crop your image, as well as employ the straighten tool to adjust the horizontal positioning of a cropped image. The Red Eye tool, retouch and adjust are also available for making improvements to your image, although this can all be automated using the enhance tool, which automatically applies all of these types of edit in order to save you time.
See Using iPhoto to Edit Photos on Your Mac for more information on editing images in iPhoto.


