How To Setup An External Hard Drive To Your Apple Time Capsule and Configure It
Time Capsule Capabilities
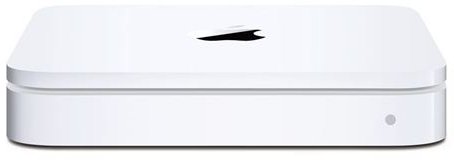
Apple has built some extra capabilities into Time Capsule. The two most useful being external hard drive compatibility and printer capability.
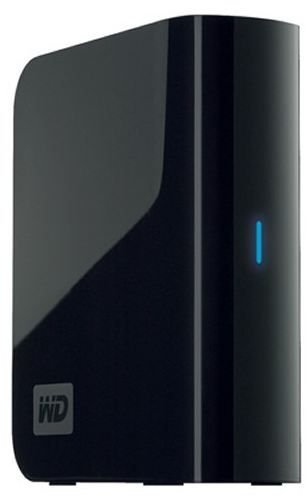
Why would you want to connect an external hard drive to Time Capsule? By connecting an external hard drive to Time Capsule you are creating a networked shared drive. Time Capsule is good for backing up data, but not designed to be an external hard drive for storing data. However, by adding an external hard drive, Time Capsule becomes not only a backup server, but also a wireless external hard drive as well.
Why would you want to connect a printer to Time Capsule? By connecting a printer to Time Capsule, you gain the ability to print wirelessly. Also, you can share the printer on your wireless network, allowing multiple computers to use the printer.
Note that the following hard drive and printer tutorial is designed for people that already have their Time Capsule setup and running on their network. If you need to setup your Apple Time Capsule, please refer to this page.
Connecting An External Hard Drive To Time Capsule

Connecting and using an external hard drive with Time Capsule is a very simple process, and only takes a couple of minutes to complete. To start, connect your external hard drive to the back of Time Capsule via the USB port. If your external hard drive requires power other then USB, be sure that it is connected and the device is powered on.
Next, you need to open up the Apple Airport Utility. To do this, navigate Finder - Applications - Utilities - Airport Utility. After Airport Utility is opened, it will automatically find and recognize your Time Capsule. Select your Time Capsule along the lefthand side and click manual setup. You should now see five icons located toward the top of the window: Airport, Internet, Printers, Disks, and Advanced. Select the tab labeled Disks. Now, you should see a pane that shows your Time Capsule disk as well as your external hard drive. Next, click the File Sharing option located right above the Airport Disks pane. Be sure that Enable File Sharing has a checkmark next to it. Also, make sure that the option for Secure Shared Disks is set to With Time Capsule password.
Now, you will need to restart your Time Capsule. To do this, left click on the big picture of your Time Capsule located along the left hand side, then click restart. Your Time Capsule will restart and your external hard drive will be completely synced. You can now close out of the Airport Utility.
You now need to learn how to add and delete files off of your newly added external hard drive. Click the Finder icon to open the Finder. Along the left hand side, you will see the heading “Shared”. You should see your Time Capsule under it. Click once on your Time Capsule to connect to it. It may ask you to enter the password for your Time Capsule. If so, enter it. After this window has opened, you will see one folder with the label Data. This is your Time Capsule backups folder. Do not mess with it or attempt to modify it. You should also see a folder with the name of your external hard drive. Double click on it to open it up. You have now successfully accessed your external hard drive. All you have to do in order to store files on it is drag an item into this window. The same goes for deleting a file off of your external hard drive. If you want to remove a file, simply drag it out of this window, into the trash.
Adding A Printer
Be sure to read part 2 of the series to find out more about your Apple Time Capsule’s capabilities as well as view a tutorial on printer setup.
This post is part of the series: How To Add An External Hard Drive and Printer To Time Capsule Complete Tutorial
Apple Time Capsule has the capability to be a network attached hard drive as well as a wireless print server. However, it can be hard to understand the setup procedure the first time you are setting it up. Here is a tutorial to get you up and running in no time.
