Here is a look at how to convert existing video files to another format in HandBrake.
HandBrake Tools
People often discuss how HandBrake is a great free program to rip DVDs, but more than that HandBrake is an effective video conversion and video compression tool. With HandBrake video conversion is made into a very easy process by where the base video is then interpreted and a new file under the selected terms is made available. Here is a step by step HandBrake tutorial that outlines how to use HandBrake for simple video conversion methods.
HandBrake Video Conversion
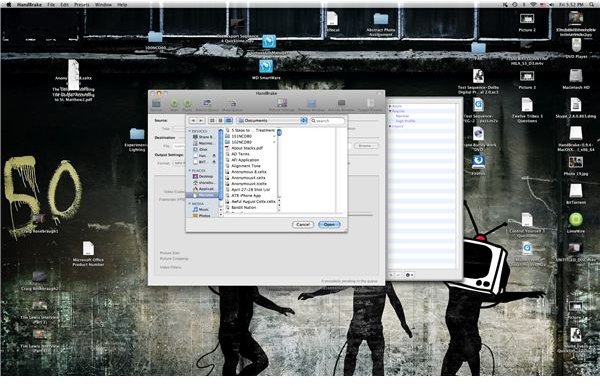
To start with video conversion, HandBrake will automatically open up a prompt to look for source media, or you can just hit the clapboard appearing button in the upper left hand corner that says Source. What you will then need to do is to find the video file that you want to convert using HandBrake, select it, and then hit the Open button.
Once this is done, HandBrake will open up all the relevant information, which will actually be much less for
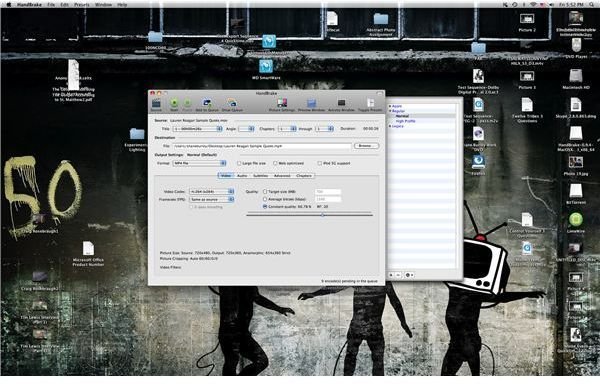
video conversion from a video file than for a DVD . It will put in the title information, show the source information, the duration of the clip, and will position it as having a single chapter since it is not coming from a chapter focused format like a DVD. This is also a pretty immediate process since there is not any of the relevant scanning necessary as there is when you are ripping a DVD with HandBrake You will also be able to set the Destination, the proper format, make any specifics, the video codec, the frame rate, as well as the quality. You have a few options when setting the quality for HandBrake video conversion. You can set it by the target size you want the video to be, which means that the video compression will be correlated exactly to the target size of the video. You
can set it by the average bitrate that you want it to have, or you can set it as a constant quality of a certain percentage of the original clip. It is usually set as a default of 60.78%, but you may want to go up from there if you want a high quality clip. If you are looking for major compression then you may want to even go down more.
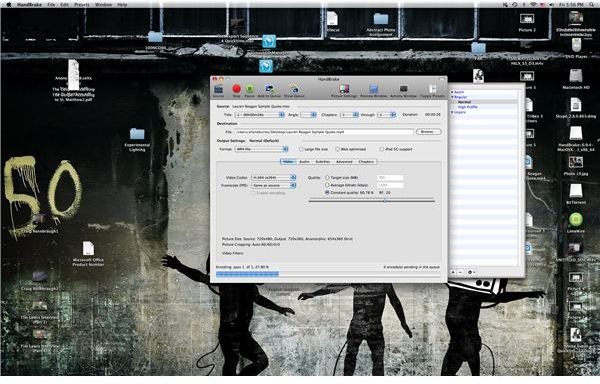
Once the settings are correct then you will hit the Start button and allow the video conversion and compression process to begin, which you can watch the progress of at the bottom of the HandBrake display. Once it has finished a window will pop up that says “Put down that cocktail” and your video will have finished its conversion. It will then be in the exact location that you set the destination for before you initiated the video converison , though you may want to change its name now once the conversion process is finished.
This post is part of the series: HandBrake Tutorials
Here are some detailed tutorials for different functions in the video conversion software, HandBrake.


