Tired of folks pinching your online videos and passing them off as their own? It’s time you stamp your ownership on your videos. Watermarking also helps to create branding and promote your website. This tutorial will show you how to add watermarks to your videos with Video Watermark Factory.
Getting Started
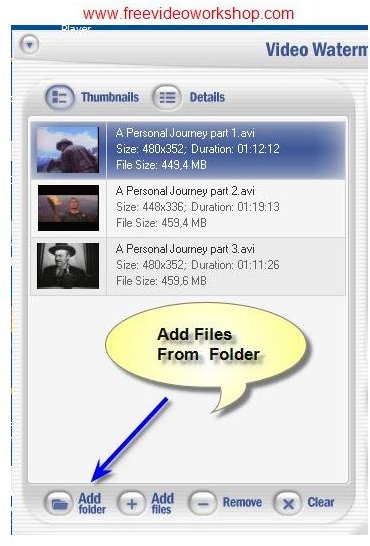
Launching Video Watermark Factory, you start off selecting Add Folder located on the bottom left of the Interface. This is a convenient feature if you have a batch of video files that need to be watermarked with the same text or logo.
Video formats supported are AVI, MPEG, Windows Media Video and QuickTime.
If your video file is not listed as a supported format, you could try choosing all formats from the file type drop down menu. I tried importing FLV and MP4 files. They weren’t recognized by Video Watermark Factory though.
Preliminaries

Before you go ahead and add watermarks to your videos, here are a few preliminaries you would want to go through.
You would want to preview your clip to make sure it’s the right one you want to watermark. Click on the video clip in the media list window on your right hand. You can even hear the video when you preview your clip.
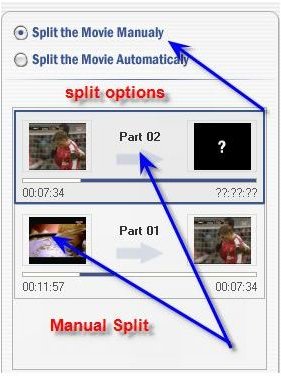
If you have a long clip and want to watermark only a portion of it, you could use the split feature to make your selection. You can split the clip manually or split it automatically by duration (seconds), especially useful if you’re uploading a ten-minute clip to YouTube.
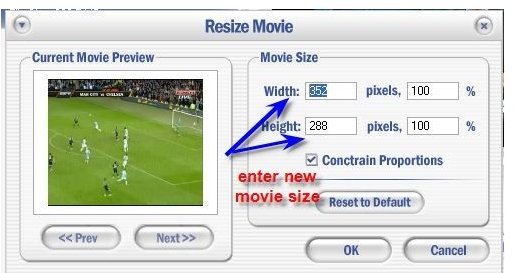
You may also want to resize your video to reduce file size to cut short uploading time. Just click on the Resize button and enter your movie size.
Watermarking
You’re now ready to perform the most important function of the program – adding watermarks to your videos. You can add text watermarks or image watermarks on your videos with Video Watermark Factory.
Text Watermark
Entering a text watermark is pretty easy. In the text settings window, you would enter text as you would in a word processor.

As you make your watermark entry in the text box, you would see a preview of it in the video monitor window. The next thing you should do is choose the colour of your watermark to ensure its visibility on your video.
Adjust the font size so that it’s not too small or too large. Once you’ve got your font size and colour right, you would want to consider the positioning of the watermark. Usually, the position of the watermark reflects the position of the text in the text box.
But then by clicking on the position tab, you can fine-tune the positioning further. You have three modes to work with. If you choose auto fit, your watermark will stretch across the screen.
In the tile mode, several watermarks will be scattered across the screen. The drawback of this mode is it would distract the viewer from the visuals.
The most flexible mode is the manual mode which allows you to place your watermark in a position of your choice on your video. It allows you to even control the X-offset and the Y-offset of your watermarks.
Image Watermark
Have your image watermark ready with the appropriate size that you require on the screen. This is important as once you import your image, you can’t resize it in Video Watermark Factory.
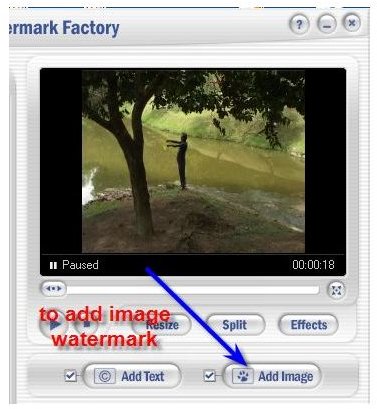
Click on the Add Image button and browse for the required image. Again under the manual mode, you have nine positions in which you can place your image watermarks. This is straightforward, no different from placing an image in a word processing program like Microsoft Word.
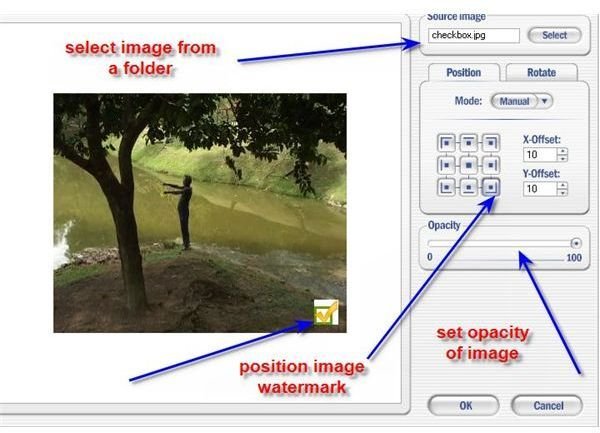
If your watermark is too prominent to the point of distracting of the viewer, you would want to use the opacity slider bar to reduce its intensity.
Generating Watermark
Once you’re satisfied with your watermark placement, you’re ready to generate your watermarked video.
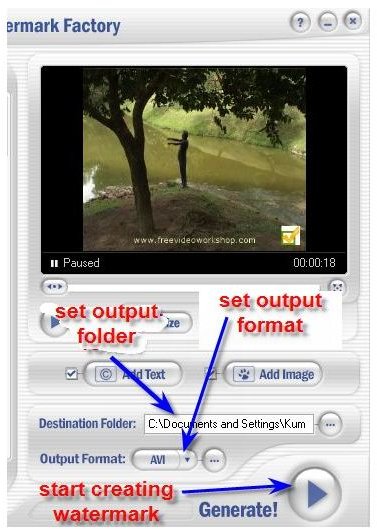
Before you press the large Generate button, you would want to set the output destination folder and the output format – AVI, MPEG, WMV or Real Media.
Conclusion
Video Watermark factory for Windows is a 20MB download from www.videowatermarkfactory.com . If the trial version satisfies you, you can purchase a personal license for $49 or a business license for $149.


