Here is an After Effects Tutorial on different time related features.
After Effects Tutorial
Adobe After Effects is known for its ability to add effects to video projects and essentially master the aesthetics, but After Effects can actually fundamentally alter the videos that you are working with. The internet is filled with Adobe After Effects tutorials on how to work with different types of animations, but it is hard to find a tutorial on speed variation in Adobe After Effects . This is not as difficult as it seems; here is a tutorial on speed variation in Adobe After Effects which looks at a few of the basic options you have.
After Effects Time Remap
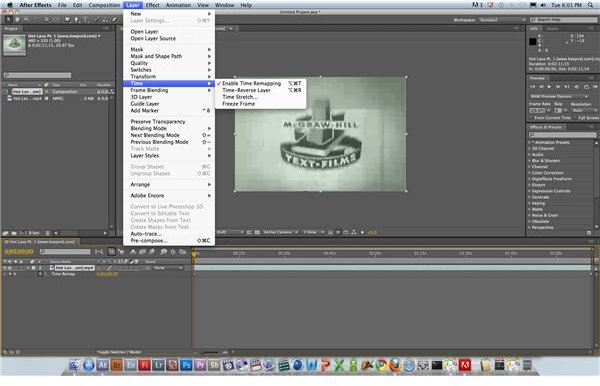
Some of the most requested tutorials on speed variation in Adobe After Effects is on the Time Remap feature. When you are working with a composition in Adobe After Effects that you want to use and it is in the Timeline, you can start out by determining which time-based option you want. Go to Layer in the upper task bar and then down to Time, which is directly below Transform and above Frame Bending. The most discussed option is Time Remap, which allows you to change the speed that the clip plays out at different points in the timeline. Like
Transform in Adobe After Effects, Time Remap allow you to make changes along the course of a clip in the Timeline where you can speed up or slow down the clip.
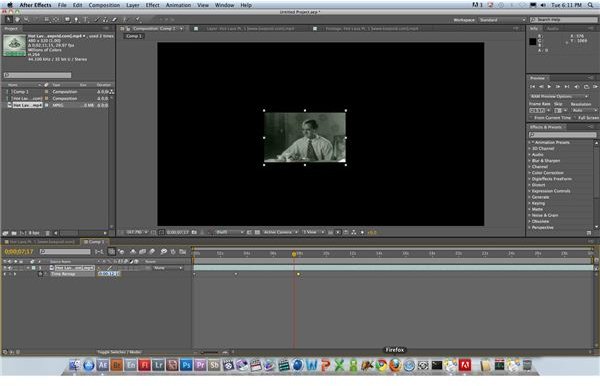
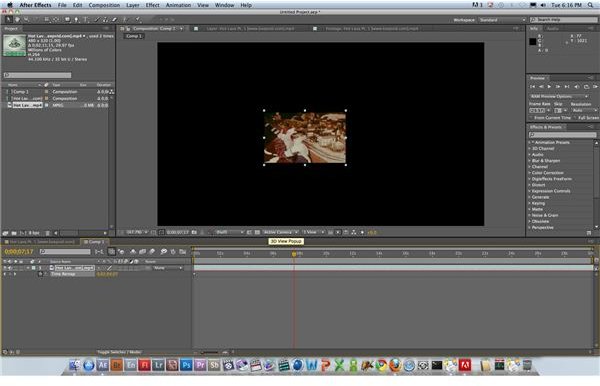
You set keframe points, like in Adobe Flash , at different points along the timeline on the clip. When on each keyframe, you will go to the Time Remap in the sidebar Composition tab and then change the point at which the keyframe should occur in the video. What this means is that you can move the video ahead or behind its current point, which would either shorten or lengthen the time between that keyframe and the preceding one. If it’s lengthened, it will make the play slower, and if it’s shortened, it will be faster.
Other Time Options
Other options for a tutorial on speed variation in Adobe After Effects is for the other time features, which there are
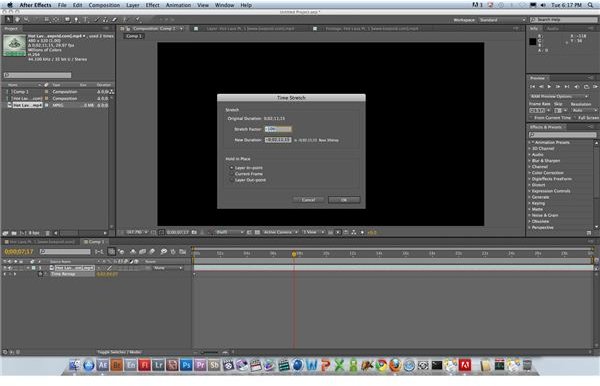
several. If you go back to the Time folder in the Layer option, you can select the Time-Reverse Layer option, which simply flips your selected file so that it plays backwards. Time Stretch will allow you to stretch out your clip at a level you specify. You are given a prompt that allows you to change the value numerically and set the correct points, and this can be a much more accurate option that just using the After Effects Time Remap. The Freeze Frame option is fairly self-explanatory and will give you a still image that you can then use as such, but you can also apply this using the Time Remap.
References
Source: Author’s own experience.
This post is part of the series: Adobe After Effects Tutorials
Here are tutorials with common tools in Adobe After Effects.


