Here is an easy tutorial on how to use the FCP timecode generator.
Final Cut Pro Tutorial
A proper timecode generator is a solid tool in the world of video editing , especially offline video editing. What it can be used for is for text videos so that people know where the timecode is at for certain video moments, mainly because it will literally overlay the timecode as a video image over your primary video. When using Final Cut Pro , or FCP, you can use this as one of the easy video effects to get you started and make the process much more basic than you would think. Here is a tutorial on the FCP timecode generator and how to use it in your video editing project.
Using the FCP Timecode Generator
The way that the FCP timecode generator works is that you put it on an existing video clip as a video effect. Start by

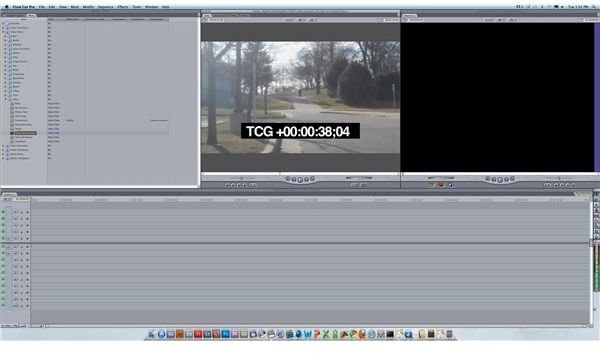
opening the video clip you want to work with and then go into the Effects tab. Go into Video Filters, open up the Video folder right below Time, and then drag and drop Timecode Generator onto the clip in the Viewer. An image of a timecode, starting at 0 should come up immediately.
As the clip plays through, the FCP timecode generated image will play through as well, and when you jump to different locations on the video, the timecode image will reflect that point. When you bring the clip down into the Final Cut Pro timeline , the timecode will stay on there. If you cut the clip up, however, the timeline will immediately start at zero for each independent clip in the timeline. This is because the timecode generator acts as a reaction to the way the clip plays, not a initiator of information about the source media. Therefore it will start at 0 at the beginning of the clip and simply play along for the length of the clip, even if it came from a previously larger clip.
Changing the FCP Timecode Generator
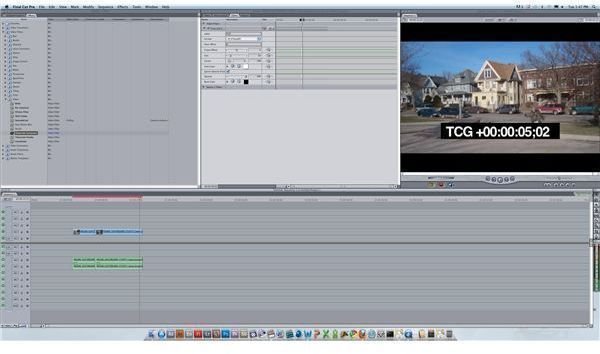
The FCP timecode generator is not a fixed readout on your clip and you can actually make a lot of changes to how it reads out. When the clip is in the Viewer with the timecode generator on it, go into the Filters tab in that Viewer. Here you will be able to make a lot of different changes to how the timecode will read out, such as the hour offset it has, the frame offset, the general size of it, its position on the screen, the font color, if it has any level of opacity, the general format, and even the background color. This will not change the FCP timecode generator in any fundamental way since it still responds to the clip by showing the location where the playhead is in relation to its start point, but it can make it more practical for your specific use.
References
Source: Author’s own experience.
This post is part of the series: Final Cut Pro Tools
Here are some easy Final Cut Pro tutorials on tools you can use.


