If you want to give a friend a quick scare or maybe you want to create something that will be the next Bigfoot or Slenderman, check out the article to see how to get started making your very own urban legends using Photoshop.
Urban Legends
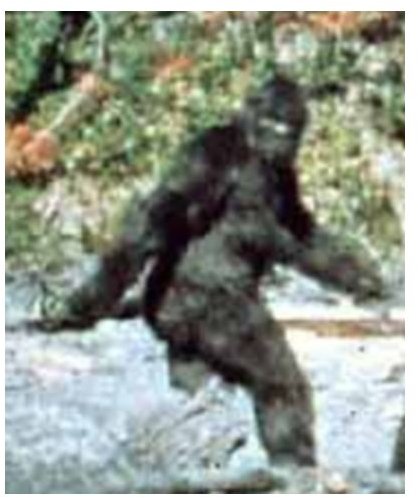
Urban legends have always been really popular if only for their novelty. I doubt you can pick someone out of a crowd who doesn’t know of Bigfoot. The intent nowadays isn’t really to scare people as it is to make the world interesting again. Whether these urban legends are fake or not doesn’t really matter, so long as it creates enough doubt that makes people wonder and inspires them to go looking where they shouldn’t to find things we never thought possible.
Of course now with tools like Photoshop it’s much easier to fake an urban legend than it has ever been which hasn’t really worked against urban legends at all. In fact, if you dig deep enough you realize that the Internet has come up with a ton of urban legends in the past couple of years that have gotten really popular. Slenderman for example originated from Photoshopped images and has become incredibly popular. Some modern legends have spawned several short film series, books, and other projects since becoming so popular.
(This guide uses Photoshop CS4 but any version with the Masking Tool will do fine.)
Creating an Urban Legend
Before we think about how we’re going to go about creating the urban legend we have to create the subject. It can be anything ranging from natural phenomena, UFOs, creatures, you name it.
For this article, we will be creating an urban legend creature that is creepy. What makes something creepy though? The short answer is that it has to be something familiar to everyone, but different in some noticeable way. Bigfoot for example is a humanoid being that either looks like a man or an ape, but isn’t either of these things. For this guide we will be taking a boy and turning him into a lurking creature.
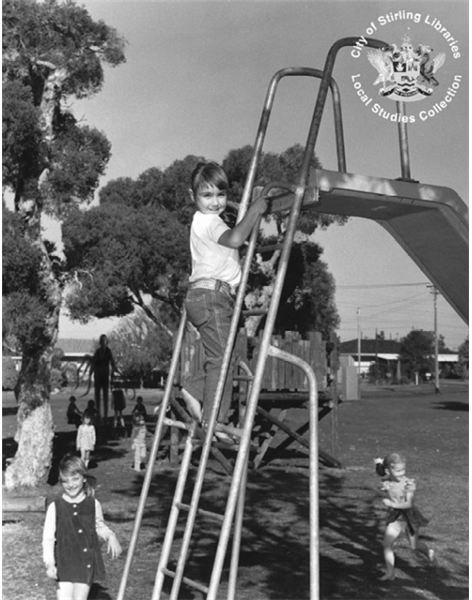
Setting is also important with urban legends because that is how it targets an audience. An urban legend set in the woods won’t reach as many people who live in the city and vice versa. You will also want to choose a location that is less traveled than most because if it’s frequented often the legend will be dismissed since people know it’s fake.
The final elements of an urban legend like this is that it has to have a little back story. We don’t have to spell out the whole history of our creature, but things like how it was first discovered, how the picture came to be, stuff like that is important for creating the atmosphere surrounding the legend.
Preparation
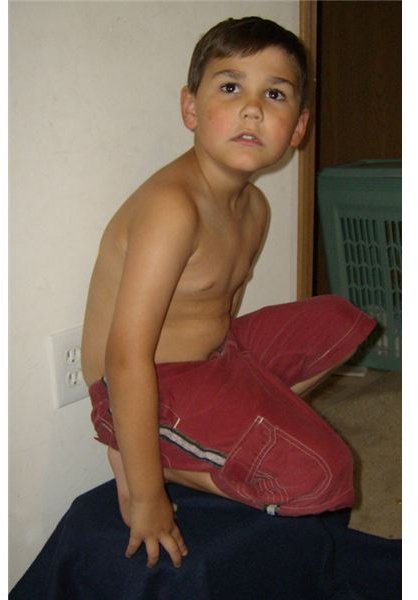
First off, our subject needs to be in a hunched or slouching position to make him look a bit more feral. The bigger the resolution this picture is the better because we can always size down and the larger the size the easier it is to add small details.
Secondly, we need out abandoned building which shouldn’t be too hard to find. Something in particular we want for this guide is a scene with a lot of dark corners and hiding places. The more people have to look in an image for the subject the creepier it is when they finally stumble across it.

Isolating the Subject
Before we start anything too creative we have to isolate the kid from the background as we’re not taking it with us. This article here explains how to do this by using the Masking Tool.
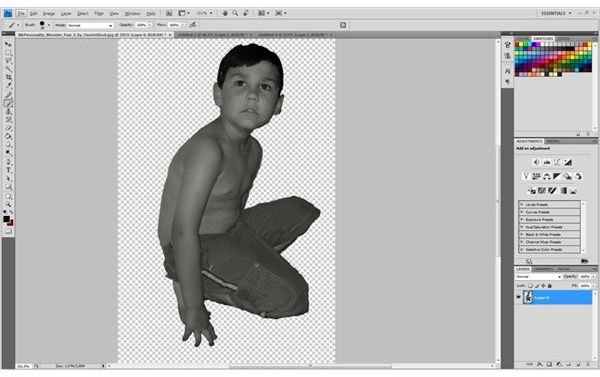
Be sure you get all of the subject painted or it will not carry over in the selection, if a few tiny spots are missing I wouldn’t worry about them as they will likely be sized down to an unnoticeable size. It should something like this before making the selection.
Since the Masking Tool will cut out the selection around the image we don’t have to create a new image to edit our subject.
Making the Monster
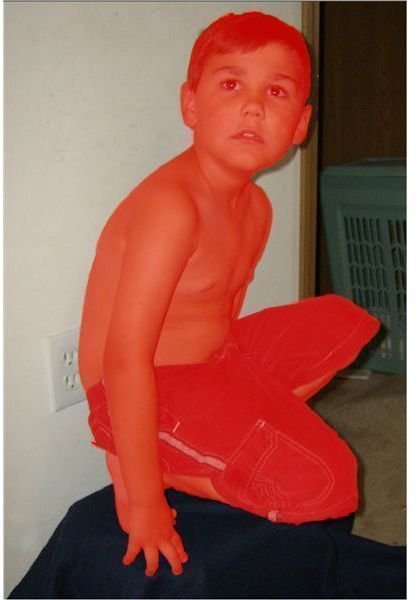
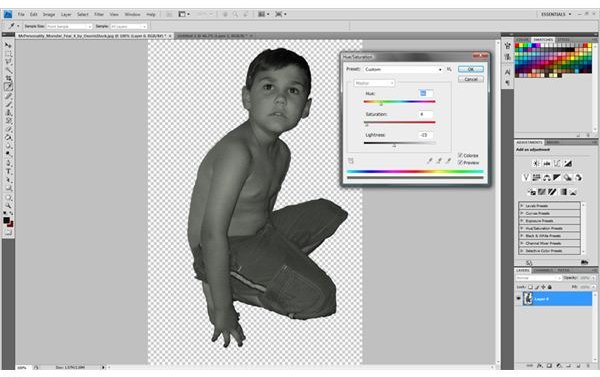
Sunken eyes, disproportionate body parts, contrasting hair, and pale colored skin. These are the things that generally freak people out the most when applied to a humanoid figure. What we’ll start out by doing is de-saturating the picture almost all the way to being completely gray scale, but add a hue to make a paler, unnatural looking skin. This is all done in the ‘Hue/Saturation ’ window which is located the ‘Image > Adjustments’ tab. This is the result of that with the values I used off to the right.
Now we will make the hair a bit darker, so we’ll use the Masking Tool to get our selection again, but this time it has to be inverted. This can be done by going to the ‘Selection’ tab at the top of your Photoshop window and selecting the ‘Inverse’ option, to select the hair. Using the ‘Brightness/Contrast’ window which is also located under ‘Image > Adjustments’ we will alter the values to achieve darker hair.
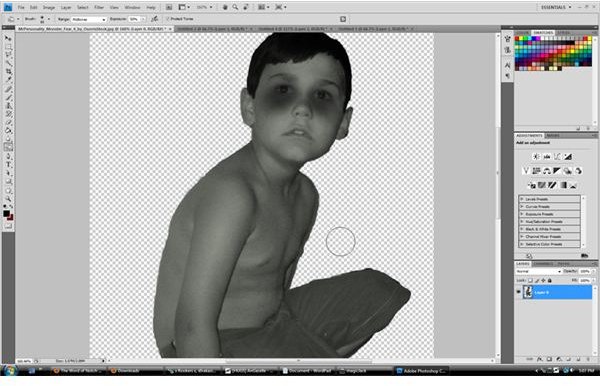
The eyes will likely be the most important thing we change about this picture. So we’ll start out by editing the base of the eyes and making them look more sunken by using the Burn Tool around the eye.
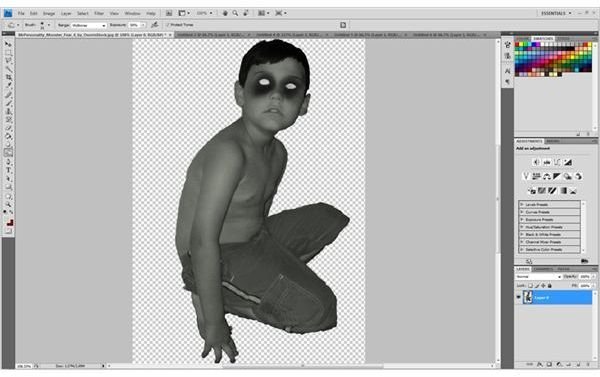
Then we’ll remove the iris and pupils by just going in with a soft brush with a color picked from the cornea of the eye to give it a really paranormal vibe.
You can add whatever extra touches you’d like but for all intents purposes this is pretty good where we are. Save your picture just in case and we’ll move to place him in his natural habitat.
Completeing the Image
Now that we have our monster it’s time to place him. I selected the hole in the wall because it was really the only spot he would logically be but get creative when you can, try and hide your monsters in your image to create more shock value when someone spots it.
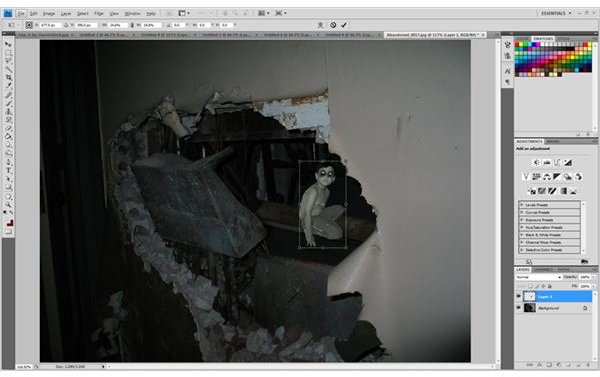
As you can see I erased the legs so he would be obscured by the debris a bit. I did this with the eraser tool but you can use the Selection Tool to get a sharper, cleaner looking edge. I also added a few post production details like cleaning up the edges and editing the ‘Brightness/Contrast’ of the subject so they would blend into the dark room better and more naturally. I also added some noise to the picture to better simulate that the photo was taken by an amateur photograph. There’s tons of things you can do to the picture add a bit more creepiness or strangeness such as adding a texture to the monster to give it a weird looking skin or edit the picture to make it look more candid. There are several articles that can help you achieve these effects.

Distributing Your Urban Legend
The final and most important detail about making an urban legend is helping it achieve legend status. Until you pass the story along to someone it will just be a creepy image sitting on your computer. So how do we do it?
E-mailing is the best way to go if you just want to use your urban legend to creep out your family and friends and don’t really care if it reaches the general public. Just type up a quick story like “An urban exploration blogger took this picture last summer during an expedition. The subject of the photo is what he thought was homeless dog in the building. When he got home the flash revealed what it really was.” Be sure to include details such as the time and location the picture was taken to further validate the legend.
If you wanted to be more in-depth urban legend you will have to create multiple ‘sightings’ of whatever creature or phenomena you’ve created. Then either create your own blog dedicated to these sightings or post them on a website you know they will be seen.
Credits
All stock images were used for promotional and educational uses only and are listed in the order they appear in this article:
https://www.bigfoothunting.com/images/patterson _bigfoot.jpg
https://marblehornets.wikidot.com/slender-man
All of the step-by-step images were created by me.
Special thanks to Amber Neely for her tutorials.


