When you are ready to mail out your publication, simplify the process by performing an email merge. Note that the steps are different than in previous versions.
Getting Started
Before you perform a Publisher email merge, there are two primary steps you must take. First, you need to have a data source in place from which you will obtain the names and addresses of the people to whom you want to send the email. The most common source is a data table in an Excel worksheet, but you can also create a table in Microsoft Word, use an Access database table or select contacts from Outlook. You can type up a list on the fly, as well. However, if you even think you might want to use the data again in the future, it is wise to go ahead and create a list in Excel or a Word table.
The second factor you need to tackle is to create the content. You can create content from scratch or use one of the many available Publisher templates and customize it to suit your purpose.
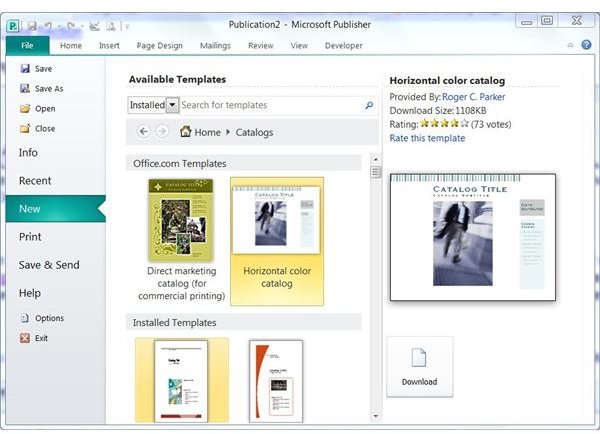
For this tutorial, we created a catalog. To access catalog templates, go to the File menu and click on New. Click on Catalogs under More Templates, select the template you wish to use and click Download (for Office.com templates) or Create (for installed templates).
You should ensure that your publication looks just the way you want it to prior to the merge.
Begin the Merge
Once your data and publication are ready, you can dive right into the merge.
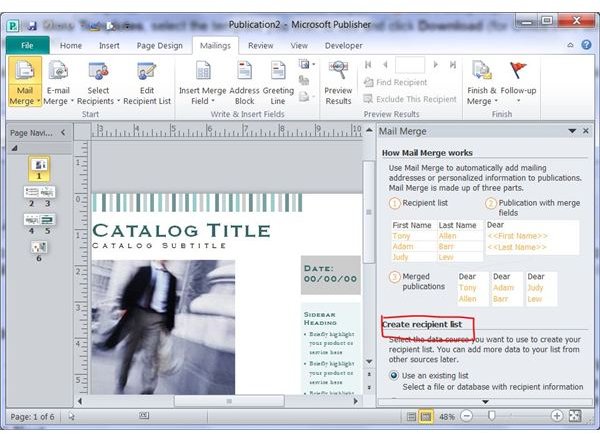
Go to the Mailings tab of the ribbon and click on Mail Merge in the Start group.
Select Step by Step Mail Merge Wizard. The Wizard opens in the left pane of the window.
Under Create Recipient List, choose on of the following options:
- Use an Existing List. Select this option if your data is in the form of an Excel worksheet, a Word table or an Access table.
- Select from Outlook Contacts. Select this option if your recipients’ information is available in your Microsoft Outlook Contacts folder.
- Type a New List. Choose the final option if you have no data source and want to create one as you go.
Click Next.
If you selected the first option for your recipient list, navigate to your data source and click Open.
Select the table or worksheet you want to use and click OK.
Select any other options you want to use and click O****K.
If you selected the second option, choose the Outlook Contacts folder containing your merge recipients and click OK. Select any other options you want to use and click OK.
If you chose the third option, type in each recipient’s information. Click OK when you are finished. Click Save and then click OK.
Click Next to prepare your publication.
Add Merge Fields
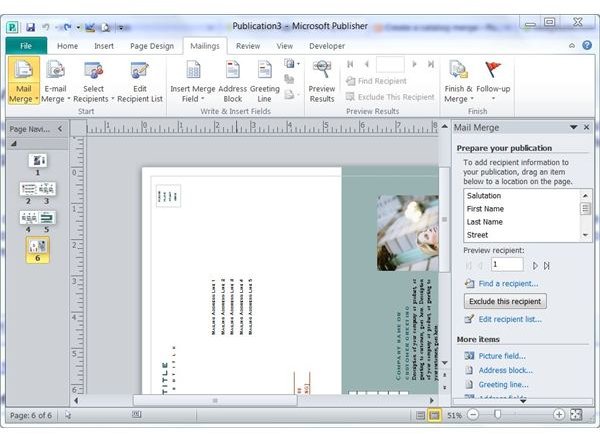
Go to the page of your publication in which you want to insert your recipients’ names and addresses. Most Publisher catalog templates will have a formatted page with a mailing address text box already inserted. However, you will need to insert merge fields to complete the mail merge.
Click inside of the existing text box. Select and delete any sample text it contains, but do not delete the text box itself as you need to insert your merge fields into it for proper formatting.
You can drag fields from the box at the top of the Prepare Your Publication step and drop them in place onto the catalog.
Alternatively, you can choose an option in the More Items list, such as Address Block. If the headings on your data source do not match those in the Wizard, you will be prompted to match those fields. Click OK to add the Address Block or other item.
If you wish to change the font of the names and addresses, select the merge fields. Go to the Home tab and choose a new font in the Font group. Since the post office uses machines to read addresses, be sure to select a legible font.
The USPS recommends a sans serif format such as Arial or Helvetica. Avoid bolding or italicizing. Scripts, condensed fonts and serif fonts should be avoided as well.
Complete the Merge
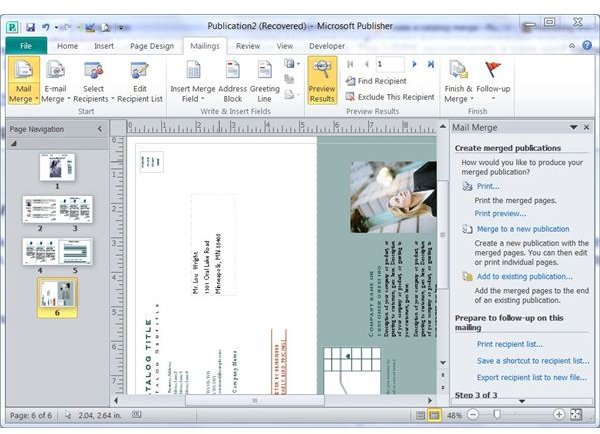
Click Next to perform your mail merge and create the merge publications.
If you wish to print the catalog without reviewing the merged data, click Print under Create Merge Publications. Click Print Preview to see how the catalogs will appear when printed.
If you want to create a new publication containing all of the individual catalogs, select Merge to a New Publication.
You can even add merged pages to an existing publication by selecting Add to Existing Publication.
You can use the merge to prepare for your next merge.
Under Prepare to Follow Up on This Mailing, you can select Print Recipient List for a hardcopy of your contacts’ information.
You can choose Save a Shortcut to Recipient List to make the data easier to find next time.
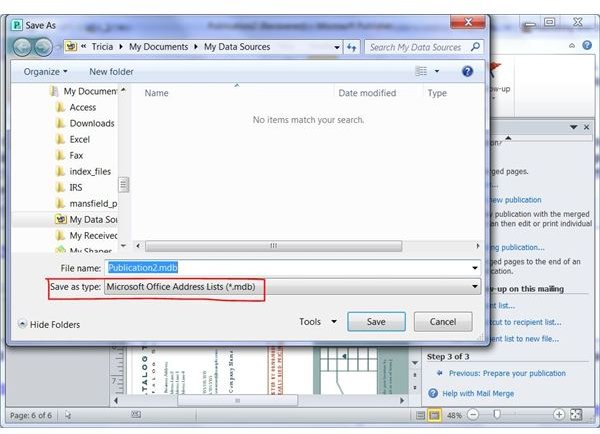
Finally, you can click Export Recipient List to a New File and use it to create a Microsoft Office Address List that you can use for other purposes, such as Word mail merges .


