Microsoft Publisher 2010 alignment tools now make it easier than ever to align text and other objects within a publication. No longer do you have to draw your own guides, because guides now come to the top automatically. You can also choose to align objects by hand if desired.
Overview of Publisher 2010
Microsoft Publisher 2010 has a lot of exciting changes that make the application more appealing to amateur and professional designers. Topping the list of favorite changes are the Microsoft Publisher 2010 alignment tools that have been significantly enhanced for the new release. Here we will review the changes made to the alignment tools for the latest version.
Automatic Alignment Tools in Publisher 2010
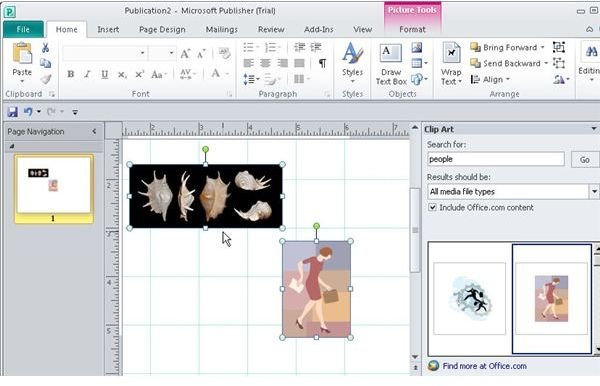
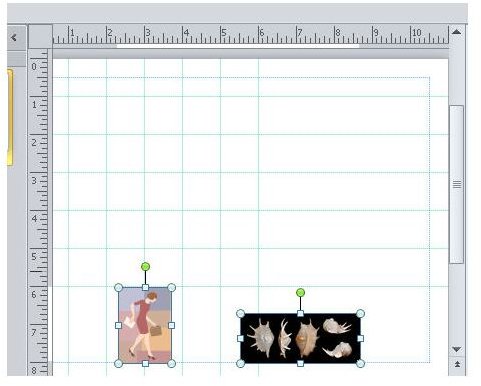
Create a blank Microsoft Publisher document and then place a couple objects into your new publication. They don’t have to be anything special since this is just a demonstration. For this Publisher tutorial, we inserted an image with a shellfish (Image Credit: Wikimedia Commons/Llez) and a clip art image that came with Microsoft Publisher. Also, we added some guides spaced at 1" apart vertically and horizontally to help demonstrate the Microsoft Publisher 2010 alignment tools.
To automatically align a group of objects, select them and then click on the “Align” option on the “Arrange” cluster. You now can automatically align the objects according to the options available (see details in image below).
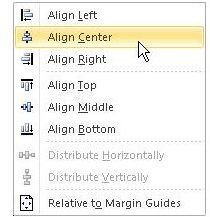
Let’s align these objects along their center points, so click “Align Center” and see what happens.
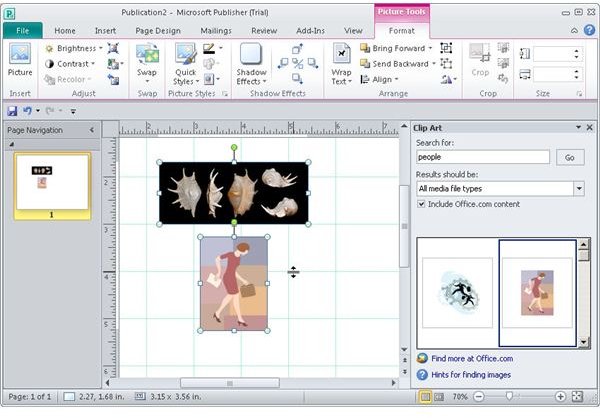
You could then return to the “Align” options and choose, “Align bottom.”
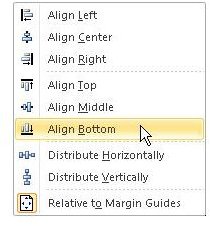
To automatically align the images along the bottom of the images along the bottom of the page.
Try out all the automatic alignment options now, so you can learn what they all do.
Manual Alignment Tools
Users of Microsoft Publisher have complained for years about the inability to bring guides to the front .The new object control technology implemented within Microsoft Publisher helps you see guides better than ever before. To demonstrate how this new alignment works, create a new blank Microsoft Publisher document.
Now, place an object into your publication. To do this, click the “Insert” option on the main menu and then choose “Picture” from the ribbon. You can then browse to find an image to place. We’ll just use the same images that were used for demonstrating automatic alignment options.
To begin aligning an object manually, move your mouse over it until you see the four-way cursor.
As you move your object, you will see the guides highlighted as they become effective to the object.
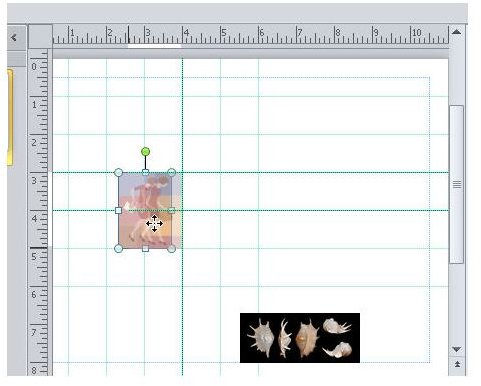
As you move your object across the page you will notice that the grid becomes visible through the object. This relieves the problem of not being able to move the grid to the front.
You will notice that you also use these manual alignment features to align objects with each other, even when they over lap.
To demonstrate this, grab an object (using the four-way cursor) and then move it near the other object.
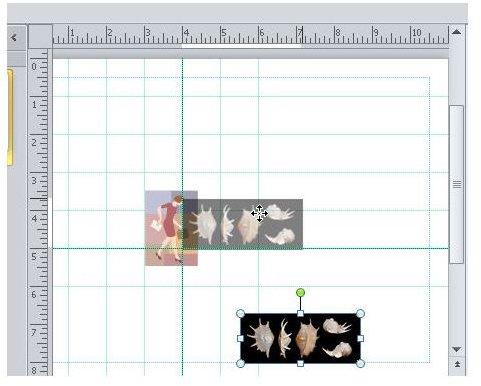
You will notice that the grid is effective as stated and helps you align to the edges of the first object or grid lines.
Regardless of whether your alignment is done manually or automatically, you have the flexibility to freely position your objects anywhere (you do not have to place your objects according to any grid, edge, margin, or other system-delimited points.
Finishing Up
You now have seen the powerful Microsoft Publisher 2010 alignment tools that make using the Microsoft application easier than ever. This tutorial is just a starting point: be sure to familiarize yourself with all the available alignment options so that you are prepared when you need them.


