This tutorial will show you how to create and format a table in MS Publisher 2010. After going through a step by step process illustrated with screen shots, you will be on your way to adding exciting new tables to your otherwise boring Publisher documents.
Getting Started with Microsoft Project 2010
To follow along with this tutorial, you will need to have Microsoft Publisher 2010 installed on a Windows computer that meets the minimum system requirements for Microsoft Publisher 2010. If you do not have Publisher 2010, you can download a trial version for free at the Microsoft Office Web site .
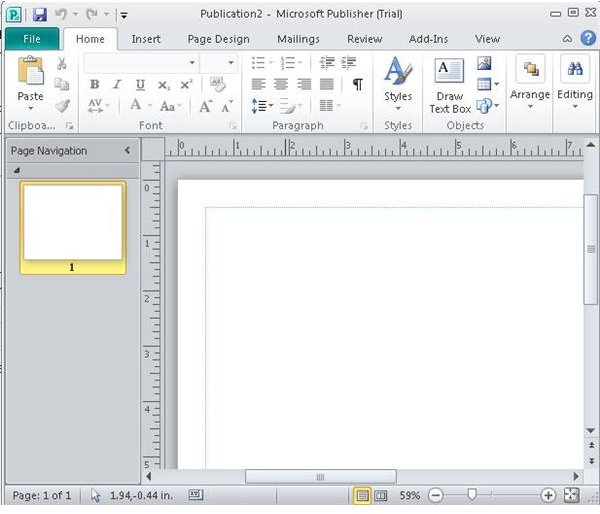
To get started learning how to create a table in Publisher 2010, open the program and then create a new document.
You are now ready to create a table in your Publisher document.
Inserting Your Table
The options you need to insert a table into a Microsoft Publisher 2010 document are found on the “Insert” tab on the Office ribbon.
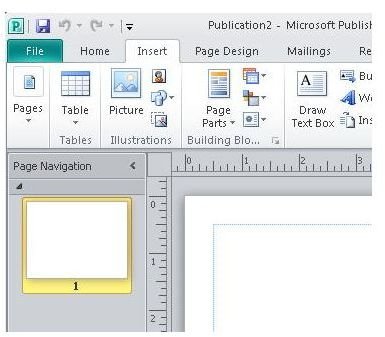
Now that you are on the “Insert” part of the menu, you should see a “Table” button to the left. Click the button and you will see your options menu appear.
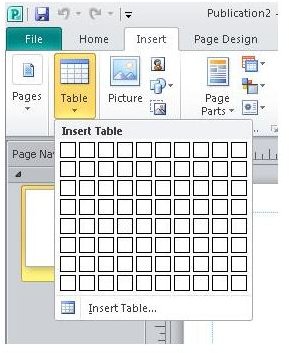
In the “Insert Table” window, you can use your mouse to drag down and to the right from the top corner. You will see that the cells of your table are highlighted in orange as you move the mouse across the window. You will also see a preview of your table appear in the document windows.
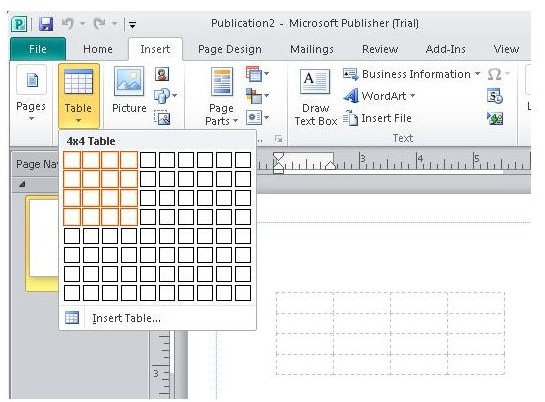
When you have the appropriate number of rows and columns you need, click with the left mouse button. This places the table into your document. At this time you see that you have object controls visible that will help you manipulate your table with your mouse.
At this time you will also see that a yellow “Table Tools” tab has opened with a menu of its own that contains all the tools you need to format your table according to your needs.
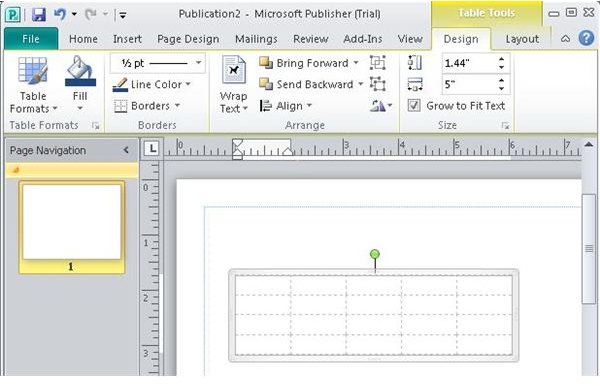
Table Tools
The controls and tools now visible work together to create impressive tables that are sized and formatted to fit within the style of your document.
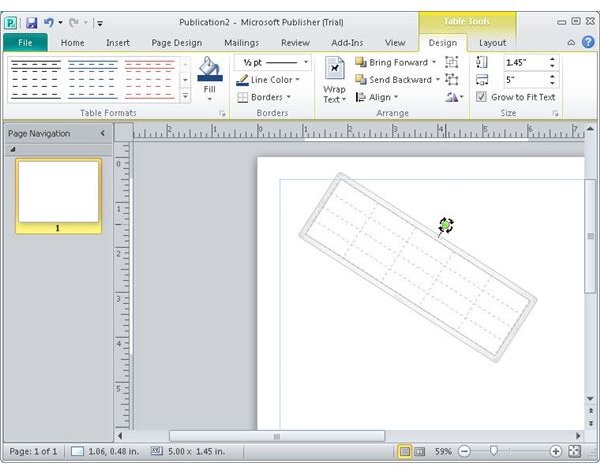
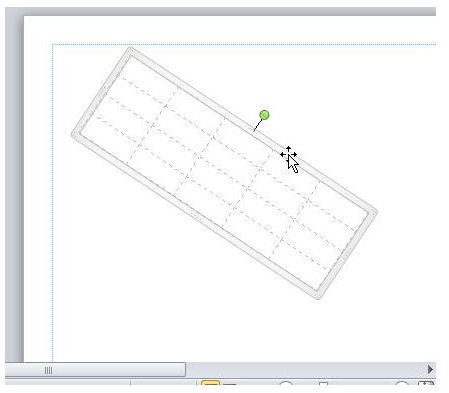
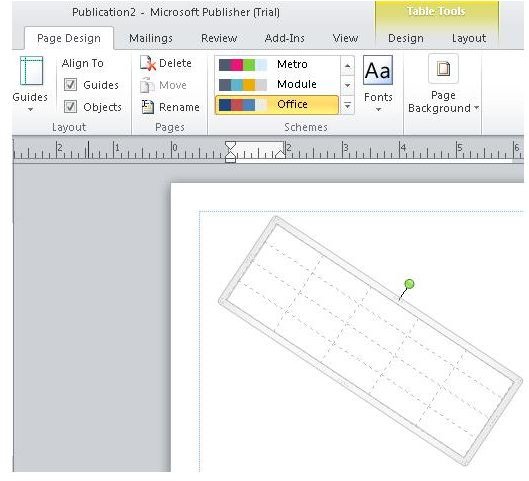
The green handle will rotate your table if you place your mouse over it. You will see a circular arrow cursor when your mouse is placed. you can then click on it and then move your mouse. You will see that table rotate together on it using the green handle as a pivot point.
You can get a movement cursor tat will let you relocate your table anywhere in your document. When you get the four-way arrow you can left click and then drag. When your table is in position release the mouse.
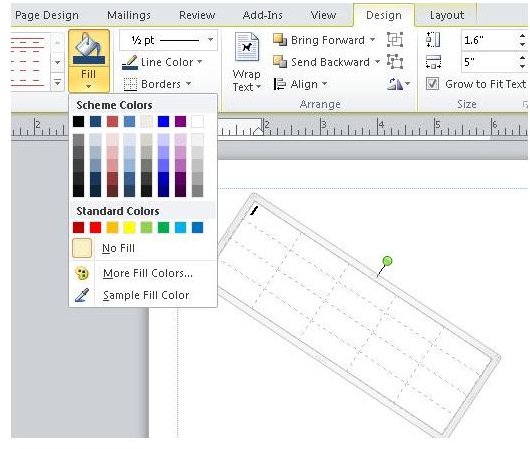
Fill colors can be selected by clicking the “Fill” button on the ribbon to get a menu with scheme colors, standard colors, and “No fill” options.
Finishing Up
Once your table is positioned and formatted, you can click out of the “Table Tools” mode by selecting another menu option. Notice that you will see the yellow “Table Tools” tab as long as you have tables in your document.
Now that you’re through with this Microsoft Publisher 2010 tutorial , try it yourself.


