Occasionally, you may need to convert Microsoft Publisher item to JPEG format. Here you can learn how to convert Microsoft Publisher item to JPEG. The need to make this conversion is hard to predict, knowing how to do this can pay off at any moment.
Getting Started with Microsoft Publisher
This Microsoft Publisher tutorial uses Publisher 2010 running on Windows 7. To follow along, you will need Microsoft Project installed on a computer that meets the minimum system requirements for the program. Other versions of Microsoft Project may differ slightly from the material presented here, but following along should still be possible for most users.
Create a Microsoft Publisher Document
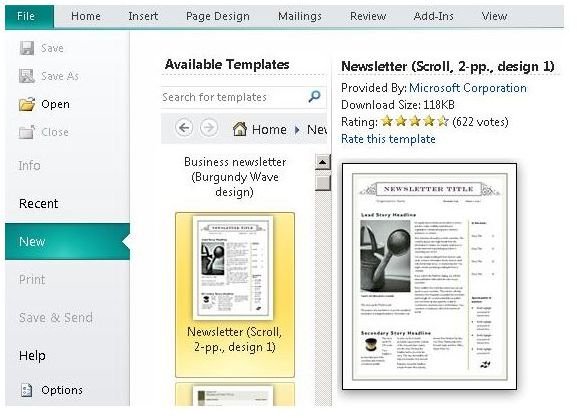
Open Microsoft Publisher and create a document. For this demonstration, we can use a newsletter template that comes with the program.
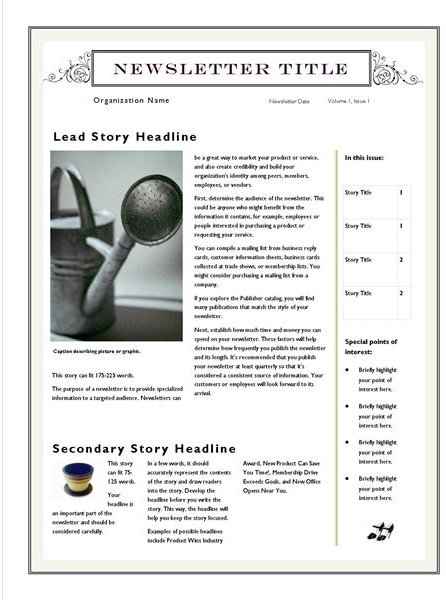
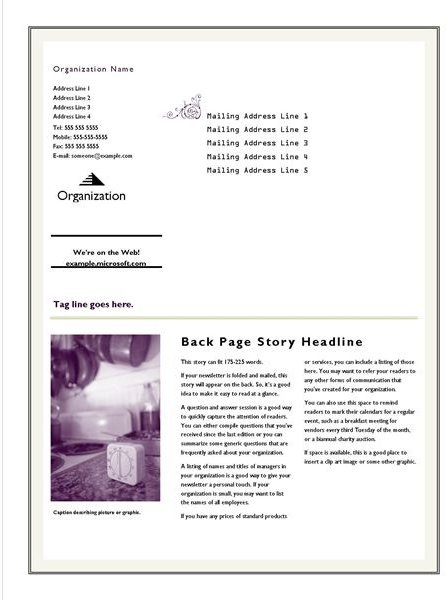
To find this, just browse to the Newsletters folder after creating a New Document. You should see several templates there from which to choose. This example will use the Newsletter (Scroll, 2-pp., design 1) template to show you convert Microsoft Publisher item to JPEG format.
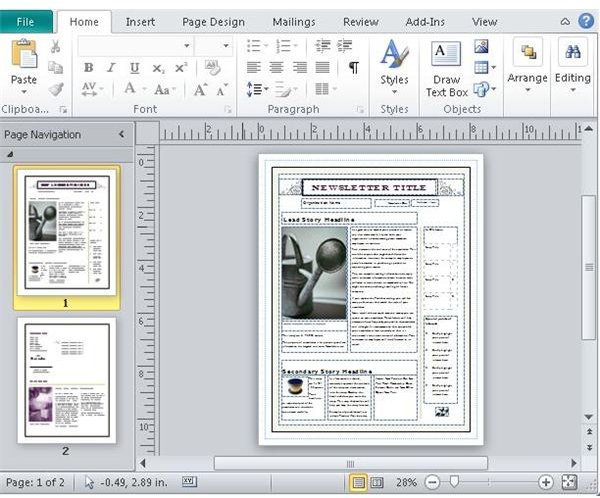
Once you have your Microsoft Publisher document opened, you are ready for the next step to begin to convert a Microsoft Publisher item to a JPEG file.
Convert Microsoft Publisher Item to JPEG Format
For this Microsoft Publisher Tutorial , assume that the default content from the template is what you want to save. When converting to the JPEG file format, you will have to save each page individually. To get started, click the page you wish to save in the panel on the left of your Publisher window. Next, click File on the main ribbon and then choose the Save As option.
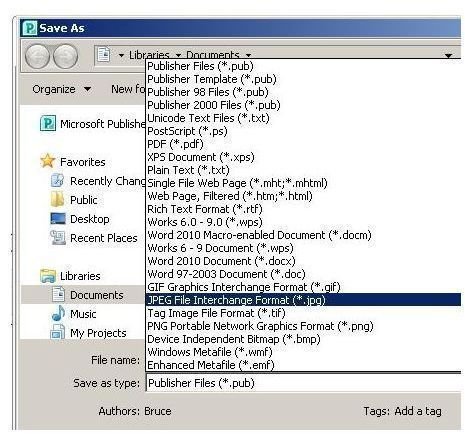
In the Save as type dialog, choose the JPEG File Interchange Format (*.jpg) option. You can also take notice of all the other file formats available to which you can save your Microsoft Publisher work.
Please note that versions of Microsoft Publisher prior to Publisher 2003 may do not offer the JPEG file type from the Save As menu.
Click the Save button to complete the process. Here the file is named Publisher2_page1.jpg. You now have the first page of your Microsoft Word document converted into JPEG format.
Now click the second page thumbnail in the left panel and then click File and then Save as. Select the JPEG file type and name the second file Publication2_page2.jpg.
You have now completed the process of learning how to convert Microsoft Publisher item to JPEG format.
For Publisher 2000 and Earlier Versions
Those who do not have Microsoft Publisher 2003 or later will need to find other solutions to convert Microsoft Publisher item to JPEG format because those versions do not have a JPEG option in the “Save as” file type list. Still, you may proceed several ways:
- Upgrade to the latest (or to a newer) version of Microsoft Publisher.
- Print the Publisher document to a third party PDF or image printer driver.
- Use a screen capture program such as MWSnap to capture your document to a JPEG image.
Image Credits: Screenshots taken by Bruce Tyson


