Hearts are great to add to many different projects. Be it a Valentines Day Card, a custom logo, or just adding that extra “Aww!” factor to pictures of you and your sweetie, you can create a versatile Photoshop Heart Brush using Photoshop and a little know-how!
A Forward About This Tutorial
_
We were given: Two hands to hold. Two legs to walk. Two eyes to see. Two ears to listen. But why only one heart? Because the other was given to someone else. For us to find. - Unknown.
Hearts symbolize everything from young love and crushes to friendship, thankfulness, or just plain cuteness! And let us not forget unconditional love and romance. Whether you use them for a Valentine’s Day card project, crafts, stationary, or just to spice up some photos of you and your sweetheart, sometimes a stock piece of heart clip-art won’t cut it.
Using Adobe Photoshop, heart brushes are simple and quick to create, and can make a great number of effects! This tutorial is geared for beginners, so if you’re not very experienced with Photoshop, you should still get some great use out of it. This tutorial was also written with Adobe Photoshop CS4, but if you’ve got an older version, don’t fret! The methods below will work just fine on any version of Photoshop 7.0 or higher.
Hearts Brush
Photoshop actually has a pretty nice basic heart available in the custom shapes. If you want to make a cute heart-brush to place hearts on your image, it’s a great place to start!

Create a new document. Here I am using a 250 pixel by 250 pixel image. Make sure your canvas color is white - any other color will not work when you create brushes.

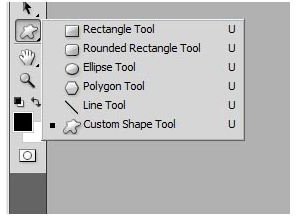
Select your custom shape tool . If you can’t find it, remember that it shares the space with the line tool, the various shape tools (such as rounded rectangle, rectangle, eliptical etc etc), so you might have to hunt for a little bit!
Now, in your custom shape tool menu, which is in the top toolbar, select the “shapes” category from the sub-menu.
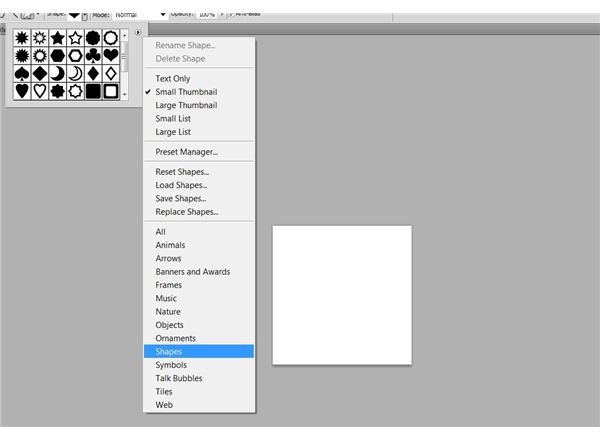
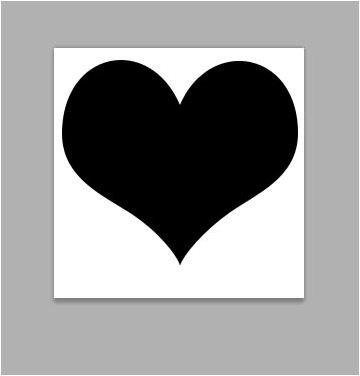
Look through the “shapes” folder until you find the heart shape.
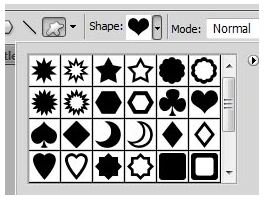
Make sure you have black as your selected color. Don’t worry, this doesn’t mean that your brush will be black! Photoshop simply defines all brushes in greyscale and applies color to them later on - so black just insures an opaque brush!
Click and drag on your canvas, holding shift to constrain the proportions of the heart (this means that it won’t be too wide, skinny, or flat - it simply keeps the proportions in check). You can feel free to make it as big or as small as you like, but it is worth noting that brushes will scale down better than they scale up - so you can always make it bigger than you need and make it smaller later without worrying about it looking bad.
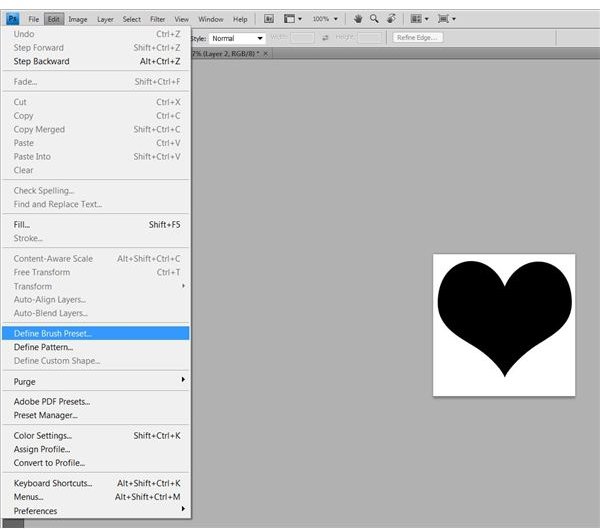
Now go into the Edit menu at the top of the screen and select “Define Brush Preset.”
Name your brush whatever you would like, and then click OK.
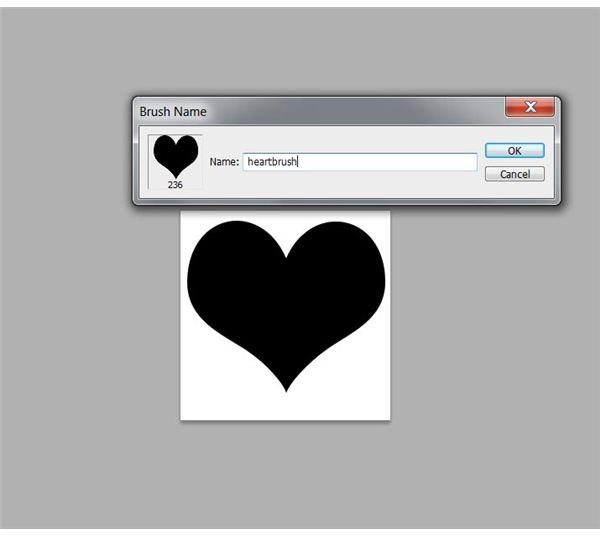
And you’re done! Your new brush will be saved in your current brushes tool, so feel free too add it to whatever projects you would like!