
Shading can be done in Adobe Illustrator to create highlighted areas and shadows for realistic creations. This Adobe Illustrator tutorial will show you how to shade in Illustrator using two different methods.
Using Blend Modes
The first option for how to shade in Illustrator uses blend modes. We’ll be working on a blank head to add one highlight and one shadow using this method.
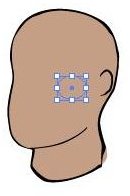
1. Create and/or select the object you need to shade with a shadow or a highlight. This could look like anything, so we’ll just use a rectangle to demonstrate. (Click any image for a larger view.)
2. Create a shape filled with the color of the object receiving the shade. Give the shaded area no stroke.
3. With the lightening object selected, open the “Appearance” panel. Set a Gaussian Blur, set opacity to a 60% screen. You don’t have to use the settings listed here: it’s up to you to choose the best look for your project. You can also try using “Hard Light” or “Soft Light” rather than “Screen” for your blending options.
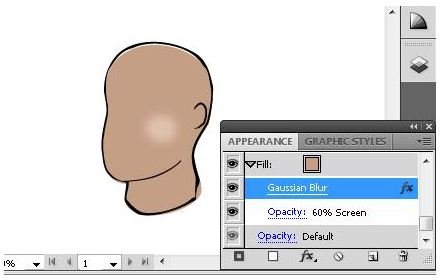
4. Change the opacity or the color of the top object if the lightening effect is too intense.
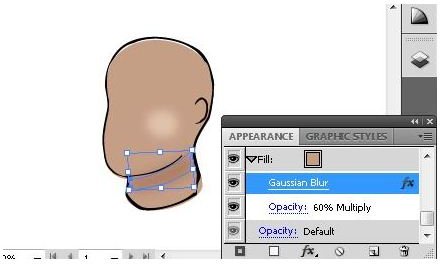
5. To do a create a shadow effect, the process is about the same except that you have to choose “Multiply” rather than “Screen” from the opacity blending type. This makes the area of the object darker rather than lighter.
Using these shading techniques in Adobe Illustrator, you can introduce highlights and shadows in all your artwork using blending techniques. Now let’s take a look at how to shade in Illustrator using tint gradients.
Shading in Adobe Illustrator Using Tint Gradients
To how to shade in Illustrator in this example, tint gradients spanning two related colors will be used: one dark and one light. This part of this Adobe Illustrator tutorial will use the same head as the one used in the first section.
1. Begin with an object open ready to shade by tint gradient.

2. Open the gradient panel and the color panel. Create an object that will contain the highlight.
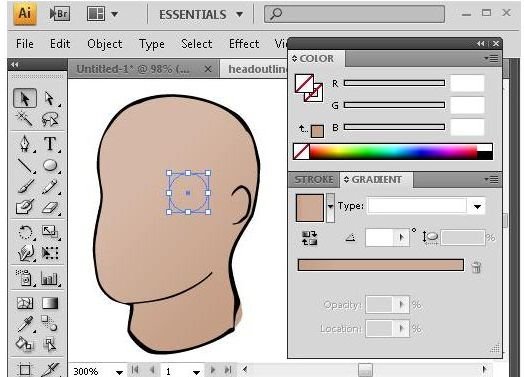
3. Create your starting fill color. We’ll choose a skin color near the area of the shading area. Drag the color directly to the gradient panel.
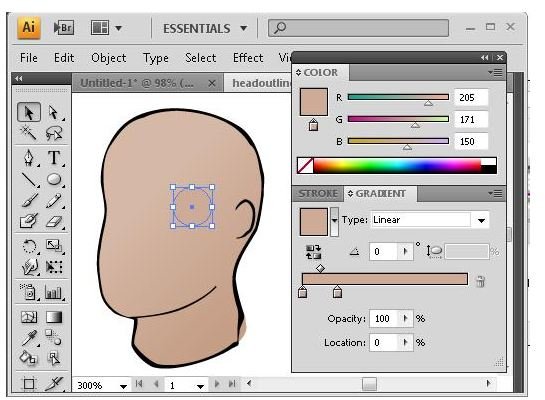
3. Select the other gradient slider to give the color panel control over it. While you are holding the
4. Next create the shape that will form the shadow under the chin. We will repeat the above process only move the color sliders to the left to darken the tint.
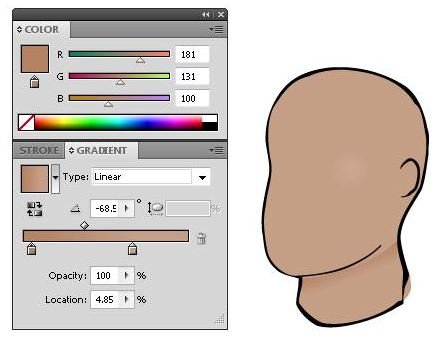
You now know how to shade in Illustrator to create a highlight and a shadow on a face. By familiarizing yourself with these simple procedures, you will be able to incorporate them in your everyday work.


