Adobe Photoshop is a great application to use when creating your own business cards at home. Learn more about how to make clean and simple business cards here.
What is Adobe Photoshop?
Adobe Photoshop is basically a graphic editor, creation and manipulation software package. Created back in 1988 by Thomas Knoll, the software package grew from simple image manipulation into the wide range of products that Adobe now carries under the Creative Suite series since buying the application in 1990.
First released for MAC use only, the Adobe Photoshop series is now available as a cross platform software set. For more information on Adobe Photoshop and what this software can do, check our series on Adobe Photoshop Terms A-Z and our Adobe Photoshop Tutorials section.
Designing a Business Card in Adobe Photoshop
A good way to save money when it comes to personal or business expenses is by making your own business cards. The only materials needed are: Adobe Photoshop , card stock, and a reliable printer . By creating your own business cards at home, you have complete design and production control.
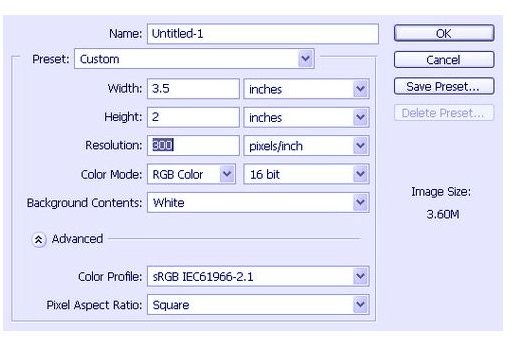
The standard business card stock size is 2 inches by 3 ½ inches. In Photoshop, when you open a new file under the Document Size, set the Width to 3.5 inches and the Height to 2 inches. Set the Resolution box to 300 pixels/inch. This is also where you can change the standard back ground setting to the color of your choice. In this case, I chose white in the Background Contents box. Click the OK button and your basic business card window will pop up in the workspace.
Once the basic card is set, you can add some design elements. Open your logo file or another other file that you wish to add a
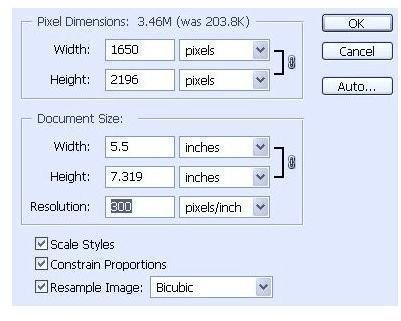
graphic. Before your transfer your image to the business card, set the resolution on the open file to the same as the 300 resolution that you saved for the business card. To check the resolution on your image, click on Image>Image Size and check the Resolution box for the current image settings.
Now, you can Ctrl+C the image and Crtl+V the business card window and your image will appear on the card. Once the image is copied over, if you want to change the image size press Crtl+T to do so.
Adding Text

Your next step will be adding text to your business card. Select your Text Tool, click on the card and type in your business name. You can change the font size and type through the menu bar above your card. Once you have your business name in place, select your Text Tool again and type in your contact information. When you have added all the pertinent information that you want on your card, click Save File from the main menu bar to save your new business card.
When you are ready to print out your business cards, create a new file with the size of 7.5 inches by 10 inches, making sure to set the resolution to 300. Next, use the copy merged function by pressing Crtl-Shift+C and the Crt+P to paste several images of your business card onto the new file. Do a test print first on a regular sheet of paper to ensure that every thing is lined up and then continue with the card stock. If your cards are not lined up properly through the method above, then under the File menu click the Automate function and that will print several cards on one sheet of paper. Again, do a test print on regular paper and some printers will need adjusting.
In the image to the upper left is the result of the author’s creation of a simple business card using Adobe Photoshop. *image is roylaty free


