Ever wonder how to make a silhouette out of a picture? If you’ve got access to Adobe Photoshop, you’ll be happy to know that this fantastic effect can produce expert results the first time you try it! Here we’ll explore different methods to make sure you get the best finished product.
Choosing the Best Photos
While it is true that you can do this with just about any photo, there are a few steps that you can take to make sure you get better results with some photos than with others. Here are a few useful tips that will help you achieve the desired effect with less effort and better results.
-
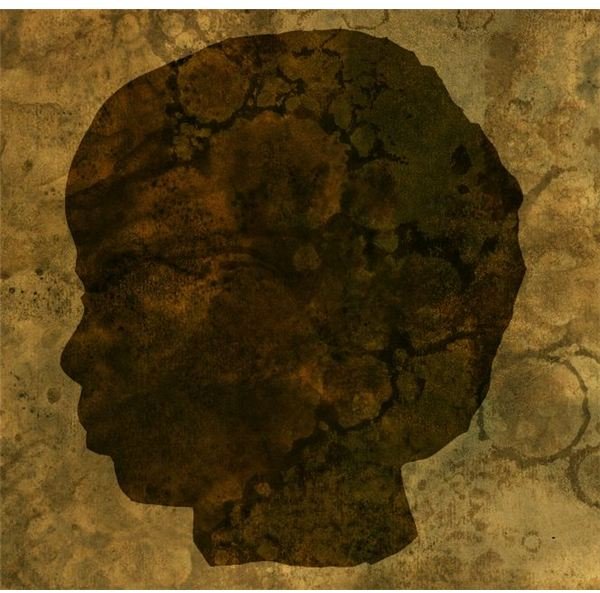
Realize what a silhouette is. Silhouettes occur in photography when a subject is photographed against a bright light source, such as the setting sun. This has the effect of removing the detail of the subject, but leaving a nifty looking outline of them. One of the best things about silhouettes is that they really showcase shape and movement, so these are important factors to remember when choosing a photograph to work with.
Advertisement -
Pick a photo with an interesting subject. Now, this can be anything from an animal or a person to a building or a car, plants, trees, whatever you like. But the point of this is to pick something with an interesting form. This is especially important when choosing animals and people. Generally side-profile images or full body images look more interesting than front-facing silhouettes of just the head. On top of that, images that involve a lot of action tend to work well, as a silhouette seems to bring this action out even more.
-
Pick a photo with good contrast. Picking a photo with good contrast between the subject and background can help make some of these methods work in seconds, rather than minutes – or hours! Bright subjects on dark backgrounds or vice versa will help you see clearly what you need to do.
Advertisement -
Pick an interesting scene. If you’re looking to create an entire silhouette scene, make sure you go for something interesting. Cityscapes with a lot of varying building heights tend to look better than ocean or field scenes.
Quick Select Tool Method (CS2+)
If you’re fortunate enough to work with a newer version of Photoshop (anything Photoshop CS2 and above) and want to learn how to make a silhouette out of a picture, you’ll be surprised to learn that there is a tool that seems to be designed specifically for this purpose! The Quick Select Tool is fantastic for those of you who want to create a basic silhouette easily. This method works well for subjects that stand out from their background significantly already, but won’t work very well if your subject blends in.
Click on the Quick Select Tool
Click and drag on the part of your image that contains the subject you wish to silhouette. The Quick Select Tool will begin to guess what it should be selecting based on the contrast between colors and hues. It’s surprisingly accurate.
Keep clicking and dragging until all of your subject is incorporated within the selection. Remember that CTRL+Z (CMD+Z for mac users) is a quick way to undo the most recent part of your selection if the tool gets a bit carried away.
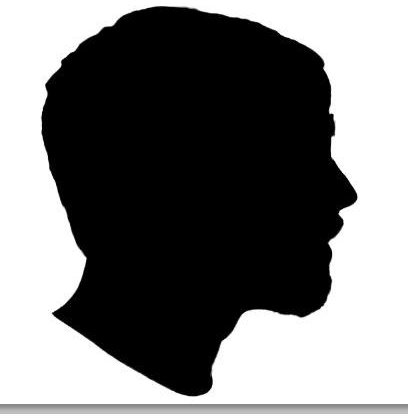
When you’re happy with your selection, create a new layer and name it “silhouette”. Fill in your silhouette with whatever color you would like –black is traditional, but this really is up to you!
Magnetic Lasso Method
Much like the Quick Select Tool, the Magnetic Lasso is fairly good at guessing what you want based on the contrast of the image. On top of being a relatively quick way to make a selection, the Magnetic Lasso exists in all versions of Photoshop from 6.0 and onward. This method does require that your subject stand out from your background much like the Quick Select Tool, and does take a bit longer, but is still a fantastic option for creating quick and accurate silhouettes.
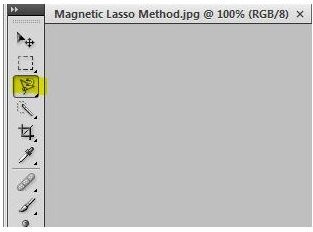
Click on the Magnetic Lasso.
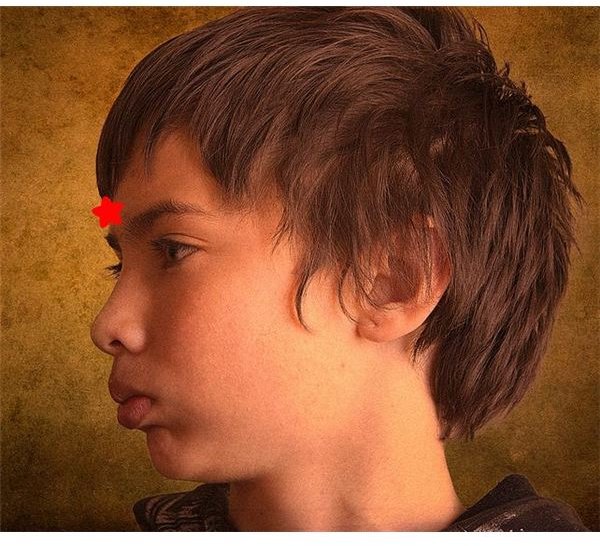
Click on an edge of your subject, the Magnetic Lasso will use this as the starting point for your selection. The red star marks where my starting point is:
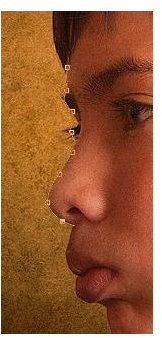
With as steady a hand as possible – though a graphic tablet will be of great use here if one is available to you – trace along the end of your subject. The Magnetic Lasso will snap along the edge of your subject. It is important not to rush this to give Photoshop the time to calculate what area it thinks you would like to be incorporated.
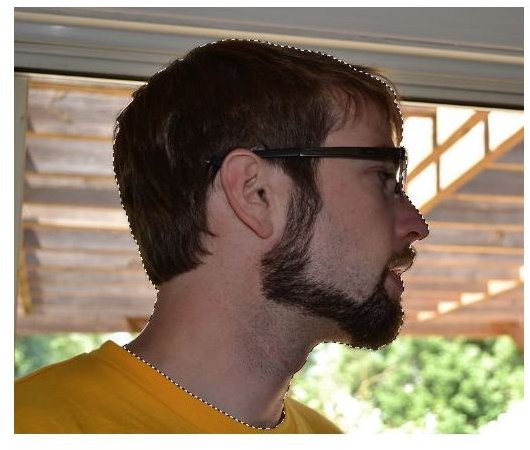
Go around the entire outer edge of your subject until you meet back up with the original starting point.
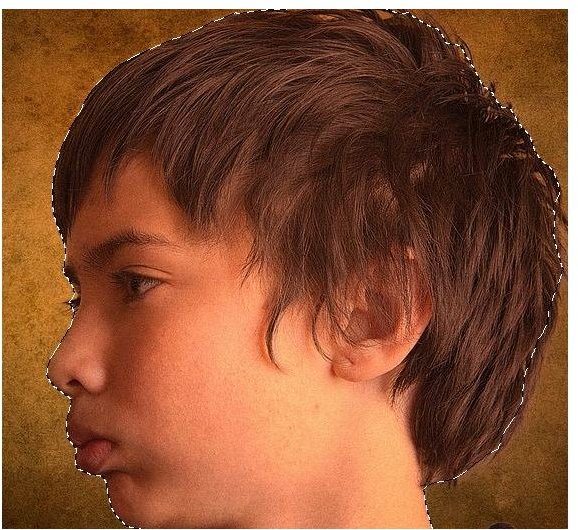
If you’re happy with the selection, you can go ahead and create a new layer and fill the selection with the color you want your silhouette to be. As you can see, this has a bit of an artistic application!
Quick Mask Method
If you want to learn how to make a silhouette out of a picture, but your subject blends into the background, or showcases a lot of light and dark areas – which might make it harder for you to single out the subject with the Magic Select Tool or Magnetic Lasso – the Quick Mask method is perfect for you. By using the Quick Mask mode, you can paint on the selection you would like with the brush tools. It requires a bit of a steady hand, and if you’re lucky enough to have access to a graphic tablet, such as a Wacom tablet, it can also be a very quick method.
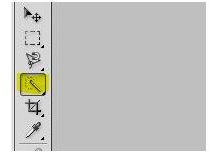
Click Quick Mask, which is located at the bottom of your tools toolbar.
Press D on your keyboard - this sets your foreground and backgrounds colors to black and white. For a list of other useful Photoshop shortcuts, you can check out my Photoshop Shortcut Cheat Sheet .
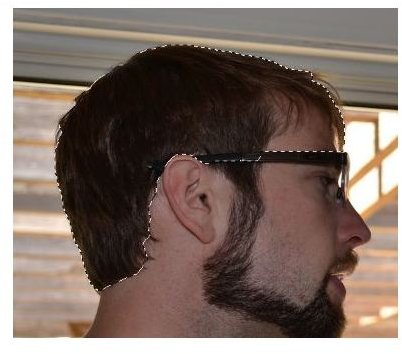
Click on your brush tool. Generally you’re going to want a round, hard edged brush. Pick a brush that is small enough to do the outlining details of your subject and trace the inside edge of your subject, like so:
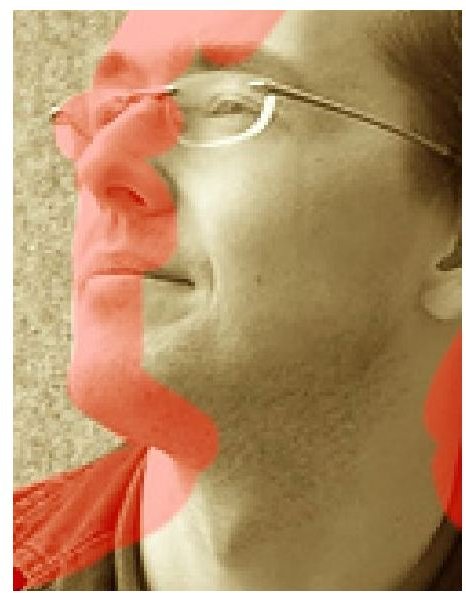
Now that you’ve got all of the outside detailed, fill in the inside. You can use a larger brush to make quick work of it. If you ever feel like you’ve gone over the outside edge too much, simply switch your foreground color to white, which works as “erase” in Quick Mask mode. This is also helpful for touching up the silhouette selection.

When you’re happy with the way it looks, press the Quick Mask button again. You’ll now see that everything except your subject is selected. Fix that by pressing SHIFT+CTRL+I (Mac users: SHIFT+CMD+I) to invert the selection.

Just as before, create a new layer and fill your selection with the color you desire.

Resources
All techniques are demonstrated by the author.
Image Credits:
All images licensed under the Creative Commons Attribution 2.0 Generic License
new profile by Doctor Hyde
Leland in Profile by Tony Alter
Profile by Glen Bledsoe


