
If you’ve ever wondered if there is more to the Photoshop Text Tool, you might be surprised about all the things you can do. This tutorial will teach you all about text alignment, text positioning, the usefulness of binding boxes, and how to warp your text for a variety of uses.
When designing text in Photoshop , there are a surprising amount of options available to you, such as the ability to create binding boxes, warping text, text alignment, and much more. And while using the Photoshop Text tool is pretty easy, but there are always tips and tricks that make it a little easier to use. This article will help you use this tool to its maximum potential.
Aligning Text
If you’re familiar with text alignment in word processing programs such as Microsoft Word or OpenOffice, the text alignment tools within Adobe Photoshop works on the same basis. The options are located in the top bar when you have the type tool selected. The bar will look like this:
You get the ability to align text to the right, center, or left.
Positioning Text
If you use the Photoshop type tool but find that you need to reposition your text, it’s a very simple process. All that is required is the move tool and a good eye. Simply click the move tool:
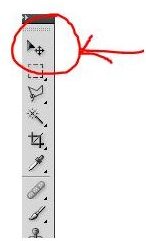
Then drag your text around the canvas. Holding shift will constrain your movement to 90 degree angles only.
Text Binding Boxes
If you’ve got text that you want to fit within a certain area, but you don’t want to take the time to have to worry about manually making it fit, simply click and drag a box while you have the text tool selected.
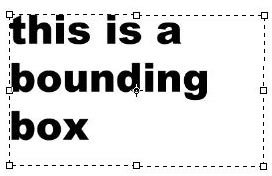
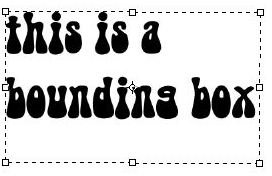
Now you can type your text into the box and easily scale the text up and down, and change the font face without having to manually fit it within the box. Here are is an example of changing the font size/face with a simple click of a button.
Text Transformation
Much like other objects, your text can easily be transformed by pressing CTRL+T (Mac users: CMD+D). Right clicking within the box that appears will bring up a menu.
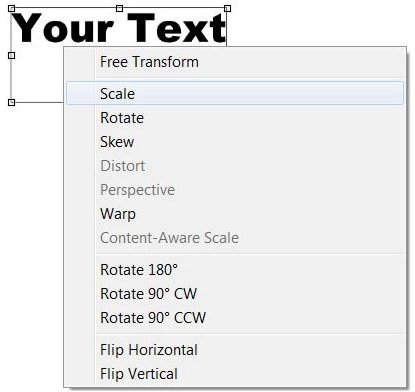
That allows you to scale:
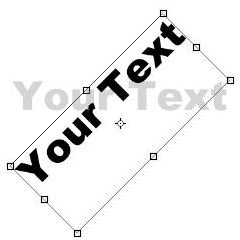
Rotate:
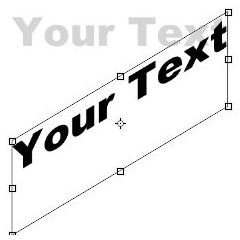
and Skew:
Text Warping
Warping your text can help you apply it to several different projects. To bring up this menu, make sure you have the type too selected and right click on your text. In the drop down menu, select “Warp Text.”

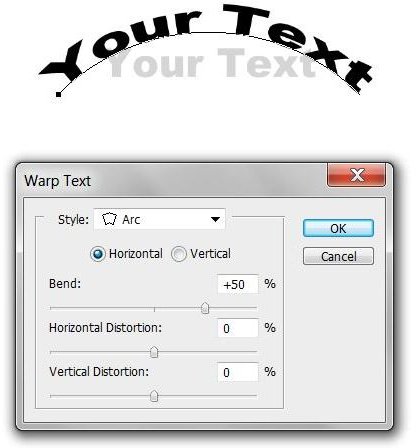
This will bring up a menu with a ton of options. For example, here is the option for arc:
Arch:
Flag:
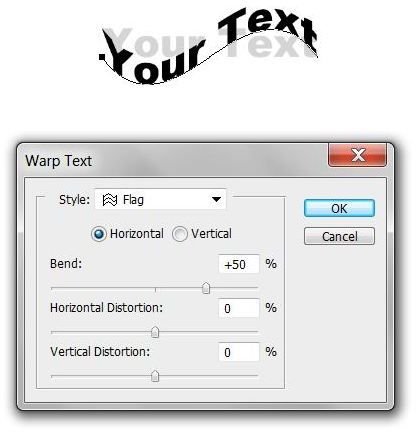
and Fisheye:
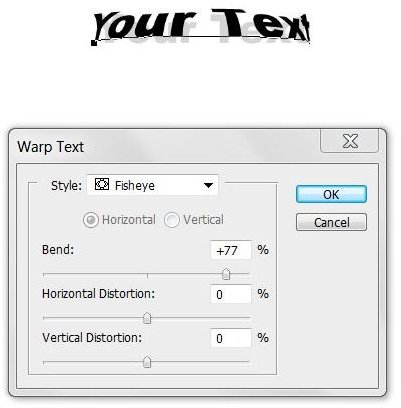
These could easily be used for several different things, such as positioning text on banners and flags, or wrapping text around cylindrical objects for a bit of graphics design!
Rasterizing Text
Finally, if you just cannot edit your text the way you would like to, you can easily rasterize your text, turning it into static pixels. While you are not allowed to edit your text with your text tool afterward, sometimes rasterizing your text has some distinct advantages, such as advanced transformations (perspective and distortion). To do this, click the name of the layer and select rasterize type.
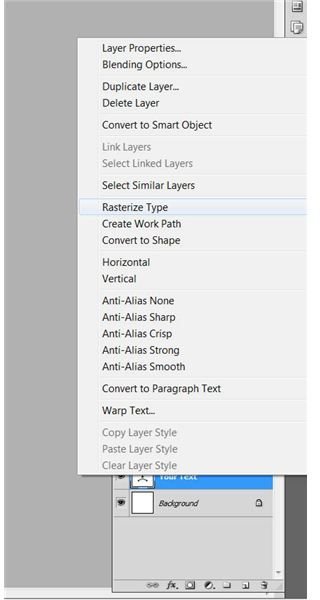
Just make sure you spell check and get everything the way you want it before you do this, as you will not be able to edit it afterward.


