This tutorial will show you how to make your own scrapbook flowers, as flowers are a great accent when it comes to scrapbooking. They can be used for many things; flowers can represent both spring and summer, can be used for young girls and full grown women, and can be either playful or elegant.
Creating your own scrapbook flowers has a lot of advantages. For example, you’ll save money on trips to the craft store to buy your own, or save money on downloading digital scrapbooking elements. On top of that, you can design them in any color, pattern, shape, or style that you can imagine.
What if you want to design a template for cutting them out of a different kind of paper or even fabric? You can do that, too! This tutorial will use Adobe Photoshop CS4. By utilizing Photoshop, you can create an infinite number of possibilities, but don’t think this limits you exclusively to Photoshop, as you can use Photoshop Elements, Paint Shop Pro, or even a free program like GIMP.
Flowers Without Artistic Effort
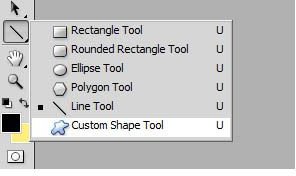
Photoshop has a fantastic dirty little secret that if you’re not using, you should be. Inside of Photoshop, there are items called “shapes.” These vector-based pre-created stencils are fantastic for all sorts of things, including creating flowers at the simple click of a mouse. To utilize this great feature of Photoshop, simply open your Custom Shapes selection:
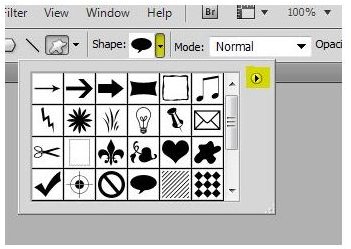
Click the arrow in the top menu next to your shapes, and then click the small arrow on the side of the menu.
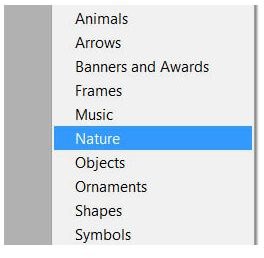
Click “Nature.”
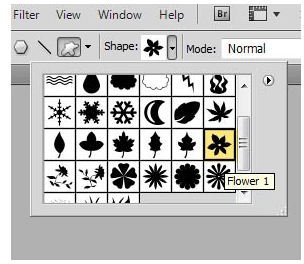
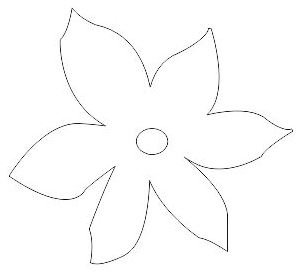
Now you’ve got a great selection of different nature based shapes to choose from! For example, you can select this one:
Make sure you select this setting.

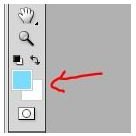
Select your color, such as this color.
And then click and drag out your flower, which will show you a gray shape of what your flower will be
Release your mouse click and look at your completed flower!

If you wish to use this for digital scrapbooking, add it on a transparent background and save it as a .PNG, so you can apply it wherever you would like.
Creating Templates for Traditional Scrapbook Elements
So you’ve got some really nice scrapbooking paper, fabric, or even gift wrapping paper left over, and you want to create some flowers out of the scraps for your layout. This is easily accomplished with the custom shape tool and a simple layer style. But how do you do this? It’s easy!
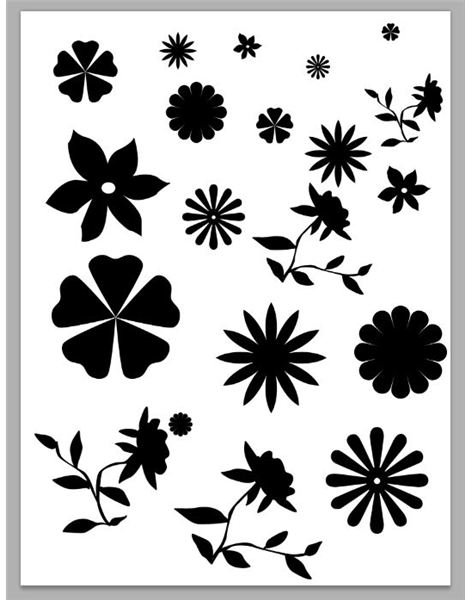
Open up a Photoshop document, whatever size you would like. I suggest doing an 8.5x11 and creating multiple types of flowers of different designs and shapes. This assures that you will be able to pick and choose the perfect size for your project without having to come back and print your later.
Create a new layer above your background. Drag your flower shapes onto it, making sure that your selected color is black. Fit as many or as few as you would like, keeping in mind that this will be to scale of a standard printer paper.
Now, press CTRL+I , which will invert all the flowers to white. Don’t worry that you can’t see them now, as you will in a second.
Double click the layer, which will bring up a layer style pallet. Go to the “Stroke” option, and leave everything as default. Older versions of Photoshop may set the stroke color to red, but you may want to change it to black.
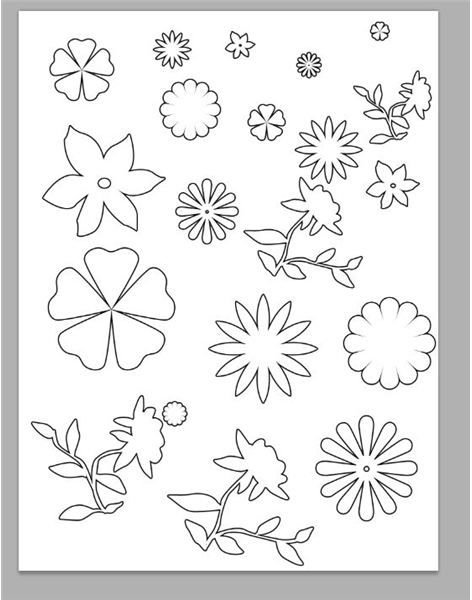
Now you’ve got your own sheet of printable flowers that you can print directly onto the back side of scrapbook paper, or print onto a standard piece of paper and cut out and trace on scraps.


