How to Install the Background Remover Plugin for Corel Paint Shop Pro Photo X2 Ultimate
The New Background Remover Plugin
In a recent review of Corel Paint Shop Pro Photo X2 Ultimate, high marks were given to the new background remover plugin that accompanies the latest release of this fantastic photo-editing software package. In this series of articles, we want to take a more in-depth look at this tool and show just how versatile it really is.
Since the new background remover in Corel Paint Shop Pro Photo X2 Ultimate is a plugin, it does have to be installed separately from the main software. For those who aren’t familiar with plugins and might be having trouble with this process, we’ll walk you through this installation. If you do already have the background remover installed and want to find out how to use it, go ahead and skip to Part 2 of this series.
If, instead, you are looking for information on how to get Paint Shop Pro to recognize other plugins on your computer or how to create a plugins folder, have a look at Installing Paint Shop Pro Third-Party Plugins.
The Installation Process
Before you can install the background remover, make sure that Paint Shop Pro has been installed and that you’ve opened the application at least once. In fact, it doesn’t hurt to have the software open as you install the plugin.
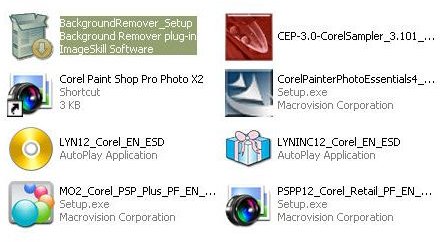
Navigate to the location that contains the setup file for the background remover plugin. If you bought the boxed version of the software, this will be on the installation disk that came with your package and the process should be pretty cut and dried. If you bought a downloadable version of Corel Paint Shop Pro Photo X2 Ultimate from Corel’s online store, you’ll need to first download the setup file to your computer and then access that file for installation.

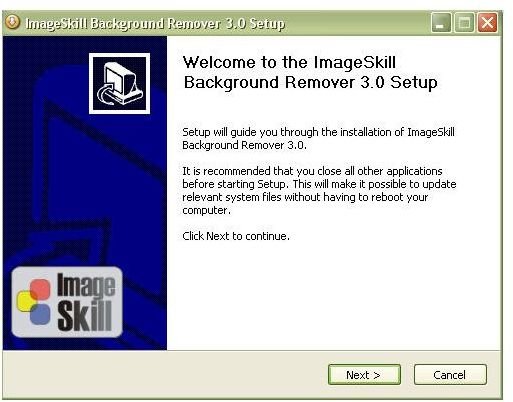
Double-clicking on the Background Remover Setup file will open an installation wizard. Click through the wizard, letting it automatically detect your installed copy of Paint Shop Pro and choose all of the default settings. This process should go pretty fast as the plugin itself is not that large a file.
After you’ve installed the background remover, close Paint Shop Pro if you had it open. The software takes a little bit of time to shut down on some systems so make sure that the application is completely shut down before continuing.

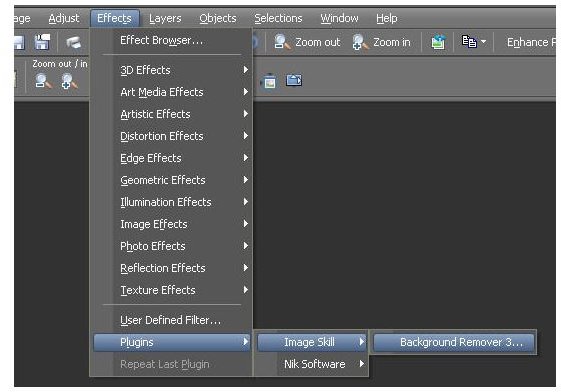
Now, we want to check to make sure the plugin installed correctly. To do this, open Paint Shop Pro again and select Effects from the main tool bar. Near the bottom of the Effects menu, select Plugins and you should see the Image Skill submenu. Upon selecting Image Skill, the Background Remover plugin should be visible.
Note: The option to select the Background Remover plugin will be grayed out unless you have at least one image open in Paint Shop Pro. You may want to open up a random photo in the software just to make sure you have no problem selecting the plugin.
If for some reason you don’t see the Image Skill and Background Remover submenus under the Effects menu now, try repeating the installation process for the plugin. Again, make sure you close the software after the installation and re-open it again to check for the new option. Plugins can be a little tricky sometimes, and it may take the application a couple of tries to recognize them.
For more user guides as well as information on other plugins available, browse through the Digital Photography Channel’s collection of Paint Shop Pro tutorials.
This post is part of the series: Corel Paint Shop Pro Photo X2 Ultimate’s Background Remover Plugin
In this series we’ll take a look at how to install and use the new background remover plugin that comes bundled with the Corel Paint Shop Pro Photo X2 Ultimate package.
