Adobe Photoshop rendering allows you to manipulate the color of your image. Learn more by reading this Photoshop tutorial.
What is Rendering?
The Adobe Photoshop rendering effect allows you to import your favorite photo or sketch, and change the color of the entire photograph or just certain sections. This type of effect is often seen when professionals convert sketches of cars into full-blown, color model presentations of a vehicle.
Rendering allows you to manipulate sections or whole parts of images. For example, if you only want to change the look of a ball in a photograph, you can simply use the Lasso tool to draw a line around it and change the color.
Opening Up Your Image
The first thing that you need to do is import or open an image. If you are planning on importing a sketch, you should scan it at least 1024x768 dpi. But, you may do better to scan it at 1600x1200 dpi to ensure that you capture as many of the fine details as possible.
If you are simply using a photograph, you still use an un-manipulated or RAW version of the photograph to ensure that you are getting the highest quality image. Adding effects or making changes to a photograph can degrade it a bit.
Hue and Saturation
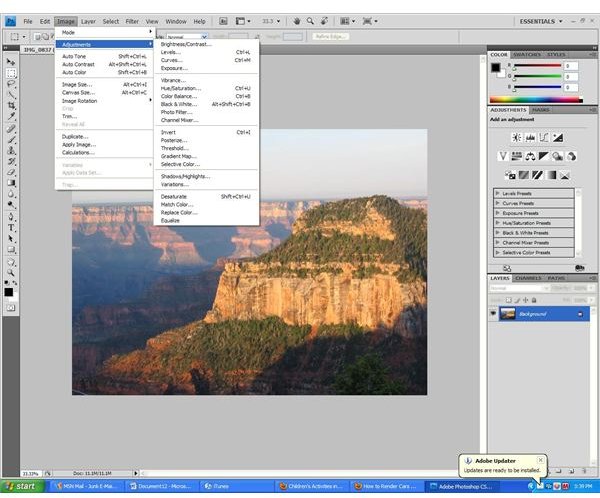
Now, go into the Image menu. In this menu, scroll down to Adjustments, and click on Hue/Saturation. This will bring up a pop-up menu with adjustment sliders. You can now manipulate the Hue slider, and this will change the color of your photograph. Do this until you find the color that you would like to use. You can also do the same thing with Saturation slider. Once done, click OK.
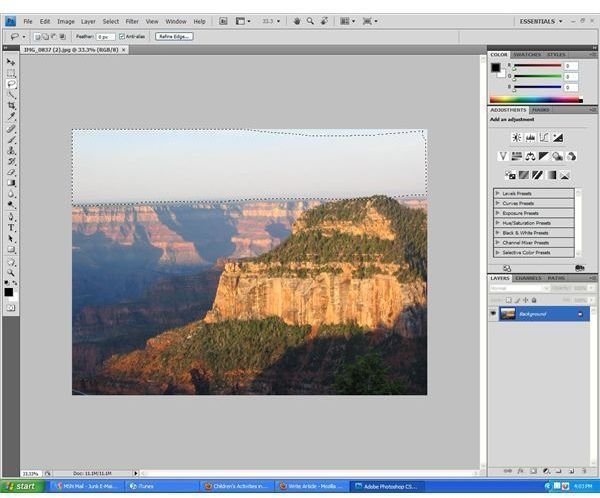
Next, go into the Tools palette, and select the Lasso tool. Create an outline around the area that you would like to further manipulate. When the dotted line is complete, right-click on the lines, and select Layer via Copy.
At this time, you can go into the Hue/Saturation slider menu again and adjust the color for just the new layer. Or, go back into the Tools palette, and select the Paintbrush tool. Use a small brush for a smaller area and a large brush to cover a broader area. Or, use the airbrush tool, and use broad strokes up and down the photo or sketch. Pick a color from the Color Picker, which is the two boxes that overlap each other in the Tools palette. Color in the layer to change the color of just that one, selected area.
Using the Lasso Tool
You can also just skip the Saturation/Hue sliders, and simply use the Lasso tool to select and color individual parts of your photo or sketch. You
can create a duplicate layer, and remove the background layer to give you a clear background to work with.
If you happen to color outside the lines, simply use the eraser tool to remove any unwanted mistakes. You can also color layers in different shades or opacity and then overlap them to create interesting effects.
Once done with your effects, you will want to save the file as a new name so that you do not overwrite your original image.


