Want to just change a small section of a photograph? Well, Adobe Lightroom’s Adjustment Brush tool allows users to do just that! Learn how to use the Lightroom brush tool in this tutorial.
What the Adjustment Brush Can Do
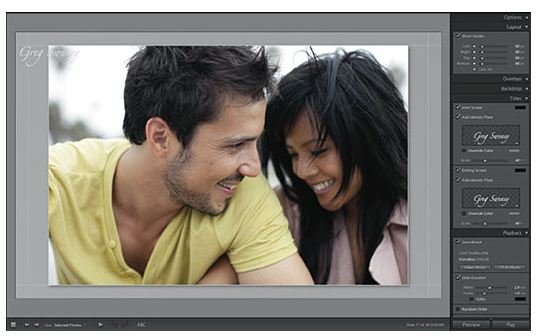
Adobe Photoshop Lightroom is very similar to Photoshop , except that it is less expensive and, in some regards, easier to use. Yet, the program comes with many of the same features as Photoshop, and it allows users to create a number of effects and modifications to their photographs. One way this is done is via the Lightroom brush tool.
The Adjustment Brush tool allows users to change small parts of a photograph without affecting the rest of it. Basically, you will select a portion of the photograph while leaving the rest unchanged. And, all of these changes take place within the Develop Module.
Develop Module
The Develop Module allows you to manipulate photographs as much as possible without ever affecting the original. Basically, this module
creates virtual copies of your original photograph, and all changes that you make will never be added to the master unless you decide to save the changes to the original.
Adjustment Brush Effects
Different effects can be added when using the Adjustment Brush tool. Here’s an overview of each effect:
- Soften Skin – Helps reduces blemishes or skin problems to create an overall softer effect and make the subject’s skin more attractive.
- Brightness – Changes how bright an image is, especially colors that are mid tones.
- Sharpness – Changes the clarity of a subject’s edges.
- Saturation - Changes the vividness of colors, allowing users to either add or reduce saturation.
- Clarity - Adds more contrast.
- Exposure – Changes how bright colors are outside of the mid-tone range.
- Color – Adds more tints or hues to photographs.
- Contrast – Increases or decreases contrast, especially within the mid-tone range.
How to Use the Adjustment Brush

To use the Adjustment Brush tool, follow the below steps:
- Open up your photo in the Develop Module. If your photo is already open, simply open up the Develop Module.
- Select the Adjustment Brush. This icon will look similar to a handle with a circular center.
- Once the Adjustment Brush tool is selected, a pop-up menu will appear with all the available effects. Simply choose the one that you need for this project.
- Use the Amount Slider to further adjust the effect. The Amount Slider can be moved to the left or right. If moved to the left, it will lessen the intensity of the selected effect. If moved to the right, it will increase it.
- Now, you must select the size of the brush that you would like to use. Always use a small brush for areas that are not very big since you do not want to select too much.
- Next, drag the tool onto the area of the photo that you would like to change.
- Once the tool hits the photograph, an adjustment pin will show up. The Mask button should switch to Edit.
- Use the Edit Amount Sliders to increase or decrease the power of the effect.


