Lightroom clarity tools work with the midtone range of images. This article will show you the ins and outs of the clarity tools and how they can make an image pop with just a few simple steps.
What Does the Clarity Tool do?
The Clarity tool in Lightroom 3 is like using the Unsharp Mask in Photoshop, but without the extra sharpness. Lightroom adds a mask when using Clarity, which only allows sharpening in the midtone range. This means that when the clarity is increased, the image has more pop with extra contrast. Because of the masking in Lightroom, there is a smoothing effect which prevents extra noise being added to the image.
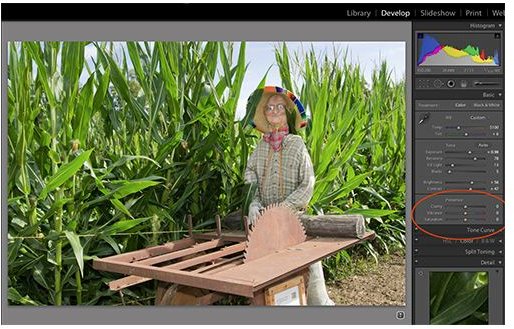
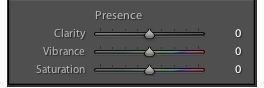
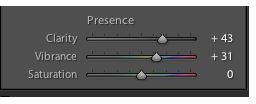
The Lightroom clarity tools include the Vibrance, Clarity and Saturation sliders. These three tools are the Clarity tools. They are found in the Develop Module of Lightroom. (Figure 1) These tools are found in the Basic adjustment palette, under the Presence box. (Figure 2)
Using the Clarity Tool
Many images can use a little punch to bring out facial details or add contrast to midtones without affecting the highlights and shadows. Before Lightroom, it was necessary to use Photoshop’s Curves tool to add detail and contrast to mid-range colors. Using the Unsharp Mask Filter to add sharpness would follow this step.
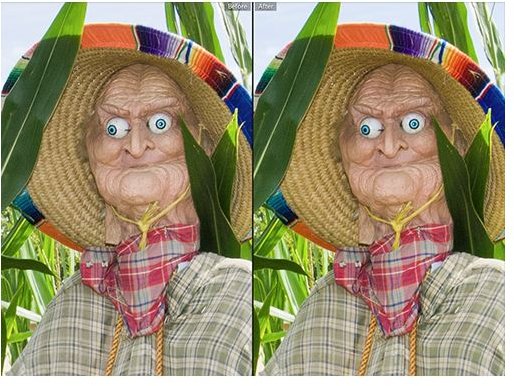
With Lightroom’s Clarity Slider, all that is needed is to move the slider up or down till the proper midtone contrast is achieved. The picture below is a little flat in the midtone colors. The bright sun has washed out some of the richness of the colors and detail in the corn and face could use a little punch.

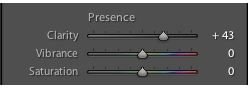
See how the image below shows how moving the Clarity slider up to 43 has increased the midtone contrast. The face is more defined and edges of the corn stalks are crisper than before. All the detail in the midtone range is sharper and crisper.

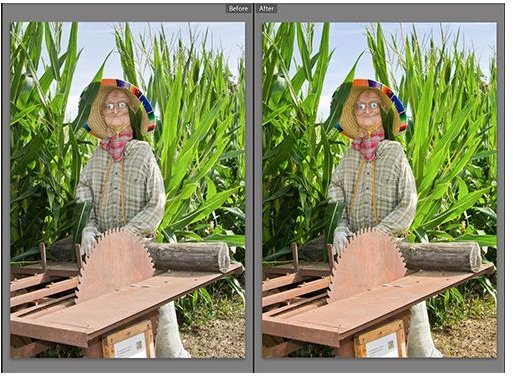
Side-By-Side Comparison
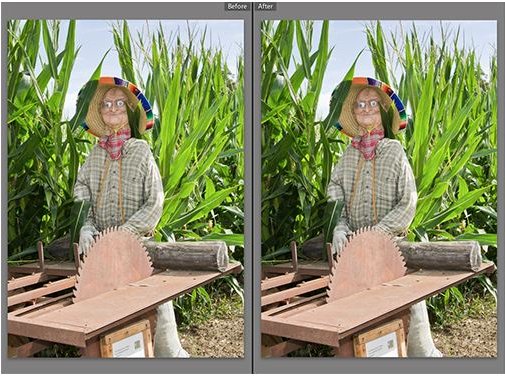
Figure 5 is a side-by-side comparison before the Clarity tool and after.
Vibrance
Vibrance works with the Saturation Tool. Vibrance will enhance the least saturated colors and make relatively small changes in more saturated colors. Many times a light facial tone can be enhanced by using the Vibrance Tool to bring in some of the lighter detail in the skin tone.
Figure 6 has lighter tones in the facial areas. The Clarity tool has already increased the contrast, but adding a little vibrance will even out the colors of the face.
By decreasing the vibrance (moving the slider to the left), the colors are softened and there is a loss of color density in the lighter tones. This can make nice effects on skin or on light subjects. It gives a kind of light water color effect.

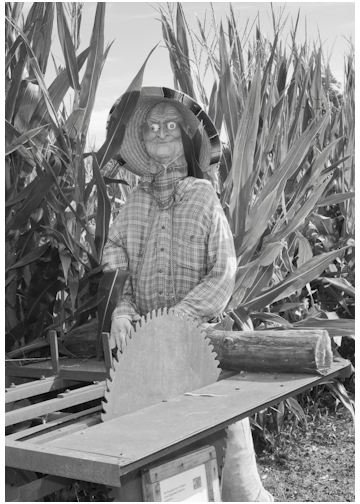
Saturation
The Saturation tool works the same way in Lightroom as it does in Photoshop . Moving the slider to the right increases the saturation and brightness of colors and moving it to the left will desaturate the colors all the way to black and white. Figure 7 below has nice bright primary colors, but could use a little boost. The saturation has been increased by 12. This gives just the right amount of depth to the bright colors in the hat and in the corn stalks. The sky is deepens just enough to make the photo look richer.

Clarity Tools Effects


Conclusion
The Lightroom clarity tools are among the quickest and easiest ways to really make your images stand out. They add definition, color and an edge to your picture that is hard to match.


