You want your wedding photos to pop. And, luckily for you, Photoshop allows you to easily add some interesting effects. Learn how to do effects in wedding photography with Photoshop today!
Photoshop allows you to do some pretty interesting effects, including touching up photos, removing the background of a photo or adding dreamy effects. You can use these same effects to create artistic wedding photos for your friends and family. So, here are some tips on how to do effects in wedding photography with Photoshop.
Vignette Effect
One way to add effects to your wedding photos via Photoshop is by darkening or lightening the edges of the photo. This is known as the vignette effect . If you’ve ever taken one of those old timey photos before, you know how this looks. It will create a border for your photo and give it an antique feel.
If your pictures are in color, use the white vignette overlay as this will highlight the center of the picture and dim the edges. If your pictures are in black and white, experiment with both. The black border could give the picture more depth while the white will again highlight the center.
Feather Effect
You could also feather the edges of your photo by using the Feather feature in Select menu. This will give the edges of your wedding photo a cloudy feel, creating a dream-like quality image. Or, you can use the Feather feature further in on your picture for an even more dramatic look.
Let’s say that the bride and groom are holding each other at the altar. The picture was taken with a wide angle lens, and it includes the person administering the ceremony, the altar, the bridesmaids and the groomsmen. Using the lasso tool, draw a rough line around the bride and groom. Then go to Select -> Feather.
Now, everything outside of that rough line is blurred, but the selected object is clear. This is also great for action shots, especially during the reception and on the dance floor.
Gaussian Blur
Another wedding photo effect is to create a sort of glamour shots effect. This will soften up the photo, and it will make the photo look like a diffusion filter was used. This is great especially if the photo was too bright or if it was a special moment like the first dance.
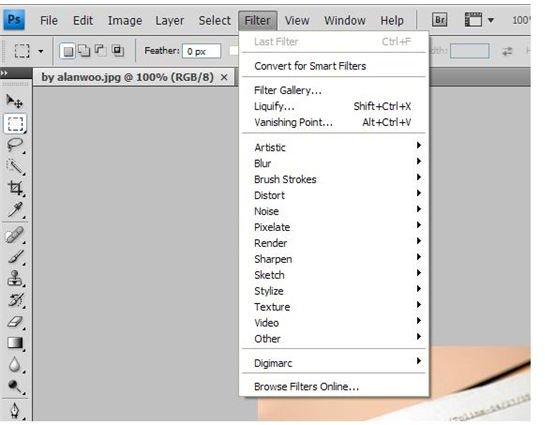
This effect can be done by going into the Filter menu, and following the below steps:
- Go to Blur -> Gaussian Blur.
- Play around with the radius until you figure out which one looks best.
- Then, click on Edit, and go to Fade Gaussian Blur .
- Fade to 50 percent opacity.
- Then click on Filter, and go to Sharpen -> Unsharp Mask.
- Again, here you will have to play around with the Radius and Threshold until it looks right.
- Then, click on Layer, and go to New Adjustment Layer -> Hue/Saturation. This should be between 10 to 20.
- Select OK.
If the photo doesn’t look right, you will just have to experiment until it does.
Quick Tips
Always remember with Photoshop that you’re working with layers, and these layers need to be flattened in order to create a non-Photoshop image. Also, don’t forget to save your new wedding photo under a different name. If not, you’ll be overwriting your original image and will lose it.
This post is part of the series: Wedding Photography
Articles with tips for wedding photography.


