
This article describes how to edit a picture or a photo to make it resemble a cartoon. A sample image is provided along with a detailed explanation of the steps involved in editing and converting the picture to a cartoon.
How to Make a Picture into a Cartoon
Cartoonize a photo refers to the process of editing a photo so as to make it appear like a cartoon image.
Cartoonizing a photo or converting a photo to a cartoon has become popular of late, as well as easily achievable with the advent of various photo editing software, such as Adobe Photoshop, Adobe Photoshop Elements , and Corel Paint Shop Pro .
People try to convert photos to cartoons for various reasons.
It could be something as simple as:
- changing their display pictures on Facebook and other social networking websites to a “cartoonish” version of themselves.
- trying to make a comic strip of their own.
How to Convert a Photo to Cartoon using Adobe Photoshop
These tutorials shows how to “cartoonize a photo” using Photoshop. If you are new to Photoshop, please read this Adobe Photoshop CS3 Tutorial for Beginners .
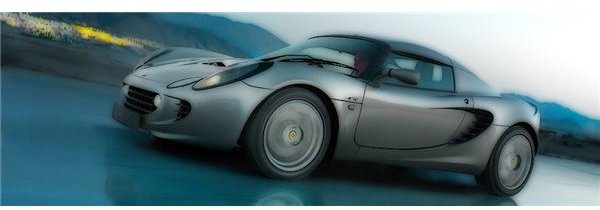
For this example, a car photo is taken and the below steps are performed in order to convert the photo to
a cartoon.
Tutorial 1
-
Open the photo in Adobe Photoshop. (The nature of the photo does not matter. It could be sports, beaches, people…anything. I have just taken a car as an example)
-
Apply a
Advertisement
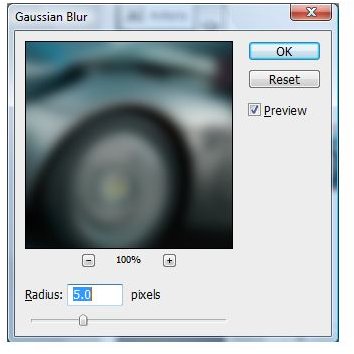
to the photo by going to Filters –> Blur –> Gaussian Blur. Although you should get a cartoon effect from a blur radius greater than 3.0, I tend to use anything between 5.0 to 10.0 depending upon the image.
- Go to Edit –>
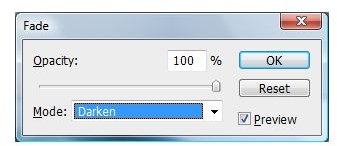
. Choose Darken. Click on OK.
This is the end of the “convert photo to cartoon” tutorial in Photoshop.
Note: You can try repeating the series of steps mentioned above and using a different effect from “Darken” to end up with other interesting results.
Another Way to Cartoonize a Photo using Photoshop
Photoshop is a very versatile photo manipulation software and has a variety of features and there are many ways to “cartoonize images” using Photoshop. The above method was primarily using Gaussian blurs, while the method described below uses “Poster Edges” to cartoonize a photo.
Tutorial 2
-
Open the photo in Adobe Photoshop.
Advertisement -
Apply
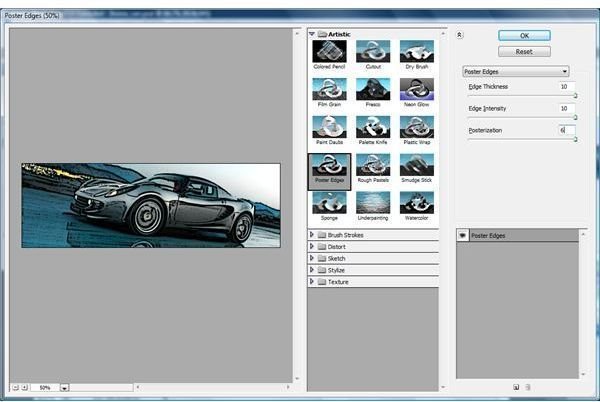
to the photo by going to Filters –> Artistic –> Poster Edges. The settings I normally use are:
-
Edge Thickness = 10
Advertisement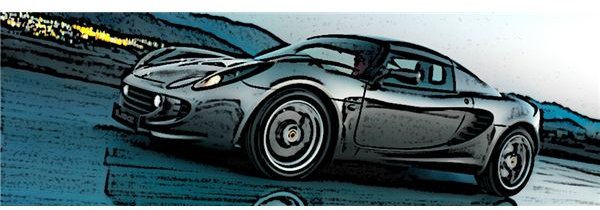
-
Edge Intensity = 10
Advertisement -
Posterization = 6
- Click on Ok. The image should appear like a cartoon image.
As it can be seen from the above two tutorials, both provide very different results.
Note: You can try using either of the tutorials mentioned above or combining both of them in order to come up with various results.
Convert Photo to Cartoon - GIMP & Photo.Net
Besides Adobe Photoshop, there are various free digital photo editing software which are currently available.
GIMP and Photo.Net are two such programs which have many of the features and tools available within Photoshop.
The above method using Gaussian Blur can also be performed using GIMP and Photo.Net .


