You can make a great gift even more unique by including your own digital images on photo wrapping paper. Picnik is a free photo editing website that offers their users a way to design their own custom printed wrapping paper in a few easy steps.
Step 1: Select the Wrapping Paper Template
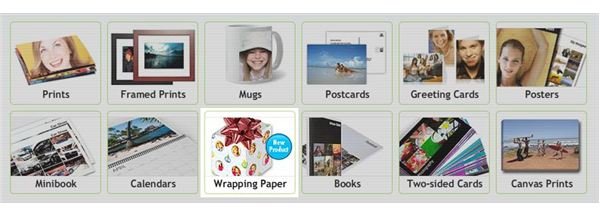
Go to Picnik’s website and create a free account if you haven’t already done so (you may also want to consider upgrading to a Premium account ). Then go to the “Save and Share” tab, where you’ll be presented with a range of photo products you can create. Select the option to create photo wrapping paper. You’ll automatically be taken to the next screen, where you can select up to 9 photos to use on your wrapping paper. Photos you’ve previously uploaded and edited will show up in a tray at the top of the page. You can also upload new photos from this page.
Step 2: Choose Your Wrapping Paper
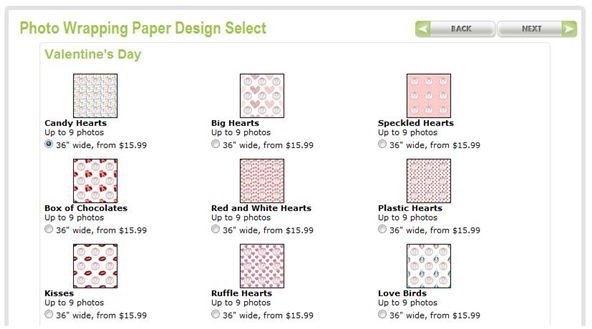
Once you’ve selected your photos, click next and you’ll be taken to a page with a variety of custom printed wrapping paper designs. The different designs are sorted by holiday, such as Christmas, Hanukkah and Valentine’s Day. Choose the wrapping paper you like and click next to go to the photo placement page.
For the best results, choose images that best represent the holiday, whether it’s a photo of your child opening presents on Christmas day or a photo of you and your spouse on your wedding day. For this example, a photo of the Eiffel Tower will be used to create Valentine’s Day wrapping paper.
Step 3: Place Your Photos
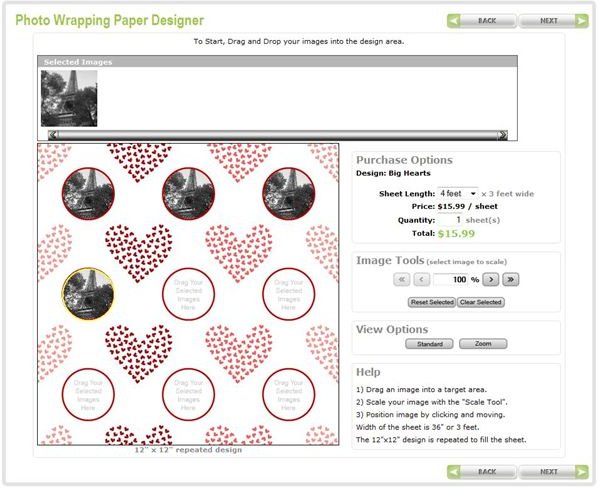
The next screen will prompt you to drag and drop your photos into the custom printed wrapping paper template. There are either 4 or 9 spots to enter photos in the template, depending on the design. You can use the same picture over and over if you prefer. Once you dropped the photos in, you can select each one and adjust the zoom to focus in on a specific area if you wish. You can also click and hold on each image to move it within the frames in the template.
This is also the page where you decide how many square feet of paper you’d like, with a minimum size of 4 feet by 3 feet. If you’re unsure about how much you need to use, measure the box in which you plan to put the gift to get an idea of its size.
Step 4: Checkout
You will get to see a preview of your photo wrapping paper before placing your order. If you want to make changes, just press the “Back” button and to go back to the template page where you can switch out images, zoom in more, etc.
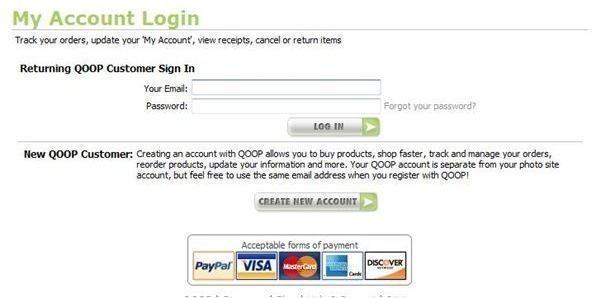
Once you’ve decided on a final design, you’ll be able to place an order for the custom printed wrapping paper. Orders are made through a Picnik partnership with QOOP, so if you don’t already have an account with them you will need to create one. Purchases can be made with PayPal or a major credit card.


