Odds are, you’ve seen some more interesting views during your travels than the stock photos features on local postcards. Learn how to make custom postcards online with your own photos using Picnik, a free photo editing website that offers a simple way to print custom postcards.
Step 1: Select the Postcard Creator
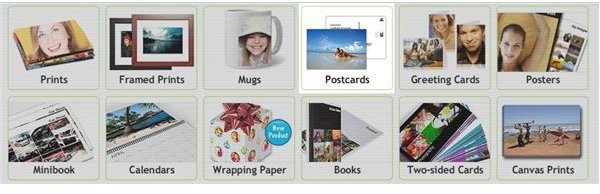
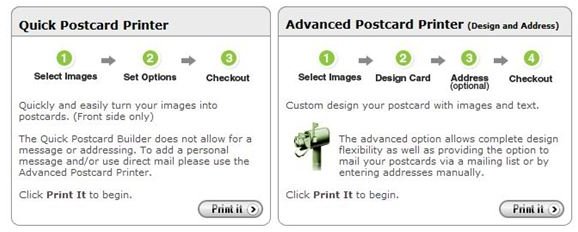
Go to Picnik’s “Save and Share” tab and select Postcards from the list of custom photo products you can create. After this step, you can choose the Quick Print option or the Advanced Print option. If you plan to have Picnik send out the postcards for you, select the Advanced option.
Note: If you don’t want to use the template provided by Picnik, you can get creative in the basic editor on the site. Skip to Step 5 if you prefer to create your postcard without the template.
Step 2: Set Up Your Photos
In the next screen, your recent uploads will appear as options for your postcard photo. You can also upload photos directly from this screen if you want to use a photo you haven’t already edited on the site. You can choose multiple pictures to include on your postcard in a grid format. Click next once you’ve selected the photo(s) you want to use.
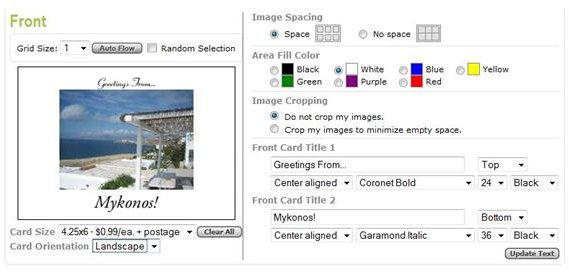
On the next screen, you can add text in a variety of colors and fonts. The postcard generator automatically resizes your photo so that the text fits around it. You can also choose to have your postcard in a landscape or portrait layout.
Step 3: Create a Custom Message
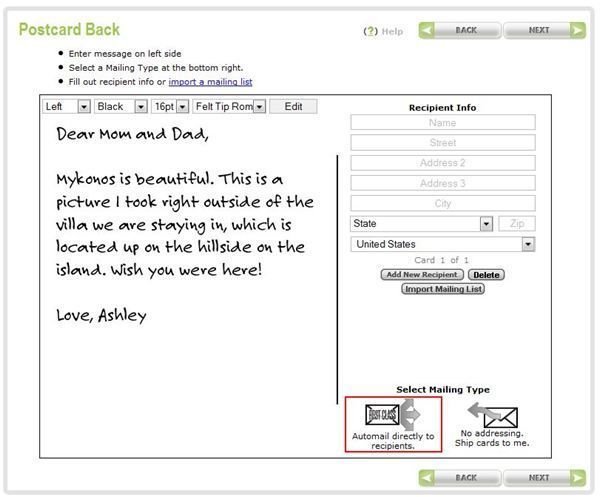
You can add a custom message to the back of your postcard. You can choose to size, color and font used for the message. If you want to have Picnik send out the custom postcards automatically, you can enter an address on the right side. Notice at the bottom of the screen that you can choose to send them yourself by leaving the address space blank.
Step 4: Order Prints
You can then order prints of your custom postcard online. Depending on whether you added addresses to the back of the cards, you can have them sent out directly to the recipients (great for if you are overseas or want them to arrive sooner) or have them sent directly to you (to save on costs). You can choose the quantity of postcards when you go to check out. When your postcards arrive, they’ll be printed on sturdy paper with a nice gloss on the front, just like a postcard you’d buy in a local gift shop.
Step 5: Creating Your Own Design
If you don’t like the automatic template provided by Picnik, you can create custom postcards online using your own design created right in the basic editor on the site. You won’t have the features for adding a message or automatically sending it to recipients, but you do have more flexibility with your design.
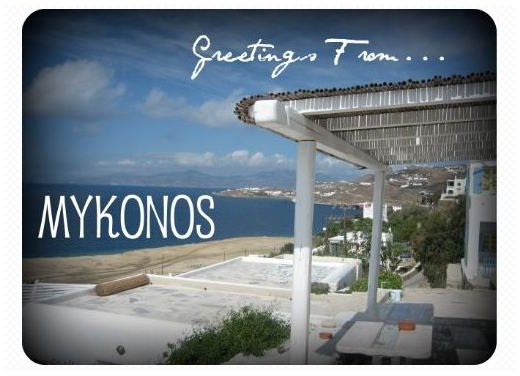
This example utilizes the vignette effect and the rounded corners frame. Two text boxes were added and could be placed anywhere on the photo, unlike with the postcard template.
When it comes time to print custom postcards, you’ll want some heavier paper that will be able to handle going through the mail. You can buy your own or go to a digital photo printing kiosk nearby. Make sure you print in the right dimensions (4x6 or 5x7) so that you’ll only need one stamp to send out the postcard. Once you’re done, just add your message, address and stamp and you’re good to go!
You can also save the custom postcards as a JPEG and send them out to friends and family via email, or post them on your blog, Facebook page or other social networking site to let everyone see where your travels have taken you. Check out Picnik’s website to see which option works best for you.
You may also be interested in reading Upgrading to Picnik Premium: What are the Benefits?


