No matter what part of the country you live in, there’s a theme park or two near you. Some theme parks are open year-round, while others are more seasonal. Next time you have the chance, visit your local theme park and use these tips and techniques to get a stunning new series of digital images.
Theme Park Photography
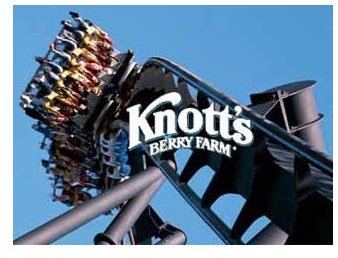
Theme parks and amusement parks now abound in many areas of the world, from Walt Disney’s original Disneyland site in Anaheim, California, Disney World near Orlando, Florida and the Disney theme park in France to the Old West style of Knott’s Berry Farm and the Six Flags series of Amusement Parks across the USA. Each park features its own style and brand of attractions, shows, amusements and rides for children of all ages. These same theme parks can make for some fantastic digital photo opportunities and easily yield a slew of great action and dramatic images, people portraits, animal close-ups, travel and vacation-based photos and other types of stunning images. Let’s look then, at some photography tips and techniques for capturing a variety of digital images from a theme park.
Animal Photography in Theme Parks
Many theme parks heavily feature animals among their attractions. These can make for some tremendously useful and dramatic images. If you can go on a drive-through type of passage through an animal reserve you can capture not only the animals interacting with the people on the other side of the glass, but likewise the people themselves. Often, it’s not only the animals who behave like animals. Some de-sensitized animals on theme park drive-throughs can climb onto vehicles and place their faces (or other body parts) directly on the window or windshield glass surfaces which can make for some really “close-up” close-ups, if you get what I mean. Try not to use flash as this can startle or irritate animals at times and can also create reflections in your photos caused by the flash bouncing off the glass . Ask if there’s a “feeding stop” or “station” where the animals get a tidbit or snack. If there is, then ready yourself for some heavy action at that point.
Photo Taking Suggestions for Animal Photography in Theme Parks:
Your camera settings should reflect the kinds of images you’re after. Since the flash of a camera can startle, scare or annoy many animals, you should disable your camera’s flash. You’ll also need to consider using a wider aperture setting to account for possible lower light conditions. Your shooting speed should be around 1/125th to 1/250th of a second with a wider aperture setting of f/8 to f/5.6 for optimum depth of field . If you’d prefer to shoot in Auto mode, try using the portrait setting which will focus in at four to six feet and adjust the camera speed to suit the metered settings. For most of your fairly close-up animal shots this should work. If unsure, try the fully automatic setting, then adjust accordingly based on the results of your first series of digital photos.
Photograph Action Shows for Dramatic Images
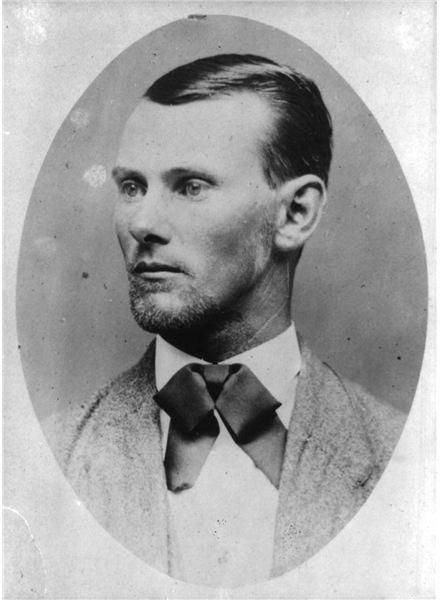
Almost surely, the theme park will offer some type of theme-related shows. These could be anything from a concert to a fully-staged action performance. At Wild West-themed Knott’s Berry Farm, you have your choice of a stagecoach holdup (with you on the stagecoach), a “Wild West shootout”, or a Jesse James (pictured) style train robbery among others. Usually there are several “performances” daily. Then you have the option to watch an earlier performance to get a feel for the action and scenario, then plan on shooting a longer series of digital images at later performances since you’ve “previewed" the action for the best scenes, angles , viewpoints and composition . It’s well worth it to attend two or more additional performances, if possible, to be able to take your photographs from several different vantage points.
Photo Taking Suggestions for Action Shows:
Again, your camera settings should reflect the kinds of images you’re after. Faster action will mean faster shutter speeds of 1/500th to 1/1000 of a second. Faster, up to 1/2000th of a second, if your camera has it. For whole scenes, stop down the camera to f/8 or f/11 to increase depth of field and cover more of the action. You can have both a fast shutter speed and a greater depth of field if you increase the ISO speed setting up to 200, 400 or a bit higher. At ISO 400, you can even shoot action scenes at f/16. At faster shutter speeds you won’t need a tripod, but if shooting any telephoto or zoom shots with your digital camera, you should consider bracing the camera on a solid object, wall, light post, telephone pole, building structure or on a small, portable tripod like a Gorillapod or clamp-on camera stabilizer.
Please continue on to page 2 where you will learn photography tips and techniques for capturing the best photos of, and on, amusement park rides.
Getting Digital Images of Rides and Roller Coasters
No matter what theme the park boasts, there are certainly going to be rides to match. You then have several options:
-
Photograph images of people and their expressions before their ride
-
Photograph images of people and their expressions after their ride
Advertisement -
Take a series of images of people during the ride with you (safely) on the ground or another “Terra Firma” location
-
Take a series of images while you are experiencing the ride yourself (if allowed)
Advertisement -
A hearty combination of any or all of the above
And we’re not talking about just ONE ride either, bunky. Yup, you’re going to have to “suck it up” and “do” three or more rides for best results. Just don’t have lunch before you do, okay? Can you guess why not? Aw, you guessed! I’ve seen rides that would qualify as astronaut training. Be sure to include children in your photo shoots as they’re often much more expressive than adults.
Photo Taking Suggestions on Theme Park Rides:
Probably the most challenging of the theme park photo-taking scenarios, special care must be taken to first protect you and fellow passengers, then to protect your photographic equipment. You should verify with a ride operator that you’re allowed to take a “hand-held” camera onto the ride. On some rides you cannot. Ask if they have any “accessories” for better ride photography. Some theme parks have lendable, rentable (or for purchase) devices to clamp, clip onto or otherwise secure cameras on rides exerting multiple G-forces on riders and equipment (be sure to ask for your “astronaut-trained” patch at ride’s end). You might also be placed into special positions in the lineup or into particular seats or stations.
Wrap the camera carry strap twice or more around your wrist or a longer strap diagonally across your body – NOT your neck. Settings are for fast shutter speeds at 1/500th , 1/1000th or faster. Plan your shots. Wait for that momentary, stomach-stopping “pause” right before the heart-pounding drop. At that moment get “looking up”, “looking down” or “other idiot riders with me” shots using f/8 with 1/250th of a second as a starting basis. Those can be particularly dramatic with people’s hair hanging or sticking straight up (or down). Get in a few screams (including yours) too. Set your camera right before the start of the ride and take most of your shots at that setting. It’s doubtful you’ll have much time to change settings during the course of being thrown around like a limp noodle who’s wearing a disposable diaper. Other, less “stressful” rides, like a Ferris Wheel, are “tamer” and much easier to manage. You won’t even need to wear that disposable diaper.
Theme Park Digital Images You Shouldn’t Miss
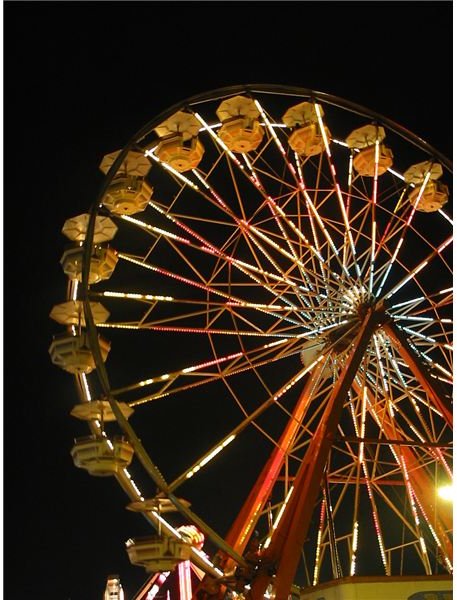
Finally, you’ll need to include a few additional digital image types to help round out and balance your series of theme park photographs. First, you’ll need good photos of signs announcing where you are. Take shots of several different types, too. Be sure to include pictures of cartoon characters who might be walking around (Hi Mickey!), theme park parades, vendors and theme park employees as well as the other guests. Food photos are another good possibility. I’d do almost anything for an image of a “Funnel Cake” sold in Pennsylvania Dutch country at fairs and festivals (Got any?). Get an aerial or landscape overview of the theme park, if possible. This could be done from any high vantage point including a ride like a Ferris Wheel. Many theme parks also have at least one lookout point for just such views. Afraid of heights? “Tough noogies”, get up there and take the shots, you’ll live. Don’t like the dark? Claustrophobic? Have a “weak” stomach? Are you kidding me? You’ll figure something out. Whenever possible, suck it up and take the plunge, camera in hand.
Theme parks of all types can be a cornucopia of digital images you’ll treasure for years. The next time you have the chance, try these tips and techniques for taking photos at theme parks. You’ll likely be glad you did.


