With the summer wind starting to blow in, the lightning season is gearing up. But, how do you capture lightning in photographs? Learn a few techniques that will get you on your way to mastering this technique.
Photo by dagpeak
(Click on any image to enlarge)
Picking Your Location
Capturing lightning can be one of the most rewarding and frustrating photography skills to learn. It takes a lot of patience and a few techniques that you should master before you try capturing that lightning storm of storms.
First of all, you need to pick a location where you can go that will allow you to have a clear view of the sky without obstructions. You should also have minimal interference from city lights. Lights from the city will dull the intensity of lightning. Also, find a place where you will have some type of coverage from rain. A building or overhang would work nicely.
Secondly, you need to find a place that will allow you to have as much protection as possible. Lightning storms are dangerous, but you can take precautions that will diminish your chances of being hurt or killed. Stay away from metal, including power lines, and water sources. Try to avoid being the highest item in a clearing. Lightning tends to strike the tallest thing in a landscape so don’t be it. Also, avoid being too near trees for the same reason. You should also steer clear of electrical equipment indoors, including the telephone.
Next, you need to pay attention to weather reports. If you live in an area where frequent afternoon storms are common, set up in your location right before that optimal time of day. Summer can produce some dramatic storms so just keep your ear to the news. Storms producing cloud to ground lightning (lightning that strikes the ground) in isolated thunderstorms or super cells (which can be very dangerous) produce some dramatic pictures. Lightning obscured by rain or fog, or thunderstorms that are extremely far away produce less dramatic photographs.
Photo by Jared Smith
Setting up Your Equipment
Once you have picked your spot, you need to set up your equipment. You should always have a tripod since your photographs will come out blurry with any type of movement. Bring a cable release and a digital SLR camera . SLRs are the best cameras for capturing lightning because of their high resolution and manual exposure settings. The photos may not come out the best with compact digital cameras, but you should be familiar with your equipment no matter what. Even an unfamiliar SLR camera can produce rotten shots. Be sure to set your camera to Bulb mode for maximum exposure.
Some cameras come with lightning triggers, or you can buy commercial lightning triggers. Lightning triggers go off when there’s any change in light source. The problem with this is that you may get a lot of shots that aren’t lightning, which could fill up your memory or use up all your film. So, you could be deleting pictures or changing your film and miss out on some great photographs in the meantime. You would probably do best just by shooting your photos manually.
You need to set your focus to infinity. Try focusing on a stable object in the distance. Since the infinity focus on many cameras is not perfect, you may have to experiment with the location of your tripod until you reach ultimate infinity focus.
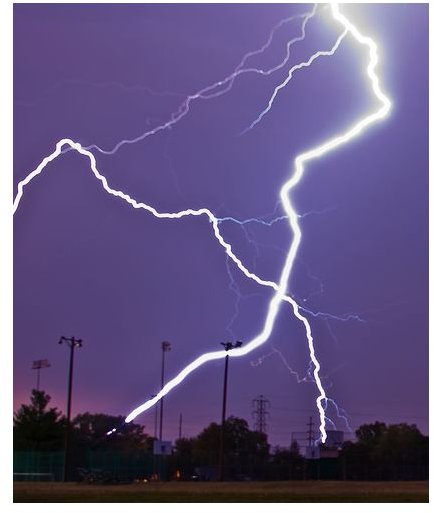
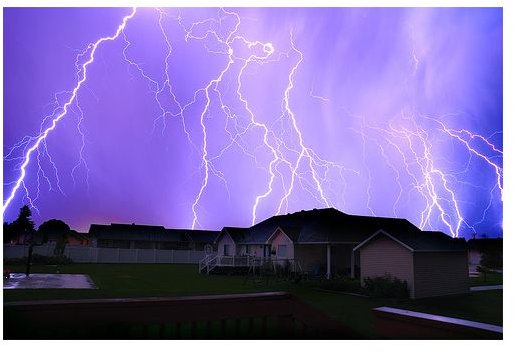
Photo by KM Photography

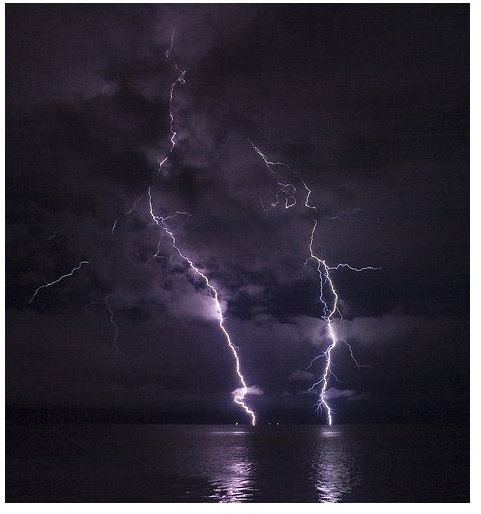
Photo by moonsheep
Exposure and Aperture
You also need to set the proper film speed and aperture . This will all depend on location of the storm. The closer the storm the better the pictures are. Any storm over 15 miles away will be harder to catch and will require higher film like 200 to 400 ISO, and apertures open between f/2.8 for lightning more than 20 miles away and f/4 to f/5.6 for lighting occurring in clouds or that is really far away. For close lightning, a film ISO of 100 and a aperture between f/16 to f/22 for very bright and very close lightning striking the ground (around 100 yards) or 100 ISO and f/11 aperture for bright lightning within a mile.
The best exposure time is 1/15 and 1/30 for lightning. You will be exposing both the lightning and the foreground and background when you are taking these pictures. The ambient light will determine your exposure time. Badly exposed foreground and background shots will cause your pictures to look off. Close lightning will properly light your foreground, which produces some beautiful shots. If the lightning is further away, you will have to play with your exposure times to ensure that your background and foregrounds are properly lighted. Since these areas are getting illuminated, it helps to set up your shots in an attractive location.
So, to recap what you’re going to do. You’re going to find your spot, set up, select the correct film speed and aperture for the type of storm, open the shutter and wait for the first lightning strike. Once this happens, close the shutter by hitting the cable release. Then, you will move your film forward and wait for the next shot.
Time of Day
As far as time of day, night, dusk and sunset will produce the most dramatic lightning strikes. It’s harder to capture day lightning, but with practice you may be able to improve your techniques. The required reaction time for capturing day lightning photography is less than 0.2 seconds. So, you need to be quick. You also need to compensate for the light meter on the camera. The rule for this is the reading on the light meter minus one stop for farther away lightning and two stops for closer or brighter lightning.
With the lightning season approaching, it’s time to start practicing your techniques and getting familiar with your SLR camera. You never know what you will catch on your next outing.
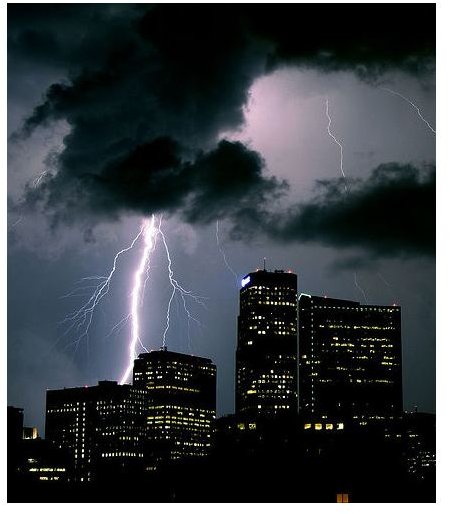
Photo by phatman


