It’s not hard to find yourself in a situation where you have so many layers in a digital photo editing project that it’s hard to keep track of the all. In this guide, we’ll show how to use the layer grouping feature of Paint Shop Pro to better manage your layer organization.
Organizing Layers in Paint Shop Pro
Once you realize how powerful layers can be when editing your digital photos in Paint Shop Pro , you may soon find that you have so many layers in a particular editing project that it’s hard to keep track of them all. There will be some that you know you want to keep permanently, a few you aren’t sure about but don’t want to delete just yet, and even others that you don’t know why you created in the first place.
One way to keep track of all these layers is to use the grouping feature available in Corel Paint Shop Pro Photo X2. Not only can this tool help keep your photo editing project organized, but it can also free up some much needed space on the Layers palette so you can create even more layers.
Creating a New Layer Group
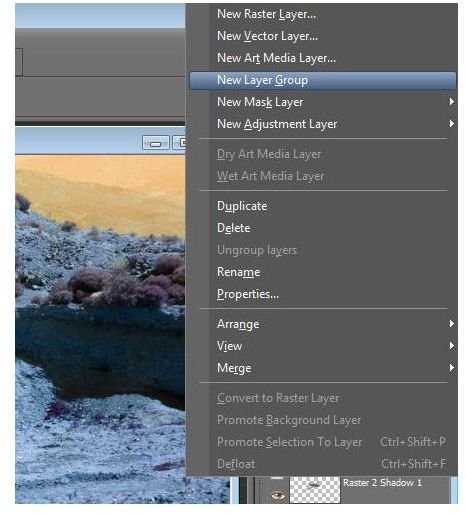
To create a new layer group, first select a layer that you want included in that group from the Layers palette. Right-click on the layer and choose New Layer Group. (Click the image for a larger view.)
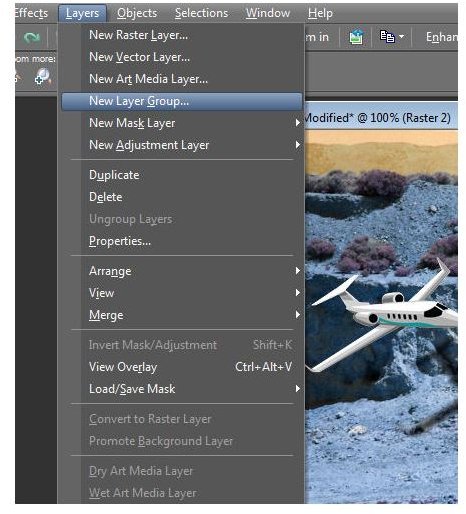
Alternatively, after selecting the layer to include in the new group, you can choose New Layer Group from the Layers menu on the main Paint Shop Pro toolbar.
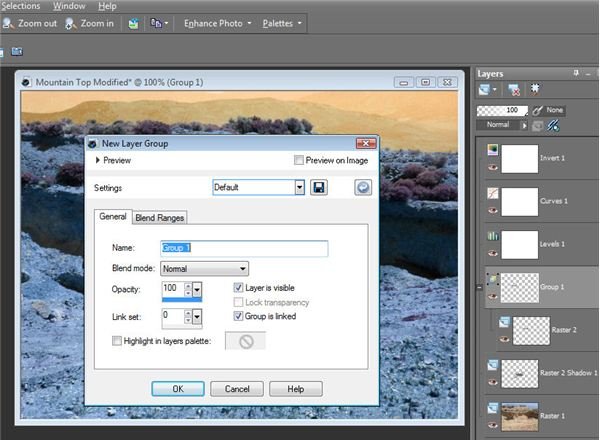
Once you perform either of these steps, a new window will appear asking you to define settings for the new group. If you are just grouping layers for organization, you can keep the default settings of Normal for Blend Mode and 100 for Opacity as shown in the screenshot below.
The new group will appear in the Layers palette in much the same way that a directory would in a file tree.

An added bonus with this type of tree structure is that you can choose to expand or compress a group by clicking on the +/- sign next to the layer group. This can free up much-needed space on the Layers palette in large editing projects.
Adding Layers to an Existing Layer Group
To add a new layer to an existing group, simply click on the layer that you want to add and drag it to the group. After adding the layer, you can change its position within the group by dragging it to a new location with the mouse.
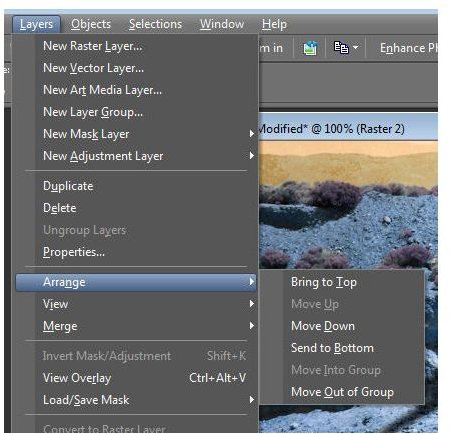
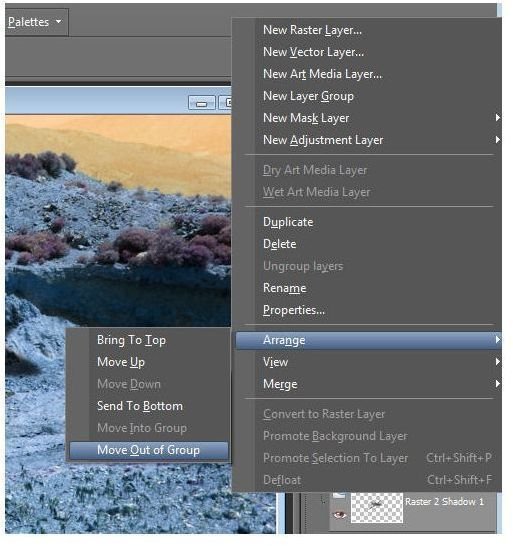
Another way to move a layer within a group is to select it on the Layers palette and then use the Move Up and Move Down commands found under Arrange in the Layer menu on Paint Shop Pro’s main toolbar.
Removing a Layer from a Group
If you ever need to remove a layer from a group, you can do so by right-clicking on the layer, selecting Arrange and then Move Out of Group. You can also accomplish this task by selecting the layer and choosing these same options from the Layers menu on the main toolbar.
For more information on other features in Paint Shop Pro, check out the ever-growing collection of tutorials and user guides found here on Bright Hub’s Digital Photography Channel.
This post is part of the series: Working with Layers in Corel Paint Shop Pro Photo X2 Ultimate
What are layers and how can they be used to enhance your Paint Shop Pro digital photo editing projects? We’ll investigate these questions and more.


