The drop shadow effect in Corel Paint Shop Pro Photo X2 Ultimate is fully customizable and lets you define the precise appearance of the shadow for any image. Read on to learn how to create a shadow for an object in Paint Shop Pro.
Creating Shadows for Objects
There are many special effects that can be employed in photo editing projects in Corel Paint Shop Pro. A particularly useful one is the ability to create shadows for an object. In the following instructions, I’ll explain how to get this done.
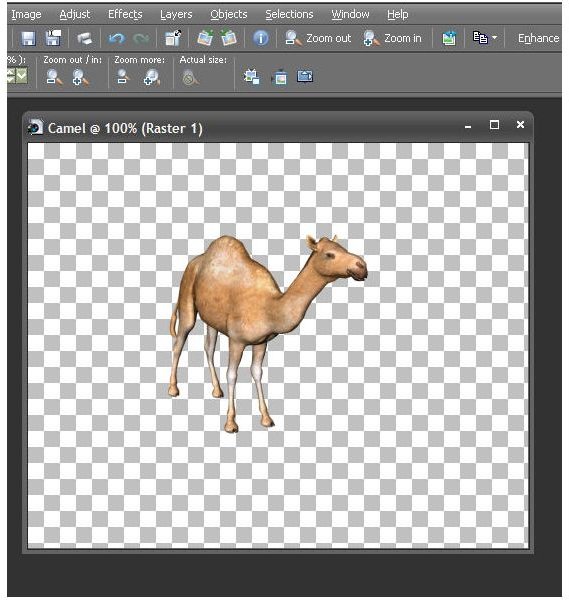
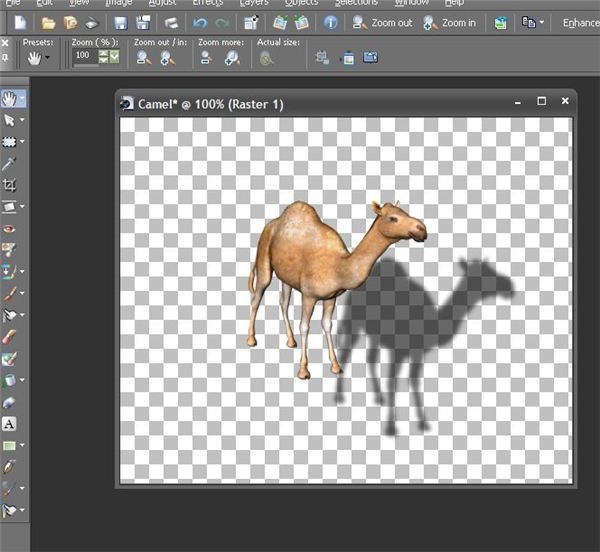
Begin by selecting the image or layer that you would like to create a drop shadow effect for. As an example, we’ll use an image of a camel with a transparent background. (Click the image for a larger view.)
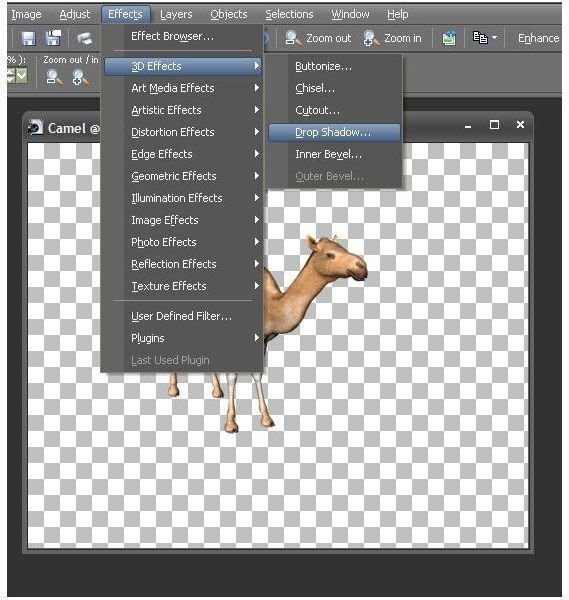
From the Effects menu on Paint Shop Pro’s main toolbar, select 3D Effects and then choose Drop Shadow.
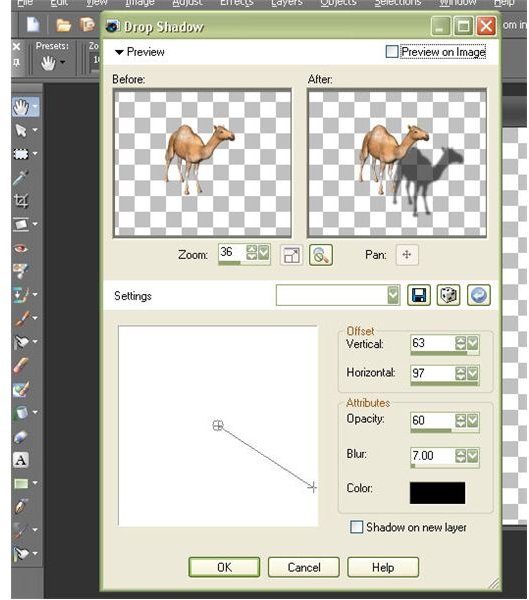
This will bring up the Drop Shadow window on your screen. Here, there are several items that can be adjusted to customize the shadow.
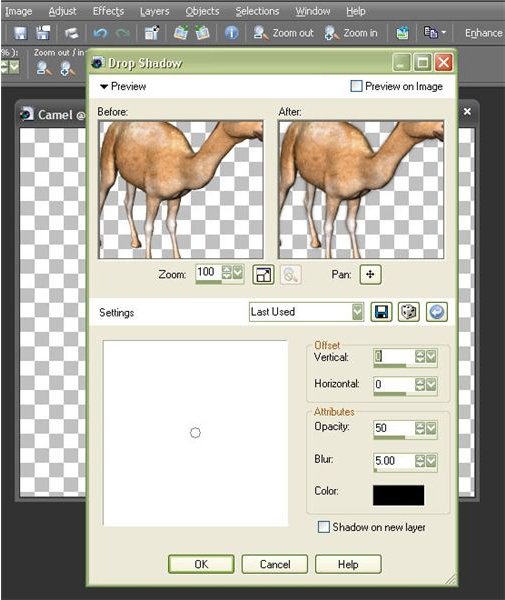
Before altering the shadow settings, you may want to use the Zoom tool in the Drop Shadow window so that you can see larger previews of the image in the Before and After areas.
You can either manually enter information for the Horizontal and Vertical Offsets or use the tool in the white space on the left-hand side of the settings area. Usually, it’s easier to use the tool and the preview windows to approximate where you want to position the shadow, and then you can tweak the actual numerical information for the offset information to further refine the positioning.
To use the shadow positioning tool, click on it and hold down the mouse button while you drag the “cross” to any location in the white box. If you pause during this process for a moment, you’ll be able to see a preview of the shadow in the After window. Release the mouse button when you’re done positioning the shadow.
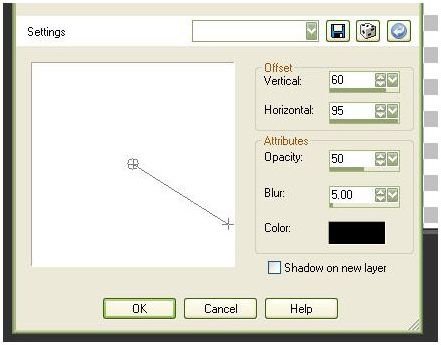
You can also adjust the opacity, blur, and color of the shadow in the Attributes are of the Drop Shadow window. The opacity determines how “see-through” the shadow will be – a lower opacity equates to a more transparent shadow. Just as its name implies, the blur attribute will determine how blurry the edges of the shadow will be – a higher number here will make the shadow “fuzzier”. If you want to adjust the color, you can do that by clicking on the current color and selecting a new one in the Color window.
One very nice feature on this screen is that you can choose to create the shadow on its own layer by checking the appropriate box in the Drop Shadow window. If you do this, you will be able to position other items in between the image and its shadow. For now though, we’ll leave that box unchecked. The screenshot below shows the settings we will use to create a drop shadow for our image.
Click OK when done and the shadow will appear as part of your image.
To learn more about other features in Paint Shop Pro, check out any of the tutorials or user guides found here at Bright Hub.


