Photoshop Elements uses actions to quickly perform certain functions. These actions, however, usually cost money. Certain websites offer free actions that you can use to perform a variety of image changes.
Using Actions
Photoshop Elements is a less expensive version of the popular Adobe Photoshop. You can perform many of the same features as Photoshop, including improving and editing images. Photoshop Elements and Photoshop have functions called actions. Actions are a set of steps for manipulating your images. You don’t, however, need to perform every step. The actions are a shortcut.
You usually have to buy most Photoshop actions or create your own. There are some free Photoshop Elements actions that you can download from different websites. These are usually created by third-party authors that simply want to share them with others. You simply need to know where to look to find these actions.
Texas Chicks
Certain blogs and websites have links to free actions. For examples, the Texas Chicks blog has links different free actions, but you really need to read the blog to find the actions. They also sell actions, and you need to make sure that you are only using the free ones. You also need to subscribe to the blog to get the links to the actions .
Free actions offered by this blog include the following:
- Noise Reducer
- Refection Action
- Drop Shadow
- Lab Color Boost
Black and White Action
Another good resource is the CoffeeShop Blog. There are no fees to use the actions on this website, but the author does request a donation if you do decide to use one of the actions. She also has tutorials on Photoshop and Photoshop Elements and how to install presets.
One of the really nice free actions offered by this site is the No Cream or Sugar B&W. This action converts your images to black and white, but it also adds a mocha tint to your images. You must download and install this action on your computer. Once you do, follow the below steps to use it:
- Select and run the action .
- A levels adjustment layer pane will appear. You can tweak the black and white contrast in this pane.
- Let the action run.
- Once it’s done, you will now see five different layers in the Layers panel. The top layer is the Mocha Tint. Since this is an optional part of this action, you need to turn it on.
- Change the opacity until your image looks right to you.
Group It Action
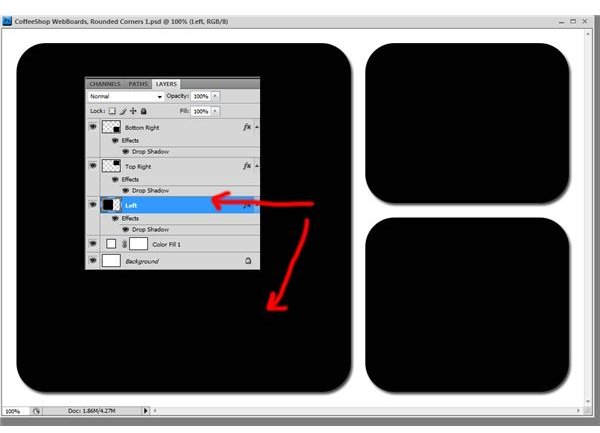
The CoffeeShop Blog also offers the Group It action. This action allows you to open up an image and then group it to a clipping mask. This
action is mainly for people who want to use clipping masks, but aren’t really sure how they work. Use the below steps to run this action:
- You must have a storyboard template to work with the clipping mask. If you don’t have one, you can download this from third-party websites as well. The CoffeeShop Blog also has one that you can download.
- Open up a layered PSD file.
- Select the clipping mask that you want to use.
- Run the action.
- Click on the first image that you want to use, and press OK. You will now see the image on the storyboard, and the action will also group it with the clipping mask.
- You will now see a popup message alerting you that you need to free-transform the image.
- Connect the W and H symbols on the top menu bar, and ensure that you have Constrain Proportions selected if you are using a PSE file.
- Drag the free-transform bars.
- Adjust the image as necessary.
- Select the checkmark on the image for a PSE file or on the top menu bar for a Photoshop file.
- Follow the same procedure for additional images.
Other sites also offer free Photoshop Elements actions, but usually not consistently. If you subscribe to one of the many Photoshop tutorial websites, they often offer free actions for a short period of time or as a service to their subscribers.
Installing Actions
Now that you know where to get actions and how to use some of them, you may still need to know how to install the actions in your program. To do this on the Photoshop Elements 9 using Windows 7, follow the below procedures.
- Download the action from the website, and save it to your desktop.
- Copy and paste the action into the Photo Effects folder.
- Open up Elements and an image.
- Open up the Effects Palette.
- Select the Photo Effects button, and select Show All.
- Select the icon which is just to the right of Effects, and select Show Names.
Your action should be in this list. Just double-click on it to run it.


