Learn the five steps to flawless photo printing in this digital photo printing “how to” article.
5 Ways to Print the Best Photos
Although there are plenty of resources for digital photography, but the digital photo printing “how to” resources are somewhat lacking. This article aims to correct that. Printing the best photos begins with the preparation to take the best pictures possible . Obviously, there is only so much post-processing you can do to an image, and all of the world’s best paper, ink and other materials can only do so much with a sub-par image. Aside from this, there are a few things you can do to maximize the print quality of your images. Here are five ways to print the best photos.
1. Take the Best Photo You Can
Even if you are working with a budget camera and taking photos of your family reunion, it still helps to position yourself and your tools to take the best photos you can to ensure quality prints. Think about lighting: if there is not enough, be sure your camera has a flash and it is on or that you use other light sources to help ensure your photos turn out bright enough. Also make sure the camera settings are correct for the type of photos you are taking (landscape, portrait, etc.) and that you take a lot of pictures to increase your chances of capturing great moments.
Professional photography should always start with a well-planned set of necessary equipment and accessories. Diffusers, a tripod, softboxes, various lenses and more should be considered depending on the type of photography you will be doing.
2. Don’t Skimp During Post-Processing
The first official step in printing professional quality photos is to enhance them by photo editing. Yes, even those pictures of Grandma’s birthday could do with some basic work to improve the final print quality. If you don’t have any software for this, or the budget to buy photo editing software, you can use free photo editing software applications, such as GIMP .
If nothing else, be sure to adjust lighting/exposure, contrast and saturation of your images, if it’s needed. Remember that there will be a difference between what you see on the screen and what is actually printed as far as color is concerned. To get a preview which will be closer to the actual final printed photo, try switching your editing software’s view from RGB to CMYK if possible.
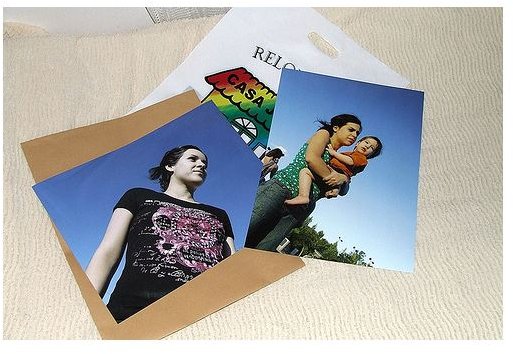
3. Choose the Right Print Sizes
To avoid pixelated images or awkward proportions in the final printed image, pay close attention to the dimensions and pixels of the picture. The more pixels the digital copy has, the larger you will be able to print it without the image becoming blurry or pixelated.
Note: Some simple math may need to be done for you to decide whether you can simply resize or must crop an image to make the printed version look good. For example, a digital image size 16x20 will shrink to 8X10 very easily, but might need some cropping to print as a 4x6.
4. Use The Best Paper
The quality of paper you use plays a huge role in the quality of images you will get. If possible, try to use paper specifically made for your printer manufacturer to ensure they will work together perfectly. This is easiest to do if you buy paper that is made by the same company as your printer.
5. Use the Best Ink
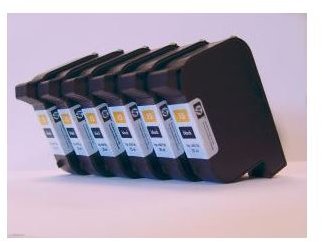
Again, buying inks that are suggested for use by your printer is essential; however, some non-brand name inks are made to name brand printer specifications. There are also inks made specifically for photo printing , just as there are papers made specifically for it. Using these inks will ensure color brilliance as much as possible.
Resources
https://www.microsoft.com/windowsxp/using/digitalphotography/learnmore/bestquality.mspx
https://bestphotoprinter.org/photo-printing-tips/


