This article assumes that you are new to digital photography or looking to brush up on basic photography information. Whether you just purchased your first DSLR camera or have been putting off learning the basics, you’ve come to the right place.
What Do I Need to Get Started?
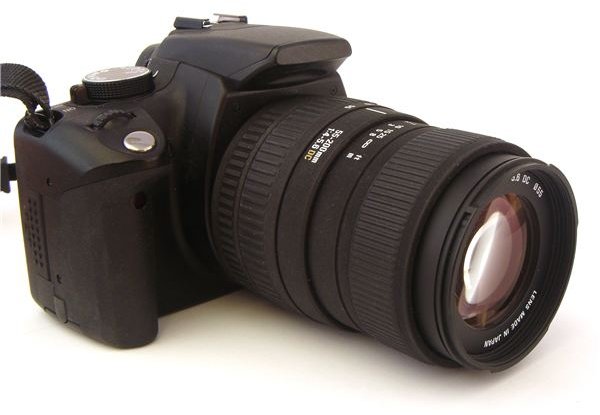
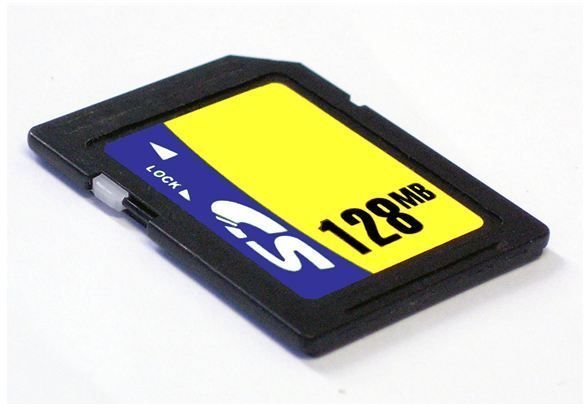
The bare minimum for equipment to get started in digital photography is a digital camera and the desire to take photographs. Some decent images can be taken with a point-and-shoot digital camera but I would personally recommend a DSLR camera and a memory card that fits your particular model of DSLR camera. Once you have these at your disposal you are technically ready to start taking photographs. There are a few things I suggest to anyone that is interested in digital photography to do before they get started. The first - and most important - thing to do is learn everything you can about your DSLR camera. Read the manual, read online forums dedicated to your model of DSLR camera and don’t be afraid to play with the controls and settings to see firsthand what your DSLR can do. Second, read everything you can about digital photography in general (there is some fantastic information linked in this article to get you started), absorb what you read and then put it into practice once you start taking your shots.
(Image: Stock.Xchng )
What Terms Do I Need to Know?
During your research before buying your DSLR or in your general Internet travels, there probably have been an abundance of digital photography terms that you have come across. All these terms can become overwhelming if they are not explained in a simple manner to the beginning photographer. The following articles can help you better understand these common terms:
- Photographic Composition : The Big Picture - Photographic Composition Techniques
- Exposure : Understanding the Elements of Exposure
- Lighting : Common Digital Photography Lighting Terms
- ISO : Understanding and Using ISO Settings
- F-Stop and Aperture : Demystifying F-Stop and Aperture
- Shutter Speed : All About Shutter Speed
- White Balance : White Balance Made Simple
These excellent articles will give you a good solid base when it comes to understanding the basics of digital photography. These terms will explain the basics to get you started and will lead into much more reading in your quest to getting a basic understanding of digital photography. Don’t let the technical jargon intimidate you though! In the end, what you see through your viewfinder is what you will get! Read what you can and play with the settings. Remember that memory card we talked about before? It’s not like traditional film; with a DSLR, you can snap a few hundred test photos, format the memory card (or delete the photos) and do it all again!
Editing and Sharing Your Photos
Once you learned the basic photography information provided on the previous page, you probably ran right out and started snapping photos. Excellent. Now you’ve got a camera full of photos and you’re wondering what to do next. First of all, the photos are still on your camera and you may be thinking some of your photos might be less than perfect . No problem!
The first thing you will want to do is attach your DSLR to your computer via USB cable or remove the memory card and insert it into the memory card reader of your PC. Many DSLR cameras come with custom software used to transfer your photographs from your camera to your PC, but if you don’t have that software installed there’s no need to worry. Once you have your camera attached to your PC or the memory card inserted, you will want to navigate to the directory structure of your memory card. From there you can simply drag and drop your photos from the memory card to your PC.
Now that you have your photos on your PC, you are probably eager to email them to family, upload them to Facebook, burn them to CD and print them out to show your co-workers. Before you share your photos though, I would highly recommend you take a close look at them and see what problems there are with your photos and what improvements you can make (if any) using photo editing software .
There are so many different photo editing programs on the market today that you can use to make adjustments to your photos. These programs include the free options provided in the link above, as well as paid options such as Adobe Photoshop, Adobe Photoshop Elements and many more . In the end, photo editing software will not take a bad photo and make it into a great photo. What it can do though is correct some lighting problems, exposure problems and remove image noise from your photographs.
Once you are happy with your photos, you are finally ready to email them to friends and family, burn them to CD or upload them to one of the many photo sharing websites on the Internet.
(Image: Stock.Xchng )
Additional Basic Photography Information
If you have read through, and were able to digest, the information provided in this article, good for you! I bet you are hungry to learn more. You’re in luck! Next, I would suggest you take a look at the Top 10 Photography Secrets by Carl Weaver, Teach Yourself Digital Photography in 10 Easy Steps by Shane Burley and Learning How to Take the Perfect Picture by Tricia Goss. Read and enjoy. These articles contain some excellent basic photography information.
Still not satisfied? Luckily for you Bright Hub’s Beginner Photography section is full of top-notch articles written by digital photography experts (who were once beginners), containing a wealth of information to transform you from someone who takes snapshots to someone who captures photographs. After reading the plethora of information here, I’m sure you understand the difference now. Right?
References
Source: Author’s own experience.


