Existing light photography is just what the name implies. It involves using natural lighting. In this article, you’ll learn about how to take these types of photographs and what equipment you need to bring.
Existing Light Photography Overview
Existing light photography involves using natural lighting, and that means any type of natural lighting, including sunlight and moonlight. This type of photography presents its own rewards and challenges. You can’t just go outside at any time of day and capture lighting using any type existing light. Some times of day and angles work better than others.
Best Time of Day
In general terms, morning and afternoon usually offer photographers the best natural lighting . During the middle of the day, the sunlight can be
extremely bright, causing deep shadows, and bright sunlight can also wash out your images. This is especially true for landscape photography and portrait photography.
But, you can take pictures during the middle of the day, especially when the sky is overcast. These types of days provide you with perfect lighting. It’s enough light that you don’t have to use your flash, but the light is diffused, creating very soft shadows.
If you must photograph during the day, then you need a UV or polarizing camera filter to reduce the shadows. The problem with filters is that they can make your images too dark. So, you’ll have to experiment with different filters until you find one that works with your lighting.
Side and Backlighting
There’s more, however, to existing light photography than just the lighting itself. You need to consider angles. Many of us are taught to keep the sunlight at our back, which is known as front-lighting. The problem with this type of lighting, however, is that it creates a very two-dimensional, flat image. It fails to bring out the natural shadows and depth of your subject.
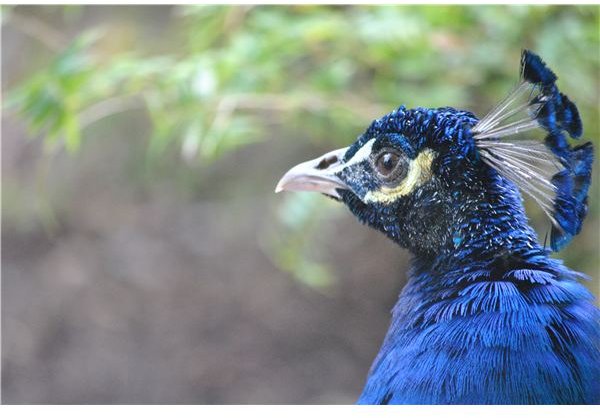
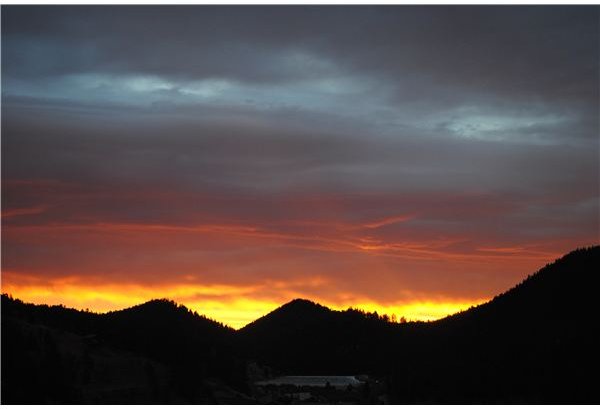
You should try instead to use backlighting and side lighting. Backlighting means that the sun is facing towards the camera. You can use backlighting to create silhouettes, and it also makes for better portrait photographs. People don’t squint with the sun to their back.
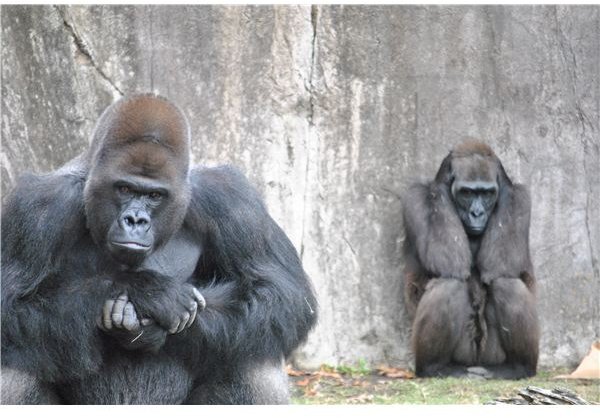
Side lighting means just what it sounds like: light coming in from either side of the subject. Side lighting adds depth and contrast to an image by adding shadows to it. If you are photographing an intricate subject, then you should use side lighting.
But, to use both of these techniques, you must figure out when the sun is going to hit your subject just right. So, you must scout out the area beforehand, and be prepared to sit all day until you find that golden time.
Settings and Equipment
For existing light photography, you will have to manipulate your settings. Increase your exposure time, and experiment with your ISO settings . Open up your aperture a bit to let in more light if your images are too dark. Your actual settings will depend on the available light and your camera. So, experiment with your settings beforehand.
You also need a fast lens (about f/1.4) and a tripod, especially for the longer exposures. This increases the chance that your images will be blurry so you need the stability of the tripod.
References
Photo Composition Articles, https://photoinf.com/General/NAVY/Basic_lighting_techniques-_Outdoor_and_Existing_ligt_photography.htm
MIT, https://web.mit.edu/sp.757/www/Kodak-ac61.pdf
Image Source: Author


