If you want a good weekend or rainy day project, then make a shoebox camera. This project is fun for the whole family, and it is really inexpensive to make. Learn how to make a shoebox camera in this article.
Making Your Own Camera
If you have kids or just enjoy having a bit of fun, then you can convert household items into a camera. It’s quite easy to learn how to make a shoebox camera, and this project only costs you between $20 and $30. This is a perfect project for a rainy or snowy day when you can’t get outside. And, when you can run around, you can take some pretty interesting pictures with your shoebox camera.
Materials
- Needle
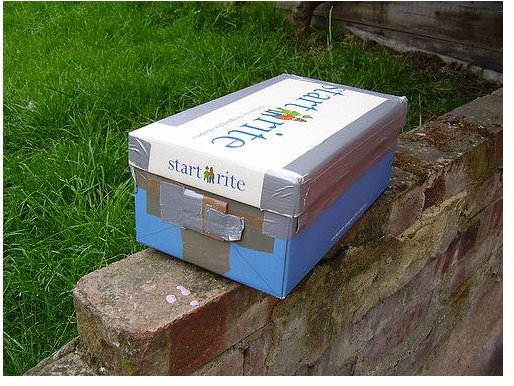
- Shoebox
- Tin Foil
- Tape
- Paint (Black)
Hopefully, you have a few shoeboxes lying around the house so you don’t have to waste money on buying some shoes (unless you just want to have an excuse!). You also need some tin foil like Reynolds Wrap, black paint, needle and electrical tape. Try to purchase black electrical tape since it’s not as reflective as other types of tape. Finally, you need some photographic paper to capture your images. These materials shouldn’t cost you more than $20, and you may already have most of the supplies lying around your house.
Preparing Your Shoebox
Once you have your supplies together, it’s time to start constructing your shoebox camera. First, cut a small hole on one side of your shoebox. And, then line the entire box, including the hole that you just cut, with the tin foil. Secure the tin foil in place with the electrical tape.
Next, use either spray or paint and brush to paint the inside of your shoebox, including painting the tin foil. If you are using spray paint, stay a good distance away from the nozzle of the can to avoid breathing it in. You may want to use a mask, especially if a child is helping you with the project.
Let the paint dry. It may take several hours to dry especially on the tin foil. Then, add another coat to the box. You want the inside of the box to be solid black.
Making Your Aperture and Shutter
When everything is dry, take your needle, and punch a small hole in the tin foil that covers the hole that you cut out of the shoebox. Now, use your electrical tape to cover the hole on the outside of the box, including the small hole that you just created.
Shut of all the lights of a small room like a bathroom, and tape the photographic paper to the area opposite the hole and pinprick. Put the lid of the shoebox back on before you turn on the light. Next, head to a bright location like outdoors, and find a stationary object. Use a table or chair, and place your shoebox camera between 10 and 60 feet away from this object.
Taking and Developing Your Images
Lift the electrical tape over the pinprick, and count to about 20 and then put the tape back over the pinprick. The hole that you made with the needle acts as your aperture while the tape acts as the shutter .
Finally, take your box back to the dark room, and pull out the photographic paper. You just need to develop your image. You can experiment with exposure and shutter speed if you image was too dark or bright.


