An interesting way to show motion in an image is through panning photography. A panning photo is where you move your camera with your subject with the intention of blurring the background. This article will go into tips and techniques on how to take this kind of image and what to do to get started.
Introduction
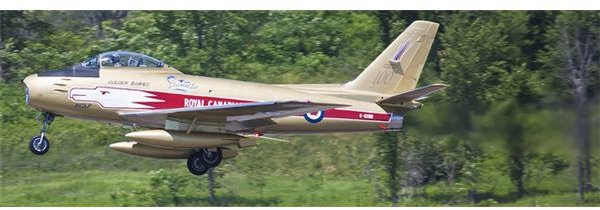
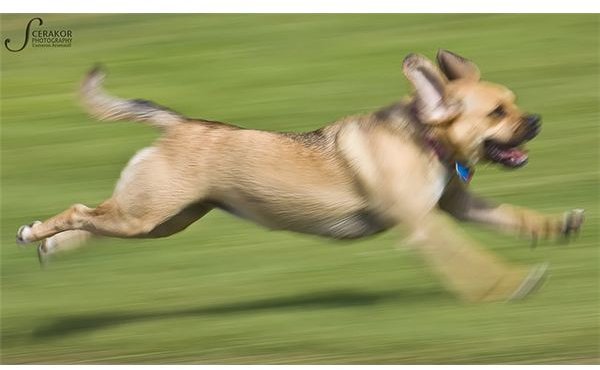
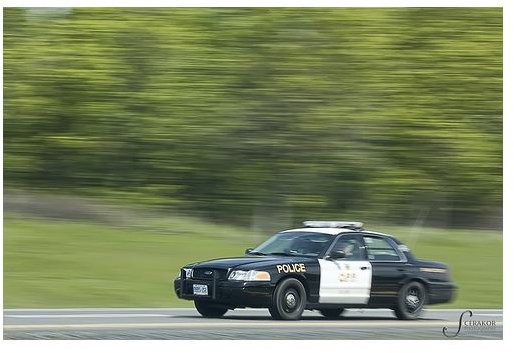
Whether it be a passing car, a running dog, a cyclist, or even a sports player, an interesting way of showing motion in photography is through the use of a panning photo. The goal of panning photography is to blur the background behind a fast moving object in order to emphasize its speed all while keeping the subject in focus. This is done by following your moving subject with the camera and taking the picture while the camera is still moving. In this article I will describe the technique and how to go about taking a panning photo, what camera settings lend well to the technique, and finally some tips to getting out there and practicing the technique.
The Technique
Panning photography is a technique that you can use to create some stunning photos of moving objects. Unfortunately though, it takes a lot of practice (or luck) to get it just right. In order to help you do that, a fundamental understanding of the technique is a good place to start.
Usually in photography, when we are aiming for a sharp photograph, we make sure that our shutter speed is fast enough to stop the motion in the frame. In panning photography we intentionally use a longer shutter speed to throw the background out of focus. In order to still get an in focus subject in your photograph you make up for its motion by following it with your camera while pressing the shutter. The best subjects for a panning photograph objects that are moving horizontally across your field of view. By this I mean their motion towards or away from you minimal. This allows a greater chance of the background being thrown out of focus and is a lot easier to ensure proper focus.
Camera Settings and Panning Steps
In order to take a panning photo, I usually follow these general steps. You can modify these to fit your image making workflow, but the general idea will still be the same.
-
Determine your subject and its course of motion. Once you have picked out a fast moving subject you want to know where it is going so that you can easily follow it. For example, when using this technique on cars passing by, you can be fairly certain you know where they are going. This just makes it easier to follow them with your camera.
-
Set a slow shutter speed. I have come to find that 1/30th or 1/60th of a second is a good place to start. Depending on the speed, position, and trajectory of the subject, this will go up or down. We are looking for a balance between blurring the background without blurring the subject too much.
Advertisement -
Choose your preferred method of focus . If you have a camera which has an AI Servo mode (focus tracking as the subject moves) this may be your best bet. If you don’t have this option on your camera or the tracking isn’t fast enough, you should switch to manual focus on a preselected point by which you know the subject is going to pass.
-
Follow the subject as it moves past you. Lightly holding the shutter down so that it focuses, follow your subject through its movement until it gets to the point closest to you. Once it gets to this position (or slightly before) depress the shutter button the rest of the way, hold it down, and continue following the subject as before.
Advertisement -
Repeat. If you got the perfect shot on the first time, you are a photographic guru. For the rest of us, adjust your settings accordingly and try again.
 Advertisement
Getting Started
Panning photography, like most photography, is best done by getting out there and experimenting. My suggestion to getting started with this technique is to find a road that you can (safely) park yourself beside and experiment with your settings and panning technique . By experimenting in controlled situation with a steady stream of subjects, you can hone your skills so that when you do only get one shot at it, you have a better chance with coming away with prize winning panning photo.