
Several iPhone users are not aware of the fact that they can use their iPhone as a wireless modem to connect their computer to the internet. The term is called tethering. Apple provided this feature since the iPhone 3G. For a step by step guide to use your iPhone as a wireless modem, read on…
Tethering on iPhone
The original iPhone 2G did not have many basic features and was not up to the mark, due to which, iPhone users had to find out their own way of getting those basic features by searching over the internet. One such feature missing from the iPhone 2G was tethering. Tethering is an excellent feature that allows your iPhone to act as a wireless modem and share the internet connection running on your iPhone with your computer. This way you can download applications, surf websites, and do a lot more stuff on your computer.
Now, you can easily connect your iPhone to your computer and share the internet connection. For a detailed step by step guide on how to use the iPhone as a wireless modem, continue reading below.
How to use iPhone as Wireless Modem
Note: You need a Jailbroken iPhone and Cydia installed on your iPhone.
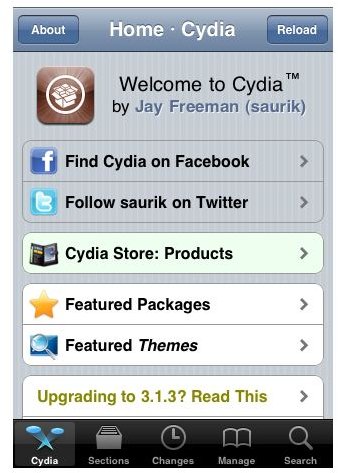
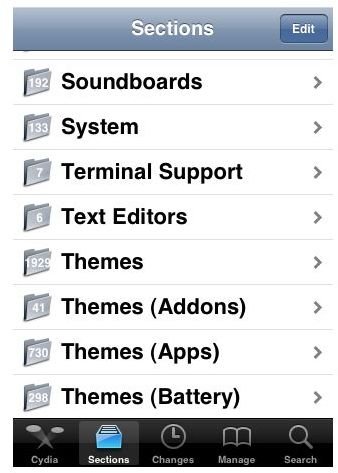
Step 1: Press the “Cydia” icon on your iPhone Springboard. Now, on the Cydia homepage, tap the “Sections” icon present at the bottom.
Step 2: A list of folders will appears. Browse & locate the “Networking” folder and tap on it.

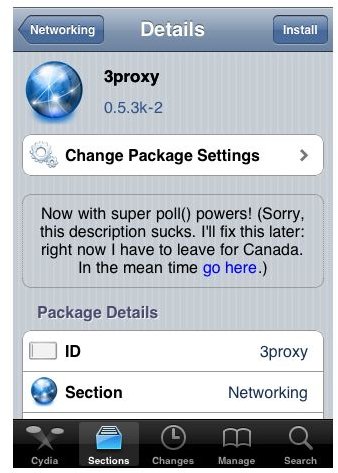
Step 3: Inside the “Networking” section, you will find a lot of software available. Browse and click 3Proxy app.

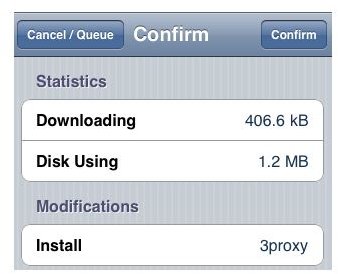
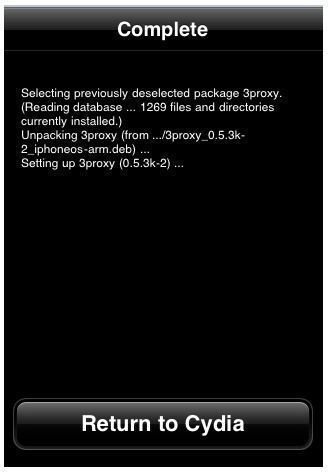
Step 4: On the next screen, tap “Install” on the top right corner and then tap the “Confirm” button to install 3Proxy on your iPhone. Once installed, tap the “Return to Cydia” button.
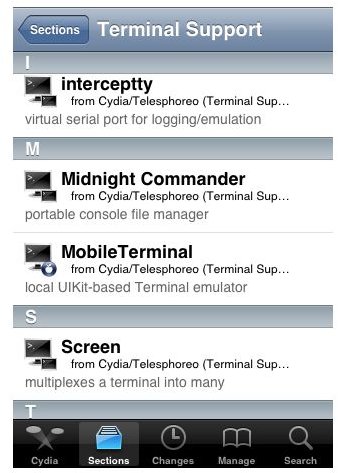
Step 5: Now, locate the “Terminal Support” section and inside it locate and click “Mobile Terminal” app. Install “Mobile Terminal” in the same manner you installed 3proxy. Once installation is complete, tap the “Return to Cydia” button and again press the “Home” button to return to iPhone Springboard.
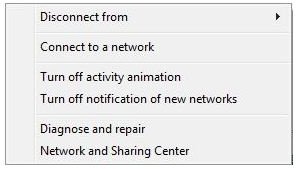
Step 6: Now, select the “Network” icon present in the system tray of your computer and from the list of options that appear, select “Connect to a network”. In the “Connect to a network” window, click the “Setup a connection or network” hyperlink.
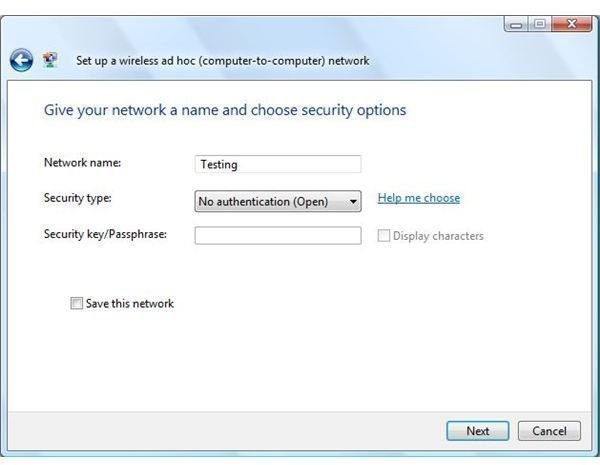
Step 7: Choose “Setup wireless adhoc network” and press the “Next" button twice. Enter a network name and in the “Security type” select “No Authentication” from the drop down. Click “Next” and finally press “Close”.

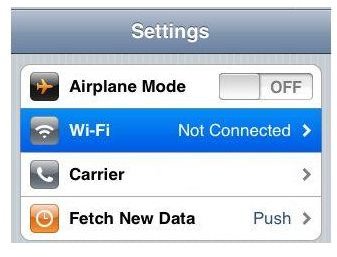
Step 8: Now, on iPhone go to Settings -> WiFi and select the Wi-Fi network that you just created on your computer. Also, note down the IP address by clicking the blue arrow on the Wi-Fi network that you just selected.
Step 9: Return to Springboard and press the “Terminal” app icon to launch the application. Type socks and press return. Return to springboard. Launch “Safari” browser and open any website you want. When the iPhone doesn’t find a Wi-Fi connection, it will change to 3G.

Step 10: Now, open the browser on your computer. I am using Firefox as my default internet browser. In Firefox, go to Tools -> Options. Select “Advanced” tab, then “Network” tab and click “Settings”.
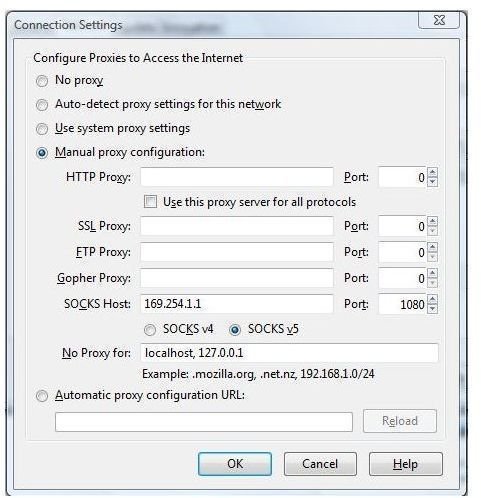
In the Connection Settings window, select “Manual Proxy” and enter the IP address that you noted in the SOCKS Host field. Enter the port number as 1080. Press OK to close this window.
Step 11: Finally, type “about:config” in the address button. If a warning appears, press “I’ll be careful, I promise” button and in the filter that appears, type socks.
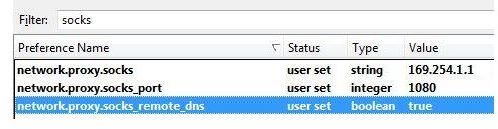
Now change the 3rd option to true and restart Firefox. You can now use your iPhone as a wireless modem to connect to your computer.
To terminate socks, go back to the “Terminal” app and hold the “Home” button for few seconds
Images Credit
- iPhone screenshots by Apple
- Windows screenshots by Microsoft
- Cydia application screenshots by Cydia


