Learning how to insert a PayPal Extension in Dreamweaver is essential to developing a fully-functional e-commerce online store.
Setting-Up Your Online Shop
For online business owners interested in creating an e-commerce shop , learning how to insert a PayPal extension in Dreamweaver is a necessary step in the process. Dreamweaver is a user-friendly application that provides an extension manager to add tools that help store owners easily set-up shop. PayPal buttons is one of the easiest payment methods to use as the financial aspect of the store is completely handled by PayPal. Here you will learn how to set up an e-commerce store using a basic Dreamweaver template and PayPal account.
Choose a Store-Front Template
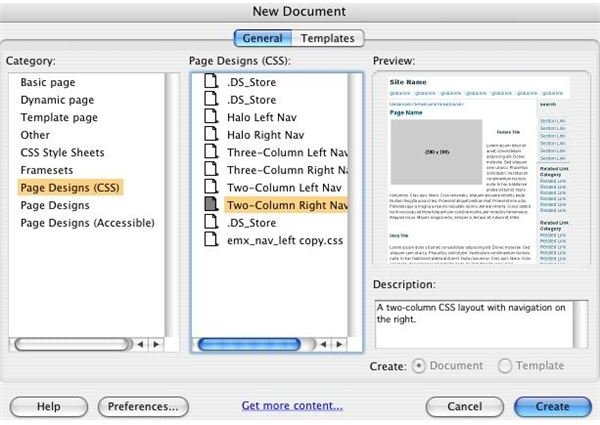
Set up a basic store-front template to allow web users to search through your goods or services easily. The Dreamweaver template
will create a CSS layout that consists of two columns and a navigation section. When you choose a template, Dreamweaver will ask you to save the file to your computer. When saved, Dreamweaver will automatically create several folders, including an “.htm” file, “.css” file, and a “_notes” folder. Within the folder, create a new folder titled “Products”. Drag the products you wish to sell on your e-commerce site into this Products folder.
Add Products & Insert Layers
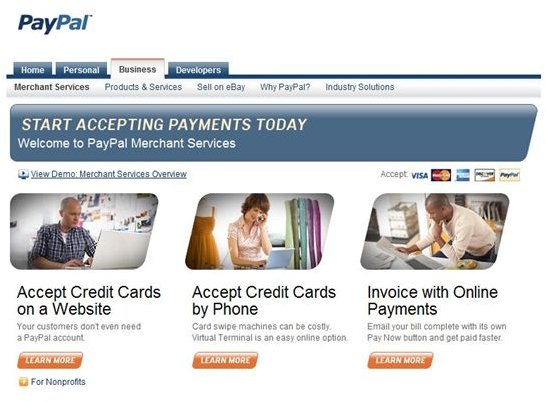
Go back to your Dreamweaver program and begin to insert the featured photograph for each product. From the “menu” bar, click “insert”, and then “layout objects” from the drop-down menu. Insert a new layer next to your product. Next, log into your PayPal account and click on the tab titled “Merchant Services”. Create a new PayPal button of either “Add to Cart” (Use of more than one product is available) or “Buy Now” (Use if only one product is available). Fill in all details and copy the code given.
Insert New PayPal Buttons
Select the layer that you want to insert your PayPal button into. This will usually be on the button or side of the product photograph.
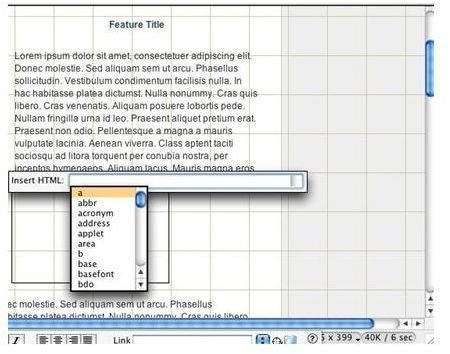
Right click on the layer and a drop-down menu should appear. From this menu, choose to insert the HTML to paste the PayPal code to the layer. The button then should be present on the Dreamweaver page. Drag the button to the area you’d like it to appear when online. Finish by uploading your new e-commerce theme, as well as the products to your hosting account. Test the store before attempting to sell to customers.
Running Your Online Business Store
It’s recommended that you offer a page for customers to print out a receipt after purchasing goods or services from your store-front. After leaning how to insert a PayPal extension in Dreamweaver , your e-commerce store should run smoothly. Not only is inserting a PayPal extension simple to do, it’s also free of charge and you’ll payments will be added directly to your PayPal account.


