Now that you’ve created your floor plan in SketchUp, the fun begins. It’s easy to erect walls and create the roof for your house. Here’s some important thoughts to keep in mind.
After you have sketched your floor plan in SketchUp, you can start to build walls, insert windows and doors, and create a roof for your house. This is an exciting part of the process, because you’ll finally get an opportunity to use the Push/Pull tool.
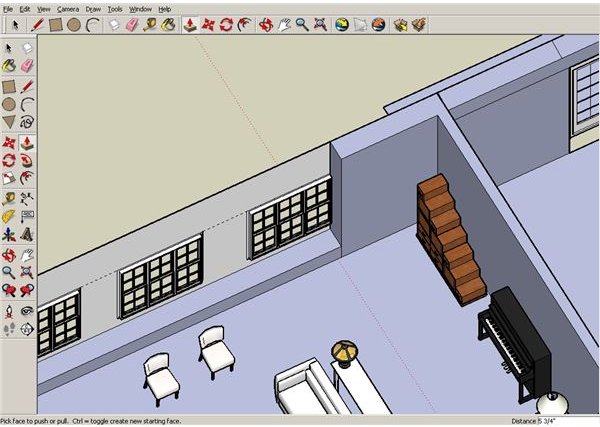
The Push/Pull tool is by far the most popular tool in SketchUp. Push/Pull enables you increase and decrease the volume of a face. It is an essential tool for creating three dimensional walls in your model.
Begin by typing “O” on your keyboard to access the Orbit tool. You’ll need to change the orientation of your image, so you can accurately manipulate the model. Play around with the model until you find the best angle.
Raise the exterior walls of your house by selecting the Push/Pull tool. Type “P” on your keyboard to activate the Push/Pull tool. Hover the tool over the face of the wall. Click once to engage the Push/Pull, and designate the amount of volume by typing in the measurement. Keep in mind that most walls are at least 8 feet high. By default, SketchUp works in inches. Be sure to type in the apostrophe (’) after the number, to indicate feet.
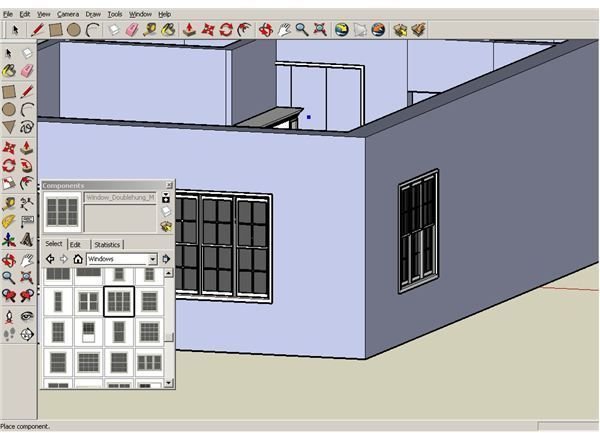
Begin to add windows and doors to your house. You must access your Components window, by selecting Window from the Menu bar, and choosing Component from the drop down. From the Components window, you’ll select the folder containing the desired architectural element. To add windows to your house, find the windows folder in Components, and drag a window onto the face of your wall. To create an accurate line up, activate the Tape Measure tool (“T”), and create indication markers.
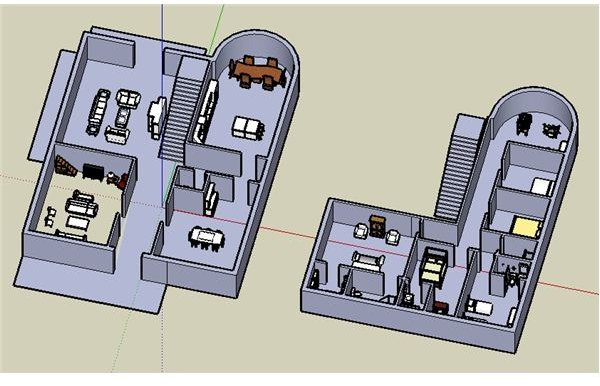
Select your house and create a group by typing “G”. This will secure your hard work.
Creating a roof is painless. Create a flat face directly on top of your exposed house. Use Push/Pull to increase volume to the face by a slight amount (no more than 12 inches). Draw a line completely intersecting the face, from one mid-point to the other. Select the Move tool (“M”), and hover over the midpoint of the line you just drew. When you see the blue midpoint indicator, click and pull up, following the blue axis. This will only work if your line is perfectly centered.
Be sure to save your model periodically.
This post is part of the series: Creating a House with SketchUp: Start to Finish
A basic tutorial series for you to create a dream house with free 3D modeling Google SketchUp. Learn what you need to know, to get you started quickly!
- Preparation: The Basics of Designing Your House with SketchUp
- Getting to Know the Tool Bar in SketchUp Part 1
- Getting to Know the Tool Bar in SketchUp Part 2
- Creating Your Floor Plan in SketchUp
- Google SketchUp: Raising the Roof and Erecting Walls to your 3D Dream House
- Beautifying and Presenting Your House Using SketchUp


