
If you want to know how to make your own iPod touch screen protector, here is an easy to understand instruction guide on doing exactly that. Making your own iPod touch screen protector is easy enough if you have the right tools and materials for the job.
Knowing how to make your own iPod touch screen protector is a skill that you can use to earn extra cash. However, it is important that you have the know-how and the different tools and materials you will need. The screen protector can prevent your iPod from scratches when you place them in your iPod touch car holder, in your bag or anywhere else.
This procedure is not too expensive, since most of the materials and tools you need are found at home. You may need to spend a few cents for the right size clear tape.
Image Credit: https://commons.wikimedia.org/wiki/File:IPod _touch_2G_new.png
Tools and Materials
- Wide scotch tape or clear tape
- Ruler
- Razor
- Liquid dish soap and water
- Old plastic card
- Small plastic container
- Medicine dropper
- Permanent marker
- Scissors
Step 1: Clean the Screen
Before you can make the screen protector for your iPod touch screen , you first need to clean up the screen well. Remove any dust particles, dirt or oil on the touch screen. To do this, fill the small plastic container with water, then add about 2 to 3 drops of the liquid dish soap in the water. Mix the solution well. Using the medicine dropper put a small drop of the soap mixture onto the screen. Refrain from dropping the solution onto any part outside of the touch screen. Spread the soap solution onto the touch screen until the white bubbles are gone. It is important to remember not to wipe the soap solution off. Let it stand for a few minutes.
Step 2: Measure the Screen
With the ruler, measure the width and height of the touch screen. This is to ensure that the mobile screen protector or your iPod screen protector will fit perfectly onto the touch screen. Mark the height and width directly onto the clear packing tape using the permanent marker. Make sure you add an inch onto the height of the measurement. This should be done before you unroll the packing tape.
Step 3: Applying the Tape
Cut the tape from the marked spot. The 1 inch excess is where you should hold the tape. This is to prevent any fingerprints or dirt sticking onto the tape. In a separate container, add water and a few drops of the liquid soap. Mix the solution making sure no bubbles are formed. Submerge the tape completely into the solution for a few seconds. Dab 2 drops of the solution onto the screen and stick the tape starting from the bottom of the screen. Make sure that tape is centered as well. With the old plastic card, remove any excess water and air bubbles from the tape starting from the bottom by pushing it carefully onto the screen. Use tissue paper to wipe off the excess.
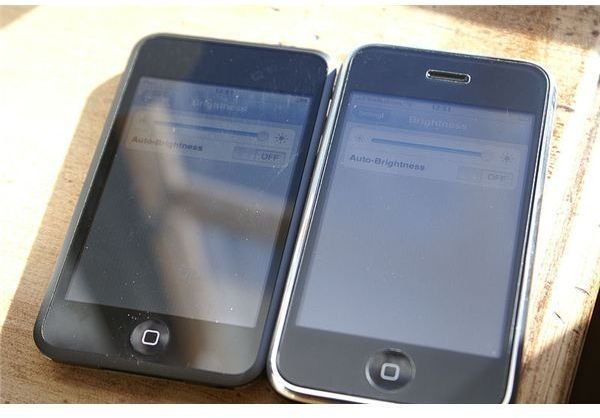
Image Credit: https://commons.wikimedia.org/wiki/File:IPhone _with_Matte_Screen_Protector_vs._Plain_iPod.jpg
Step 4: Cutting the Excess Tape
When all the excess water and air bubbles are removed, carefully lift the excess tape, starting from the bottom, making sure that the cut is straight. The cut should be just below the face plate of the iPod.
If you do not want to get involved in the process by learning how to make your own iPod touch screen protector, then you can buy one from the market. All you will need to learn in how to apply the iPod screen protector .


