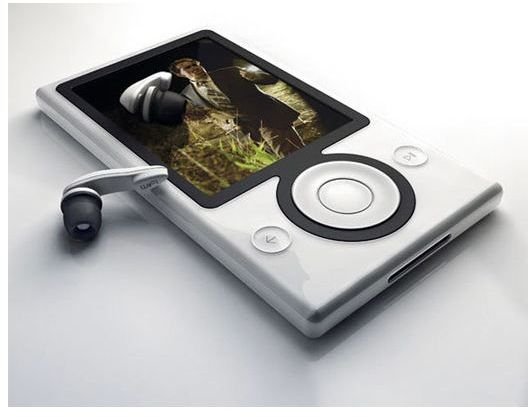
Learn How to Add a CD to Zune MP3 Players and Other Helpful Tips
Page content
Instructions
If you do not have the Zune software installed, you will need to download it before you can add the music to your Zune.
- Open the Zune software and click on Options at the top of the window.
- Click Rip and select Rip CD Automatically When Inserted.
How to Add a CD to Zune
- Connect your Zune to your computer via a USB cable. Use a USB port in the front or back of your computer. A USB port on a keyboard will not work.
- Open the Zune software by clicking on the icon on your desktop or in Start – Programs.
- Insert the CD with the music into the CD drive on your computer.
- The CD will begin playing automatically in your Zune software.
- Click the Start Rip button in the bottom right side of the Central Panel.
- The copy process will begin and the music from the CD will be added to your Zune.
Delete Music from Zune
Just in case you add something that you later want to delete these instructions will show you how.
- Connect your Zune to your computer via the USB cable. Plug it into a USB port in the front of back of your computer and not the keyboard.
- Open the Zune software if it doesn’t open automatically. Open it by clicking on the icon on your desk or through Start – Programs.
- With the Zune software open click the Collection tab then select the Music folder.
- You should see a list of the songs on your Zune. Right click on the music you want to delete then click Delete.
- If you want to delete every song on the list you do not have to delete them one at a time. Left click on the first song listed and go to the last song and shift left click the last picture. Every song should be selected. Right click anywhere in the selection area and select Delete. You will have an option to delete the file from your Zune and keep it on your computer, or delete it from both your Zune and your computer. Click OK when finished.
Make your Own CD from Zune Music
You can make your own CDs using the music from your Zune software. You can make a music CD and even add some photos to it.
- Open the Zune software by clicking on the icon on the desktop or by Start – Programs.
- Insert a blank CD into your PC’s disk drive. Click Burn under Settings at the top of the screen.
- Select the disk type under Disc Format. Click OK.
- Find a song that you want to burn and drag it to the CD icon. Repeat this process until you have the songs you want on the CD.
- If you want to have a picture on the CD select one and drag it to the CD icon.
- When finished adding the songs and pictures to your CD click the CD icon and click Start Burn.
You should now have a CD that you made yourself. You can also put videos on a Zune.
