Do you want to bring your favorite iPhoto albums on the road with you? If you have a photo capable iPod (all current and many of the older iPods starting with the iPod Photo) you can do just that in a few easy steps. Read on to find out how.
How to transfer the photos
Adding photos to your iPod is easy. The first step is to decide what photos you want to add to your iPod. I have an album in iPhoto called “iPod.” Any photo that goes into that album goes on my iPod. While I have a specific folder for my photos, you don’t have to. You can use existing albums, if you so choose.
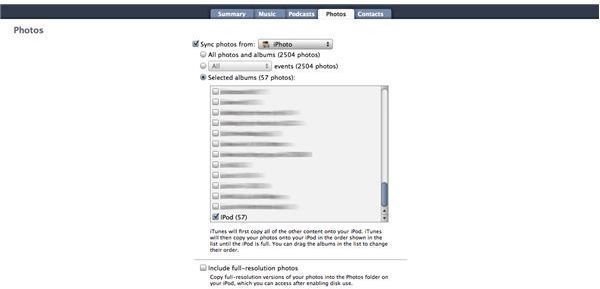
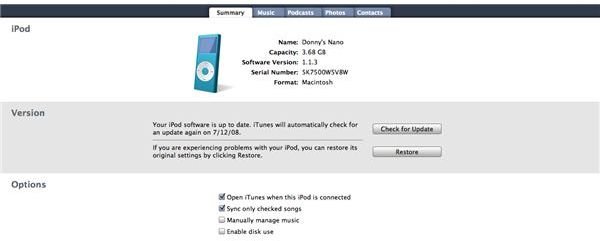
Once your albums are ready connect your iPod to the computer. iTunes should open automatically, if it doesn’t-open it. (Image 1) In the Library select your iPod and choose the “Photos” tab. Here you can select what photos to put on your iPod. You can choose to put all of your photos on the iPod (not recommended unless you have a small amount of photos, or you primarily want to use your iPod as a photo viewer), choose recent events (if you have iPhoto 08), or choose to put select albums (this is what I do). (Image 2)
One note: instead of importing from iPhoto you can also choose to import from a specific folder on your hard drive. I find importing from iPhoto is the easiest way, but if you don’t use iPhoto this is another option. I am focussing on how to import using iPhoto for this article.
If you choose to select the albums yourself, the window with the album names will darken and you will have to check the albums you want to send to your iPod. In my case I chose the “iPod” album.
Finally, sync your iPod by clicking the “Sync” button. The photos will be reduced in size to take up less space on your iPod and they will then be added to your iPod. (Image 3) You can choose to load the photos at full quality, but this will take up a LOT of space on your iPod and serves no purpose unless you have “Disk Mode” enabled and plan on downloading the photos from the iPod.
Now, when you choose “Photos” on your iPod you will be able to choose your album to view, and those photos will appear on the iPod screen. Click the one you want to see and it will enlarge. To move through the photos use your scroll wheel or on the Touch or iPhone flick your way around with your finger. You can also view a slideshow of the photos.
That’s all there is to it. A very easy process that takes very little time, but saves your wallet from carrying hundreds of wallet sized photos.
Images