Want to take black and white photographs all the time? Then, you need to remove the IR filter. Learn how to remove an infrared filter from a digital camera here.
Potential Dangers of Removing the IR Filter
If you want to be able to take black and white photos as opposed to simply converting photos to black and white, then you are going to want to remove the IR blocking filter. This, however, shouldn’t be tried by the faint of heart. You will be dismantling your digital camera. But, if you are still determined to do this, here are some hints on how to remove infrared filter from a digital camera.
Before you do decide to take the infrared filter out of your camera, you should know that you will not be able to take standard color pictures anymore. You will only be able to take black and white pictures. You may also lose some f-stops.
Overall, however, you will still be able to focus on subjects the same as before, but you should set the camera to at least f/8. The removal of the filter will alter the focusing ability a bit. And, you will have to get some practice in learning how to take pictures without the IR filter. They will be quite different than standard pictures.
If this is the first time that you are trying this, then you should attempt it on an older digital camera. This way, if something goes wrong, or if you just don’t like the way the camera takes pictures anymore, you can just use your newer camera. Also, be aware that the camera does have pretty high voltage inside of them that could shock or potentially kill you.
How to Remove the Filter
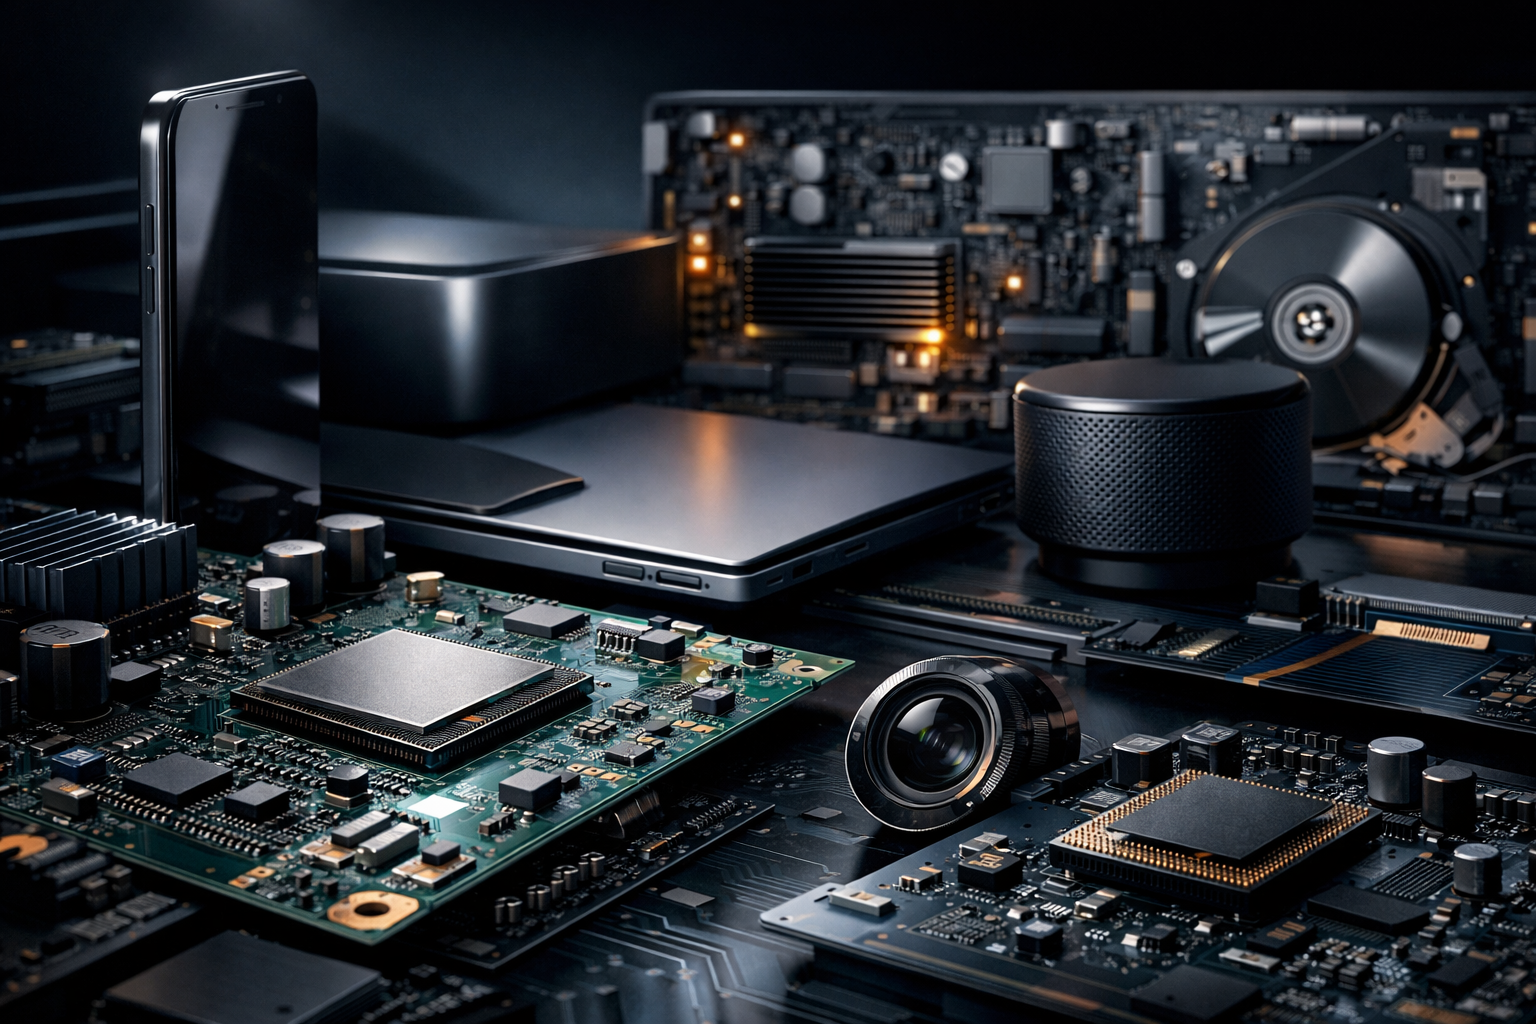
While each digital camera will be slightly different, these steps can be used for most digital cameras. Label everything as you go so you know where it belongs. If not, you will have a bunch of pieces and no way of knowing where they belong.
- Begin by unscrewing the back cover of the camera, and remove it.
- Unscrew and then remove the clips that keep the LCD screen in place.
- Disconnect the cables that are plugged into the LCD screen.
- Unscrew and remove the front of the camera.
- Remove the rest of the screws from the front section, and carefully pry off the tripod thread and IO panel.
- Unscrew and remove the digital camera’s control panel. Be extremely careful when disconnecting the cables for the control panel. These are very fragile, and you will probably just have to buy a new camera if you break one.
- If the wires holding the circuit board in place have been soldered, you will have to de-solder them, and then remove the rest of the screws from the main circuit board. Set the circuit board aside.
- Now, that the circuit board is removed, you will see a clamp holding a long, generally orange piece in place. This will be over the lens, and it is the camera sensor. Unscrew this.
- Since the sensor may also be glued, carefully pry it off near the screw holes. Springs will probably come out; hold onto them since you will have to use them when you reassemble the camera.
- You should now see a pinkish looking film. This is the IR filter . Remove it.


