This simple tutorial will show you how to transfer videos from the Flip Camera to an iPod or iPad. The step by step instructions should take no longer than a couple of minutes.
The Cisco Flip Camera is one of the most user friendly pieces of video equipment ever created but an unfortunate marketing decision by Cisco resulted in its retirement. Even though the Flip Camera has been discontinued it is still a mainstay for many digital connoisseurs. In this case videos from the camera will no doubt find their way to iPods and iPads but only if you know how to do the transfer. It is a two step process, exporting the video from the flip and then converting it to an iPod readable form.
Export the Flip Video
The first step in exporting the Flip video to an iPod involves using the built in USB connector to connect to your PC. Once it is connected (you’re Windows device may ask you how to open it) select the “Open Folder to View Files” selection. The window that opens will contain the Flip video file folder. Grab this folder and drag it to the desktop or into a predefined folder in another section of the computer. If you don’t know where the video folder is transferred to you can do a search in the start menu using the term “Flip Video” and then open the file location.
Next launch the FlipShare software (if you haven’t yet installed it, now would be a good time) and double-click on the folder that contains the files you want to convert. Select the video file in the folder. Right-click on the video you want to transfer and select “Export to.” Choose the “Export” button. Pick a folder to send the video to and select “OK.” The FlipShare program will export the video in a standard format so that it is ready for other software to use.
Converting the Video to iPod Format
Power on your iPod and connect it to your computer with the USB connection cable. Open iTunes. Now Open the location where you saved the Flip Video. Select the movie file you want and drag it over to the iTunes “Movies” tab. The iTunes movie playlist will show up with a thumb-nailed version of your video. Open the “Advanced” tab at the top of the iTunes user interface. Now choose “Create an iPod or iPhone version.” This will convert the file into a format usable by your Apple device. The new file will be saved in the “Movies” section. Now that your file has been converted move the videos from the iTunes folder onto the playlist for your iPod.
If you have multiple USB ports you can transfer files directly from the Flip to the iPod without having to save them in a folder on your hard drive. This will save several steps and a few minutes of your time. Simply drag the videos from the Flip Camera directly to the “Movies” tab in iTunes and continue the conversion from there.
References
[How do I convert Flip videos into iPhone or iPod compatible formats?](/tools/How do I convert Flip videos into iPhone or iPod compatible formats)
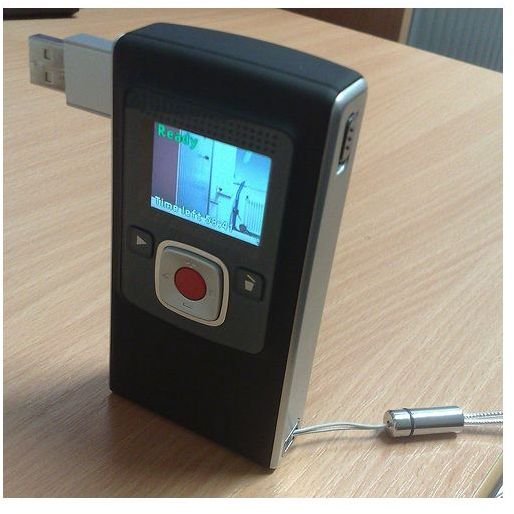
Image courtesy of kev_hickey_uk @ FlickR.com


