Installing a new operating system on your netbook is a slightly different process than with other computers. In this Windows 7 Home netbook upgrade guide, we’ll cover some things you need to know before you get started.
Windows 7 Home Netbook Upgrade
Netbook computers are smaller yet fully functional computers that can run the same version of Windows as a regular size computer. You can even upgrade the operating system in a netbook, and I recently upgraded a friend’s Samsung NC10 netbook to Windows 7. The process is a little different than if I was upgrading a full size laptop or desktop, mainly because the netbook does not have an internal CD or DVD drive. I had the Windows 7 install DVD and luckily had an external DVD drive to make it all work. Here you will find some pointers on how to make the process as easy as possible.
Before You Upgrade
Before you upgrade your netbook, be sure to back up all of the data from the hard drive. This includes your documents, photos, videos, iTunes library, and so on. If you have software such as Adobe Acrobat that requires activation, make sure you uninstall and deactivate it so that you can use it under your new operating system. The reason for all this is that the best practice for upgrading to Windows 7 is to do a fresh install by first formatting the hard drive.
In addition to backing up your data, you should also go to the manufacturer’s website and download any available drivers for your system. The most important ones will be for your networking hardware, such as wireless or Ethernet, but you may also want to get any video or sound drivers. Download and save whatever Windows 7 drivers are available from the manufacturer because you may need them after the upgrade is finished.
Windows 7 Install Options
There are two main ways you can upgrade your netbook to Windows 7:
DVD Drive Method
The easiest way to perform a Windows 7 Home netbook install is to run it from the DVD. The only problem is that you will need an external DVD drive to do this, since the netbook has no internal drive. Your external drive will most likely connect via USB, so follow the manufacturer’s instructions to make sure it works and that it shows up in the BIOS. If the DVD drive is not recognized in the BIOS, then it won’t be able to boot from that drive and you will be stuck.
As long as your BIOS sees the DVD drive, change the boot order to put your DVD first, then restart the computer with the Windows 7 install disc in the drive and follow the instructions on screen for installing Windows 7.
USB Drive Method
If you do not have an external DVD drive available, you can create a Windows 7 USB boot drive using a flash drive that has been specially configured for booting. Check out this great article on the Windows 7 USB boot drive method for more information on how to set up your flash drive and copy over the Windows 7 install files. Once the USB drive is configured and you can boot into the Windows 7 installer, the rest of the install process is no different from the DVD version.
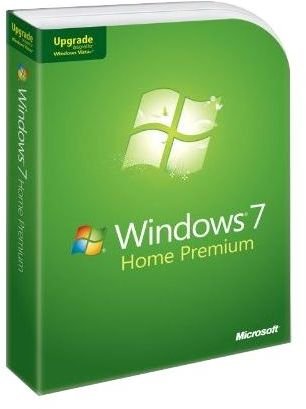
(Image credit: Microsoft.com)
Update Netbook Drivers
Once Windows 7 has completed installation, you will be able to get into the operating system and finish the configuration process. The first thing you need to check is for your hardware drivers to see if they have installed properly. If you’re lucky, Windows 7 will recognize all your hardware and you will be ready to go. However, you will probably have to do some manual updates to get everything going. This is why I had you download your netbook drivers before starting this process.
The first drivers you want to install are for whatever networking hardware you plan to use to connect online, such as for your wireless connection or for the Ethernet port. Once you have those drivers installed, you should be able to get the netbook online where you can run Windows Update to get the most current versions of your other drivers. I have found Windows Update to be great for picking up uninstalled drivers.
For more information, be sure to check out this great Windows 7 Installation Guide .


