One of the great features of Windows 7 is the ability to have multiple accounts so everyone can have their own settings, desktop, and protected files. However, there are times when removing a password from an account make sense. Learn how to turn off Windows 7 password protection.
One of the most convenient features of Windows 7 is that everyone can have his/her own account. This avoids the obvious annoyances and security risks associated with sharing a desktop and having everyone’s files available to all other users of the computer.
However, there are times when turning off password protection on a Windows 7 account makes sense. For example, if you are the only user of your computer, it may not make sense to have to type in a password every time you turn on your computer.
Another reason you may want to remove password protection is if you need multiple people to share the same account. Finally, if you want to set up a public account, you need to make sure people have access by not password protecting the account. Whatever your reasons, Windows 7 makes it easy to turn off password protection for an account.
Turn off Windows 7 Password Protection
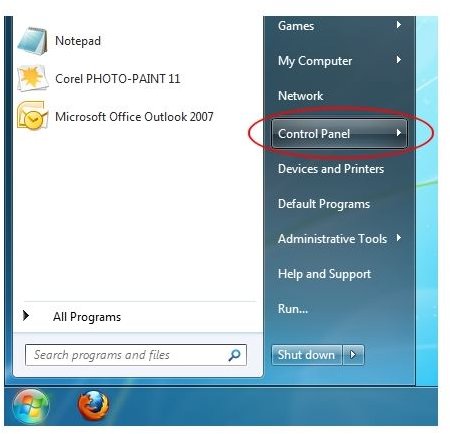
To turn off password protection for Windows 7 account, make sure you are set up as an administrator on your computer. Then, begin by clicking on Start and then open up the Control Panel.
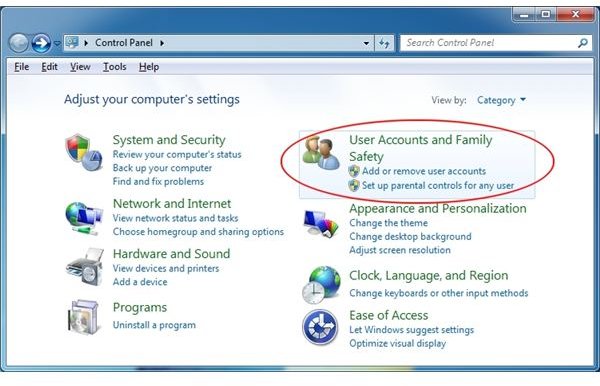
In the Windows 7 Control Panel, click the User Accounts and Family Safety option.
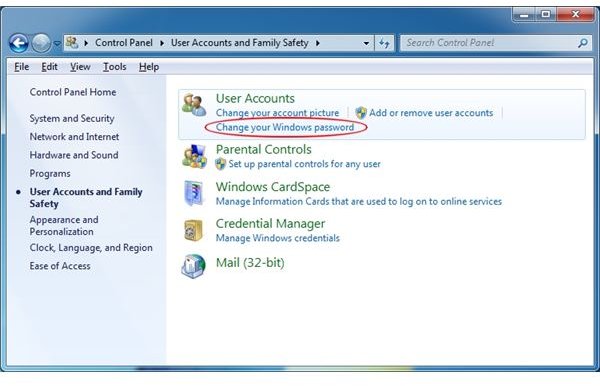
Under the User Accounts section, click on Change Your Windows Password.
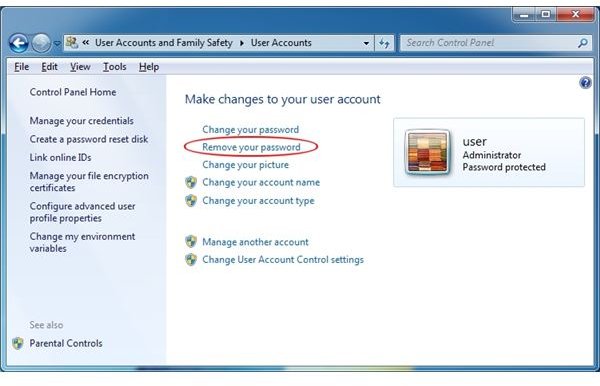
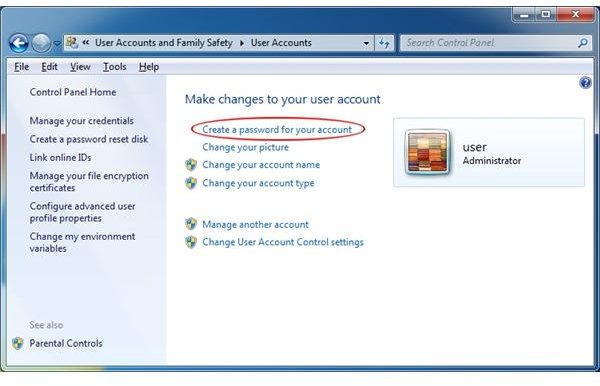
In the Make Changes to Your User Account window, click on Remove Your Password.
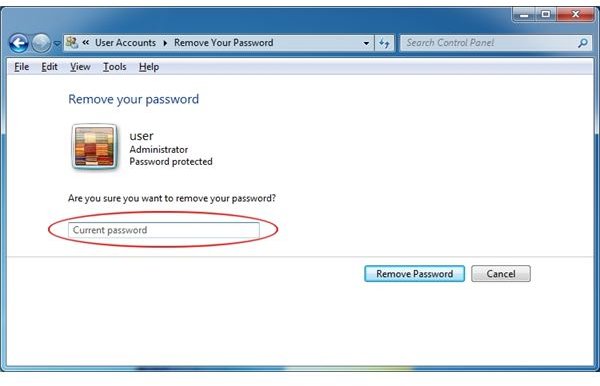
Here, Windows 7 asks you to confirm your choice to remove your password by typing in your current password. This step is critical because it prevents just anyone from hijacking your account by removing or resetting the password. After you have typed in your current password, click the Remove Password button.
Windows 7 then takes you back to the Make Changes to Your User Account window. Unfortunately, Windows does nothing to confirm that you have indeed removed your password other than the new option on this window titled Create a Password for Your Account.
Verify Removal of Password
You can verify that Windows 7 has removed your password by logging out of your account and clicking on your account icon again. Notice that this time Windows 7 did not ask you for a password but instead simply logged you in.
Remember that anyone who has access to your computer can now log in to your account . Also, understand that anyone who steals your computer will also have access to your account and your private files. With no password protection, anyone can also set a new password and lock you out of your own account. Be certain that you want to turn off password protection for your account before you make your private files vulnerable.


