Microsoft OneNote can be a great tool to help you organize your college classes. Find out how to use the program most efficiently to help you get the grade you want.
OneNote and College?
Microsoft OneNote is a wonderful program for helping you organize all your college classes - whether or not you have a digital notepad or tablet PC. You can use a netbook or a laptop computer to take notes in your classes. All information pertaining to your courses, your goals, classes you need to take, future job or graduate school contacts, and university activities can be kept in one place. Find out how to best use Microsoft OneNote to organize your academic life below.
Section 1: The College Overview
Your first section should contain all information pertaining to school itself. List your current classes, past classes, and future classes here. This is a section to plan out your college experience (and it will come in handy when it comes time to apply for graduation, apply to graduate or professional school, or apply to jobs that require a certain matriculation of classes). The very first page of this section will serve as a table of contents for your whole notebook. List the various sections you will need. You can create a hyperlink to each section by right clicking on the tab of the section and selecting “Create hyperlink to this section.” Then, click the word or phrase on your contents page. This way, you can navigate to whatever section (or page) you need to from the start.
This section will also be where you’ll want to keep a list of required courses for your major and minor and the university, important university deadlines, university rules, and your goals.
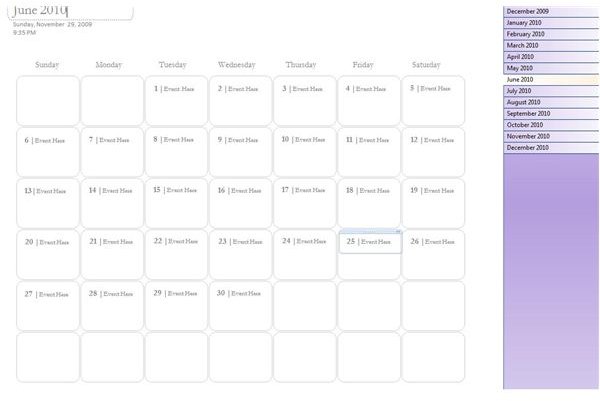
Section 2: The College Calendar
You will want at least a monthly calendar - a weekly or daily calendar is recommended for busy people. At the beginning of the semester, list all important university dates, any midterm, finals, and papers dates, and all other pre-set appointments. If you also use Microsoft Outlook, you can create tasks directly from OneNote by clicking on the tasks flag at the top of the screen. You should also take a moment to enter any appointments into Outlook (or another digital calendar) if you need to.
In addition to a monthly calendar, keep a list of all important dates in the future i.e. even if you are only a freshman, make sure you know what deadlines will be for you to apply for graduation. By being ahead of the game, you won’t be rushing around last minute to fulfill requirements.
The Next Several Sections: Your Current Classes
The next sections of your notebook should be devoted to your current classes. Each class should receive its own section. The very first page will be your class syllabus. You can either download it (many are available online now), scan it, or enter in vital information by hand. Remember that your college syllabus acts like a contract with your professor. It outlines what he or she expects from you over the semester. Every reading assignment and task in the syllabus can be linked to a task in Outlook. Select the task flag, and set a start date and a due date. Successful students read ahead of the topics discussed in class .
After the syllabus, leave a page for research paper ideas if your course will require one. Simply enter them on this page as you read and attend lectures. You should aim to have a topic by the second month of your course. Next, create a new page for each day’s notes. You can either include reading notes with the lecture notes as a sub-page, or you can have completely separate pages.
Finally, you can keep all research for papers in this section as well. One neat way to do this is to create “section groups” in your notebook for your courses and have four sub-sections: Syllabus, class notes, reading notes, research project.
Other OneNote Sections
Here are other sections you may want to include in your student notebook:
- Sections for extracurricular activities - especially if you are involved in clubs or student government
- Classmate and Professor Contact Information - this can be a valuable reference
- Accounting - Password protect this section by clicking on “file” then “Password protect this section,” tracking your bank account and learning how to budget is a vital part of college success
- Prospective Companies or Graduate Schools - as you research your post-college life, information pertaining to this will go in this section
- Past Semester Archives - to keep your records searchable in just one notebook, at the end of each semester create a section cluster for all past semester courses and activities. Drag and drop the tabs for each class and each activity into this section.
Sharing Your Notebook
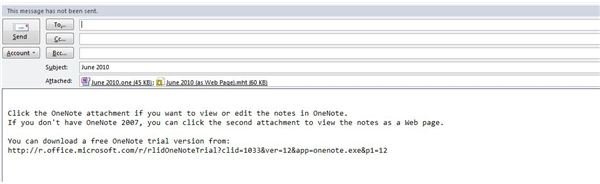
Finally, you can share your notebook and pages from your notebook. To send a page from your notebook to a classmate who may have missed class, click “File” then “Email.” OneNote will then prepare the page for file sharing. To share the notebook across a network between a desktop computer and a laptop or netbook, click “create shared notebook” when you start your notebook. This will make it so that your notebook will automatically update on both computers.


