There are many different ways to view documents in Word 2007, and these document views, such as Print Layout View, Draft View, Outline View and more can provide you with additional functionality and ease for editing and proofreading your Word 2007 documents.
Word 2007 View Tab
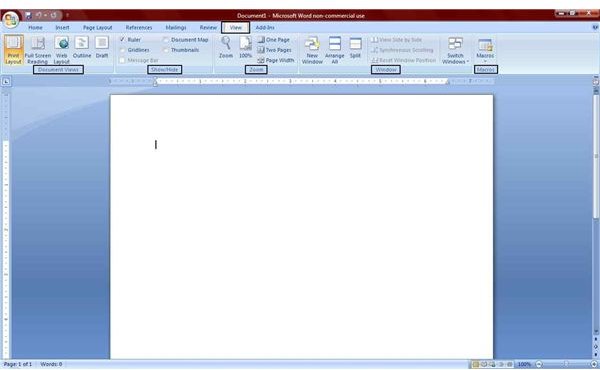
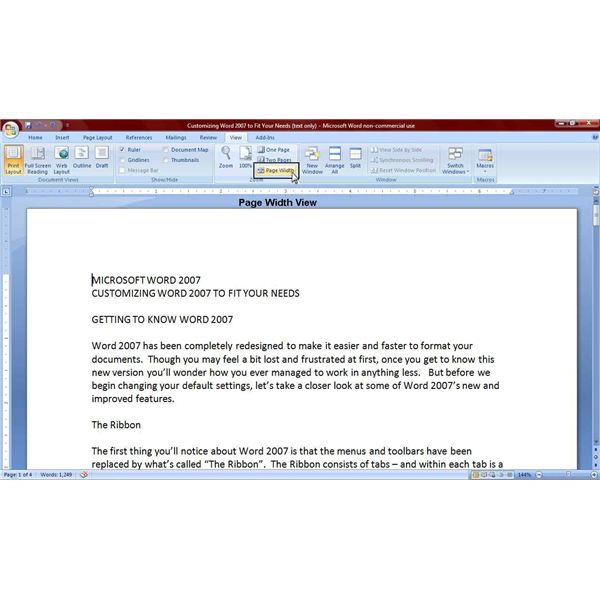
Let’s first take a look at the Word 2007 Ribbon. On the Ribbon you will see a View tab which you can access by clicking on it or by pressing Alt+W. The Word 2007 View tab contains all the commands that enable you to change your Word 2007 document view.
The Word 2007 View tab consists of five groups:
- Document Views
- Show/Hide
- Zoom
- Window
- Macros
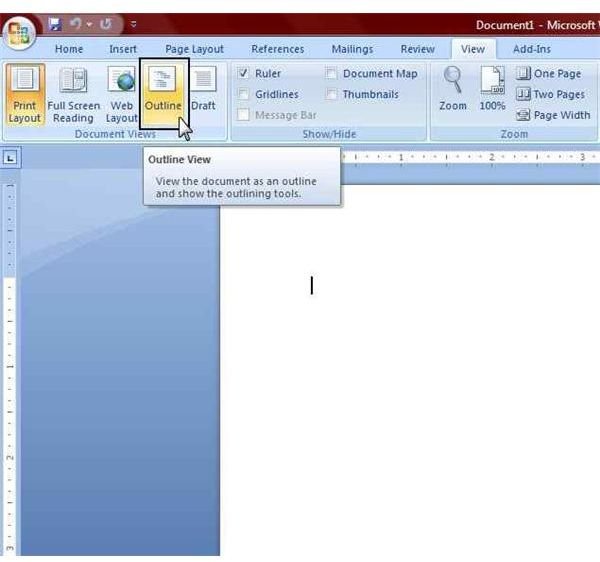
The Document Views group contains the five different ways you can view your Word 2007 documents. You can choose Print Layout, Full Screen Reading, Web Layout, Outline, and Draft.
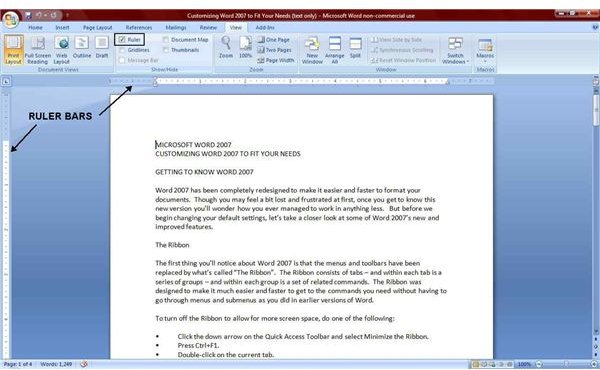
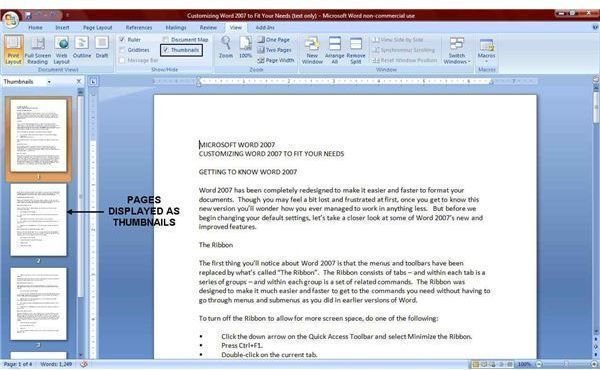
The Show Hide group is where you can choose to see the Ruler Bar that runs along the top and left side of your document, to see gridlines in your document, to open the Document Map, and to see the pages of your document displayed as Thumbnails.
The Zoom group is where you can change the size of the document you’re viewing. The default settings for Word 2007 is 100%, but you can choose to view your documents as One Page or Two Pages, or as Page Width. To choose a custom setting, click on Zoom.
The Window group is where you can open a copy of your document in a new window, arrange to see all open documents, or view two open documents side by side.
The Macros group allows you to view a list of available macros and also enables you to record new macros.
Word 2007 Print Layout View
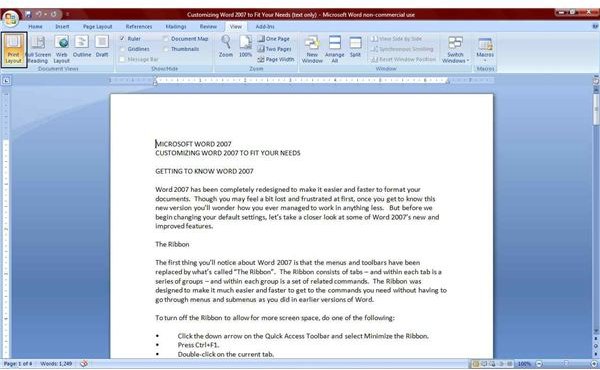
Print Layout view is the default document view setting for Word 2007. By working with your document in Print Layout view, you will be able to see how your document will look when it is printed. In Print Layout view, you can see where each page breaks as well as the headers and footers.
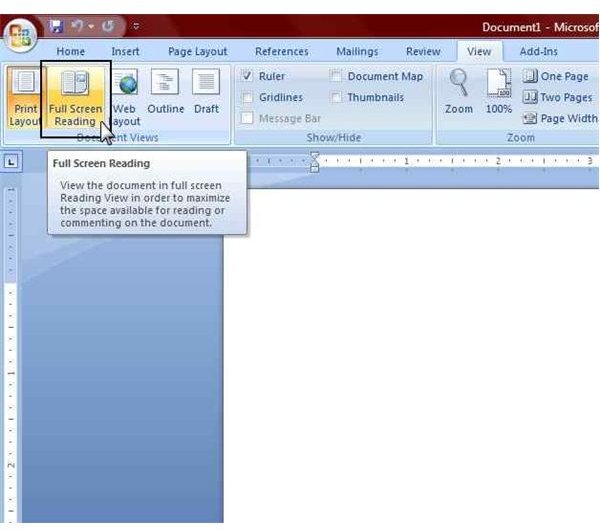
Full Screen Reading View
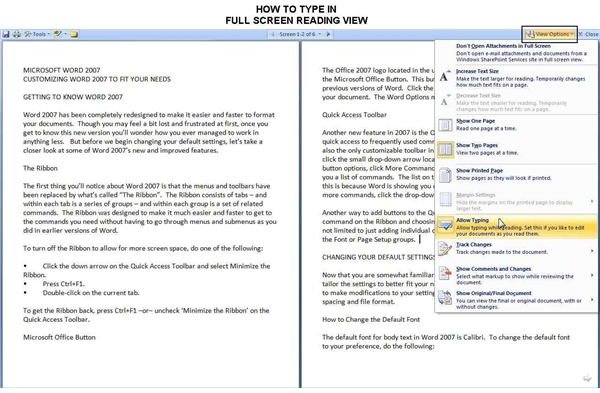
If you would like to be able to see more of your document for reading purposes, try using the Full Screen Reading view. To turn this view on, simply press the Full Screen Reading button on the View tab on the Ribbon. You will notice that the Ribbon disappears when Full Screen Reading view is enabled. Hiding the Ribbon provides you with a full screen view to make it easier to read documents, which is especially helpful on smaller displays like laptops. However, your ability to edit the document is limited in this view.
To exit Full Screen mode, click Close in the upper right corner of the screen, or press the Esc key on your keyboard.
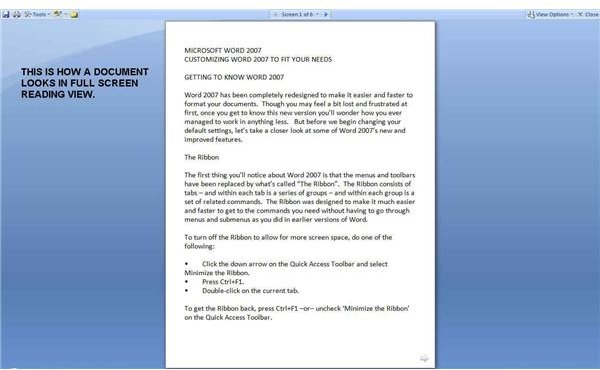
If you want to be able to type into your document when viewing your document in Full Screen Reading view, click the View Options button in the upper right corner and click on Allow Typing.
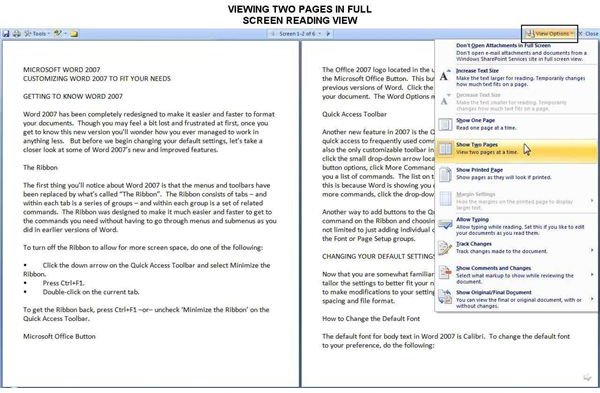
If you want to see two pages in Full Screen Reading view, just click the View Options button in the upper right corner and choose Show Two Pages.
Word 2007 Draft View
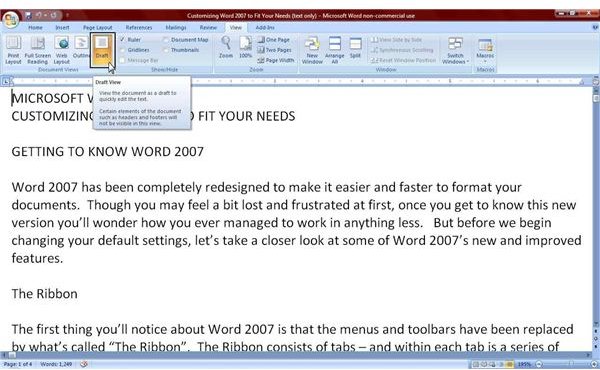
In Word 2007 Draft view is intended to be used for quick editing of the text in your Word documents. Because it is designed for text editing, certain elements of the document are not visible in Draft view such as headers and footers. Also, page breaks are shown as a dotted line to maximize the editing area. This is a perfect view for proofreading your documents.
Word 2007 Web Layout View
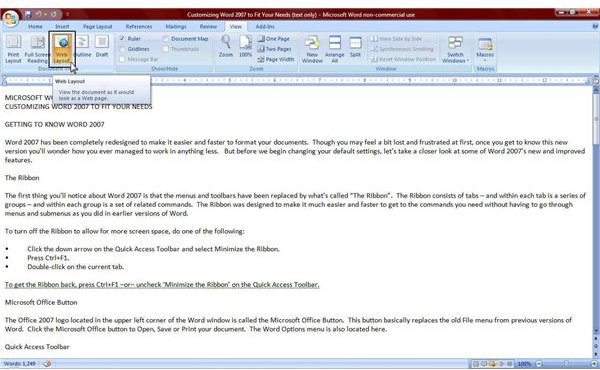
The Web Layout view allows you to see how your document will appear in a web browser. In other words, you will see how your document would look as a web page.
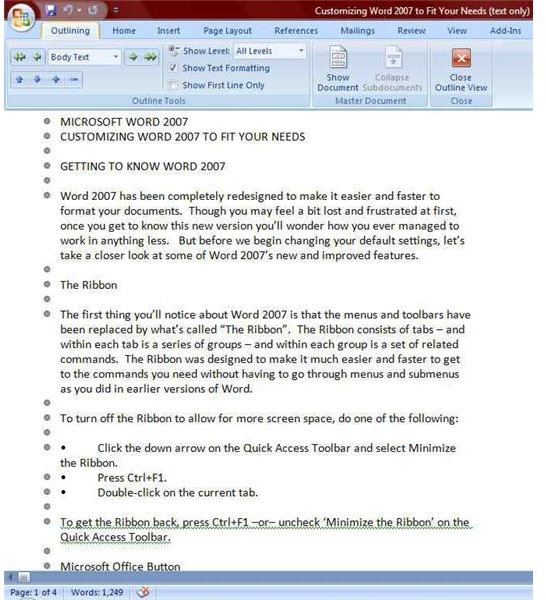
Word 2007 Outline View
Outline view displays your document as an outline and the outlining tools become available. In Outline view, only the headings are shown in your Word 2007 document; you don’t see any of the body text. This enables you to move different parts of your document around more easily. For example, you can move the 4th heading to be the 2nd heading and the accompanying body text will move with it.
Show/Hide Group
The Show/Hide Group on the Microsoft Word 2007 View tab is where you can choose to display the following tools:
Ruler: The Ruler displays above your document and along the left side of your document and basically looks like a ruler. This is a helpful tool for setting tabs, indents, and margins. Double-clicking on the top or horizontal ruler bar will open up the Paragraph dialog box. Double-clicking on the left or vertical ruler bar opens up the Page Setup dialog box.
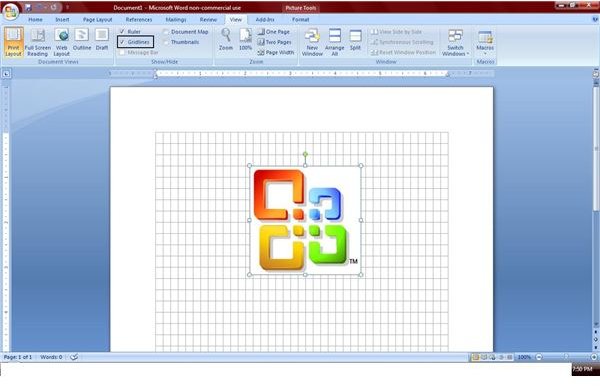
Gridlines: When you check the gridlines box, horizontal and vertical lines will be displayed on your document. This is a helpful feature to use when trying to line up pictures and text boxes.
Document Map: An outline of your document’s headings will be displayed in a pane on the left side of your document. You can then use this pane to quickly navigate to different parts of your document. Just click on a heading and you’ll move to where that heading is in your document.

Next: Continue on to the next page for more tips on viewing documents in Microsoft Word.
Thumbnails: This is a great navigation tool for Word 2007. When you turn this option on, the pages of your document will be displayed as thumbnails in a pane on the left side of your document. You can then just click on any thumbnail to go directly to that page.
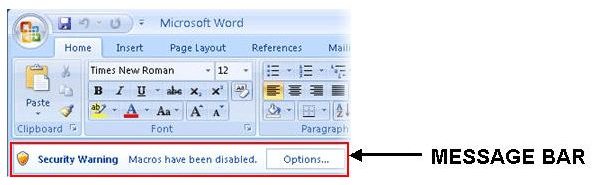
Message Bar: If something in a document poses a potential security risk, an alert bar will appear. To make it go away, just uncheck the Message Bar box. This check box is not available if there are no current Message Bar items.
Document Zooming
The Zoom group on the View tab allows you to increase or decrease the size of the view of your document. Zooming in or out on your document does not affect the size of the fonts or anything else in your document. It just simply changes the view size. You can zoom in or out on your document using the Zoom button that looks like a magnifying glass, and click the 100% button to bring your document back to 100% view.
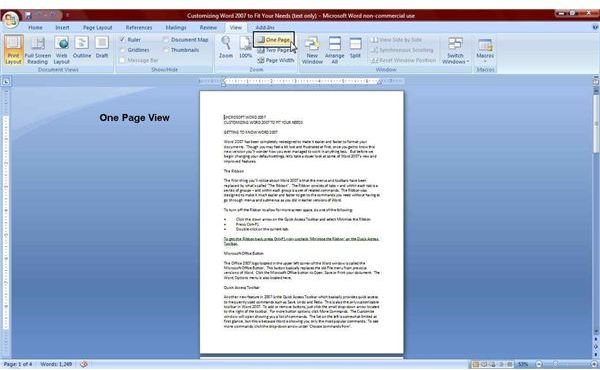
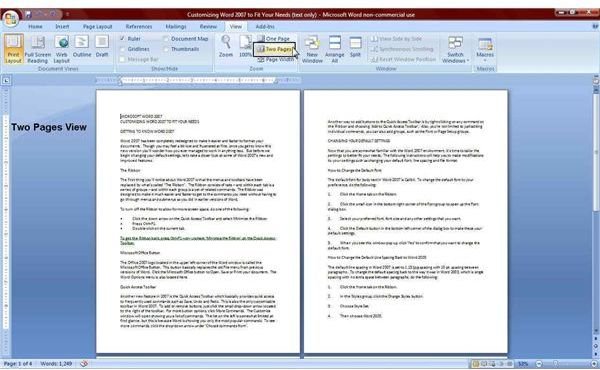
Other options in the Zoom group include One Page, Two Pages and Page Width.
- Click on One Page to view the entire width of the document, one page at a time.
- Click on Two Pages to view the entire width of the document, two pages at a time (the pages will be side by side).
- Click on Page Width to increase the view of a single page (you do not see the entire width of the document in this view).
The Window Group
The selections on the Window group allow you to work with, coordinate and arrange multiple windows at the same time, such as viewing two different documents side by side.
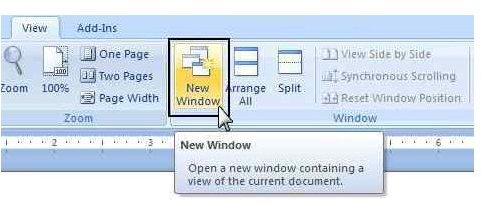
The New Window option opens up another window that contains a view of the current document that you are working on. This allows you to see two parts of the same document at once. If you make a change in one window, the change will be applied to the other as well.
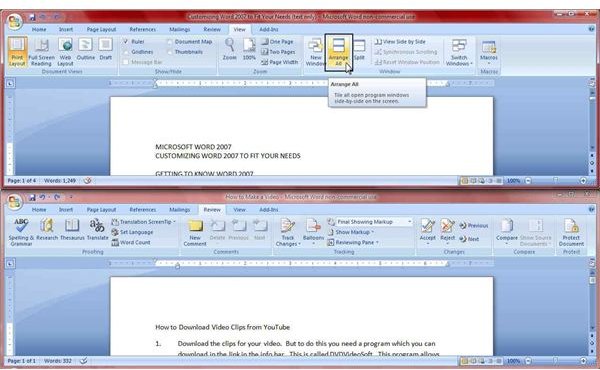
Use Arrange All to tile all open windows. If you have a Word document open, an Excel document, and the Internet open, all three windows will be tiled in one view.
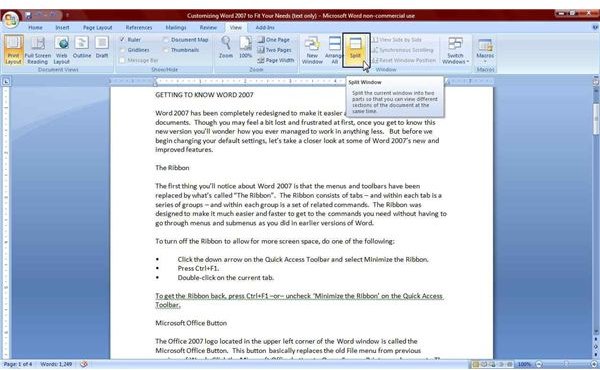
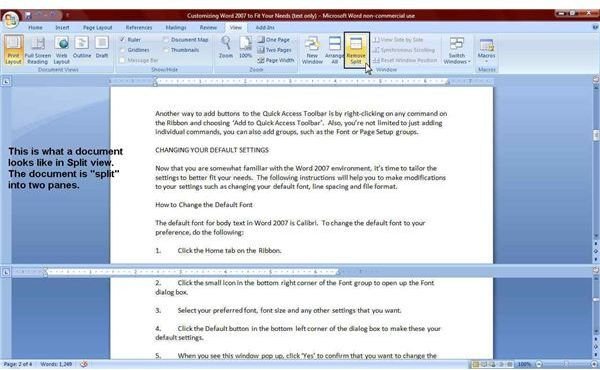
Split is very similar to the New Window option, however, instead of opening a new window, it “splits” the current document into two parts within one window. This allows you to view different parts of your document at the same time. This tool comes in handy by giving you the ability to edit two different parts of a single document in the same window. You can use the F6 key to jump between the two different panes. To close the split, just click the Remove Split button.
Viewing Documents Side By Side
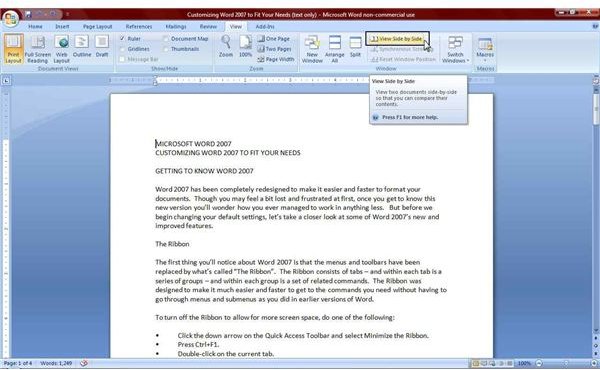
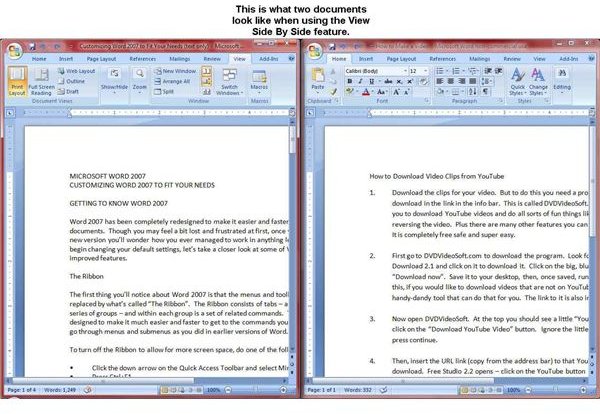
The View Side By Side feature allows you to see two different documents next to each other on the screen. What happens is that the windows for each of the documents is narrowed in order to fit them next to each other. So the larger your monitor, the more of the document you’ll see. The best thing about the Side By Side feature is the “synchronous scrolling”. This means that as you scroll down one document, the other document moves along with it. This is a great tool to use when comparing two different documents, or to copy and paste between two documents.
Conclusion
You now know all the viewing features offered in Microsoft Word 2007. These document view features will provide you with the tools you need to work with multiple documents at one time and quickly edit and compare documents.
Be sure to take a look at Bright Hub’s collection of Microsoft Word user guides that include, in addition to many other articles, a wide selection of tips and tricks for using and creating Word templates . Also, you may want to browse through the material we have on other Microsoft Office topics . More items are being added on a regular basis so check back often!


