Learn how to set up and start using Quicksilver on your Mac.
Getting Started
I really believe that everyone, especially the die hard Mac users should try Quicksilver. I really believe in it and I have only been using it for a short time now myself. In fact, I started to believe in it after about a half hour of playing with it. If you still don’t know what I am talking about read my review of Quicksilver .
Please give it a try, it may change the way you use your Mac forever.
The first thing you need to make sure of is that you are on the right OS version. There are versions of Quicksilver that will run on OS X 10.3 but it is best to be on 10.4 or even better to be on 10.5. You can download the latest version of Quicksilver from Blacktree.com . This is a dedicated link to the latest and greatest version, so no matter when you are reading this you can still (fingers crossed) get Quicksilver at that link.
I am using the most current version of Quicksilver (QS) which is version B54. Everything I write is based off of that version. Later versions may be slightly different, but from what I have been reading most things have stayed pretty consistent in all the Quicksilver versions so far.
Some quick notes: when I say “invoke QS” that means to activate it using the hot keys, the default is control+space bar. I have changed mine to command+space bar and you can feel free to map this however you want. This can be done in the Preferences under Command, more on that later.
When your download is complete you will need to unzip it using what ever tool you use. I had a little trouble doing this with this version and using Safari so you may have to fool with it or use Firefox.
Open the DMG image and drag the QS icon into Applications. Click on it and you will see the QS symbol on your screen and then a wizard will show up.
Go through each step and read what the wizard is telling you as it contains some important info. At one point it will ask you if you want to install some plug-ins, select them all and then continue.
QS is now scanning your computer and cataloging your information hotspots like iTunes, iPhoto, address book, documents, system preferences, applications, etc
You are now ready to start using QS at the very basic stage as a launcher and to perform some very simple tasks.
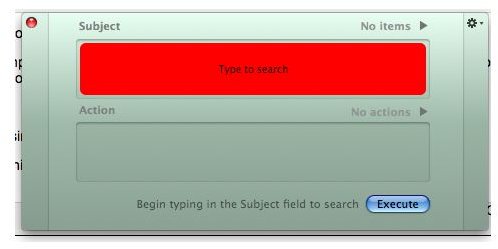
The default QS will look like this: (I will show you how to change the colors and way it looks later.)
To invoke QS and start using it, use your hot keys, for now it will be control + Space bar. In Part 2 I will show you how to start really customizing it and getting it to fit you better.
This post is part of the series: Quicksilver Set Up
Learn how to set up Quicksilver to get the most out of your Mac.


